How to Install a Mobile Toilet
The installation methods for mobile toilets vary depending on the type, mainly divided into two categories: ordinary mobile toilets and mobile toilets that require tools for installation. Here are the specific installation steps:

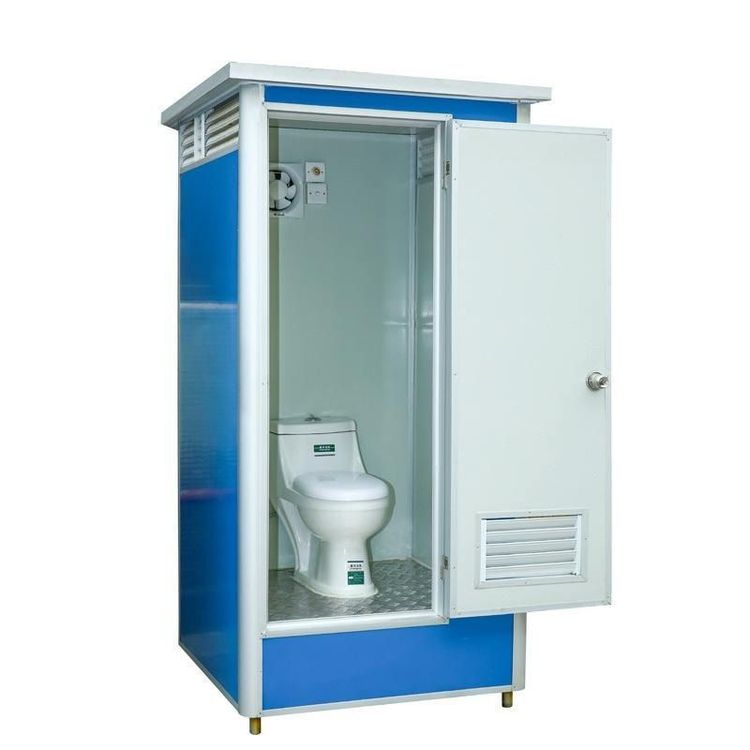
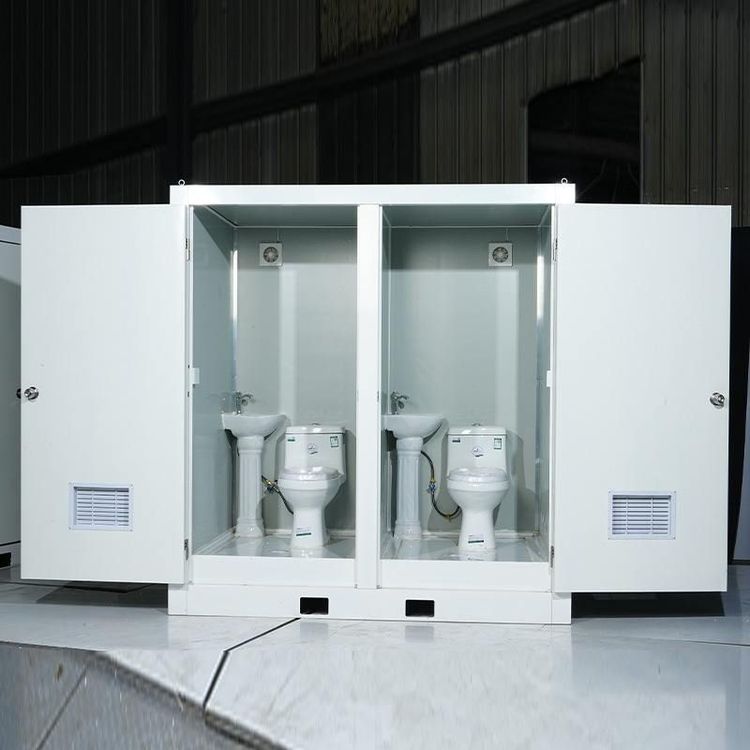
The installation of an ordinary mobile toilet is relatively simple and can be done by referring to the installation process of a mobile toilet. Step 1, Unpack and Inspect: Upon receiving the goods, immediately open the packaging and carefully check the parts list to ensure that all components (such as the toilet body, water tank, sealing ring, fixing screws, etc.) are complete, avoiding installation interruptions due to missing parts. Step 2, Read the Instructions: According to the installation instructions provided with the product, clarify the assembly sequence and precautions for each component, especially the connection requirements for water and electricity interfaces. Step 3, Assemble the Main Body: Connect the toilet body and the water tank as indicated in the instructions, usually fixed with clips or screws, ensuring a good seal at the connection to prevent water leakage. Step 4, Install the Sealing Ring: Place a special sealing ring between the toilet drain and the floor drain pipe and press it firmly to avoid odor leakage. Step 5, Secure the Toilet: If ground fixation is required, use the provided screws to connect the toilet base to the embedded parts or tiles on the floor to ensure stability. Step 6, Connect Water and Electricity: According to the instructions, connect the water inlet and outlet pipes, check if the water circuit is unobstructed, and finally connect the power supply (if it is an electric model).
The installation steps for a mobile toilet that requires tools are more complex. Step 1, Prepare Tools: Before installation, prepare tools such as an electric drill, a 4.2-millimeter drill bit, and a rivet gun, and ensure the work area is flat. Step 2, Install Inner Corners: Fix the inner corners (such as frame connectors) in the designed positions, usually by drilling holes in the wall or floor with an electric drill, inserting expansion screws, and tightening them. Step 3, Assemble Panels: Insert the prefabricated panels into the slots, ensuring that the joints are aligned to avoid excessive gaps. Step 4, Secure Panels: Drill holes (with a diameter matching the rivets) at the panel joints, insert rivets, and secure them with a rivet gun to ensure structural stability. Step 5, Check Sealing: After installation, check all connections for tightness, especially around doors, windows, and drain openings, and apply sealant if necessary. Step 6, Function Test: After connecting water and electricity, test the flushing, lighting, ventilation, and other functions to ensure there are no water leaks, electric shocks, or other safety hazards.