Installation Steps for Mobile Toilets in Wuzhou
The installation steps for mobile toilets in Wuzhou mainly consist of two parts: factory-prefabricated finished product installation and specific assembly installation. If a drainage system is involved, an appropriate plan should be selected according to the requirements. Here is a detailed introduction:

Factory-Prefabricated Finished Product Installation
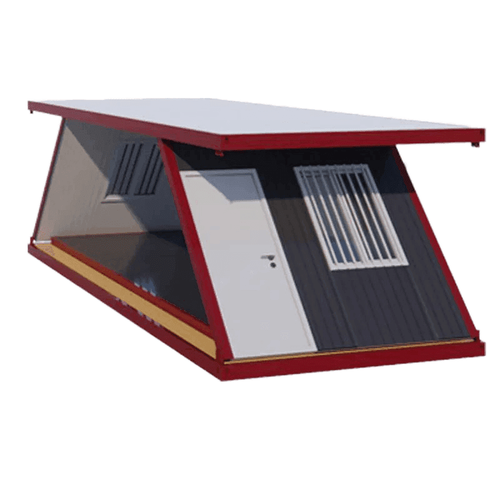
Mobile toilets are usually factory-prefabricated finished products that can be used immediately after on-site installation. Their bottoms are generally welded with channel steel or I-beams, and the columns are made of square steel. Wall materials such as color steel plates and fiberglass reinforced plastics are installed on the wall foundation, and the frame structure needs to meet the requirements for hoisting. This installation method significantly shortens the on-site construction time, improves installation efficiency, and ensures product quality and precision through factory prefabrication.
Specific Assembly Installation Steps
After receiving the goods, tools such as an electric drill, a 4.2-millimeter drill bit, and a rivet gun are required. First, install the inner corners one by one. This is the basic step for assembly, ensuring the stability of subsequent board installations. Then, insert the boards into the slots, align them during assembly, and make sure the top and the boards are aligned to ensure the flatness and perpendicularity of the assembly. Next, drill holes with the drill bit, insert rivets, and fix them with the rivet gun to tightly connect the boards and form a sturdy overall structure.
Drainage System Installation Plans
- Using a Offset Connector: Suitable for short-distance relocation, it is the preferred plan for short-distance moves. Purchase a finished offset connector, whose cross-pipe is an elliptical flat pipe with a height of about 60mm. Before waterproofing, chisel out 20 - 40mm of the ground floor slab, pre-bury the offset connector, with one end connected to the original toilet drainage pipe and the other end extending to the target location. Then, pour the floor level and perform waterproofing to a height of about 20mm, lay tiles to a height of about 30mm, and finally install the toilet. The new type of offset connector can also be installed after laying the tiles. A 3 - 4cm construction slot needs to be reserved. The lower interface is inserted into the drainage pipe and backfilled with cement slurry, and the upper interface is connected to the toilet drainage outlet. The connection should be wiped clean and coated with PVC special adhesive. When installing the sealing ring, prevent it from flipping to avoid debris from falling into the pipe. The offset connector is suitable for short-distance relocation of 100mm - 350mm, and it should not exceed 400mm as much as possible; otherwise, the risk of blockage increases. If the relocation distance exceeds 300mm, a slope of more than 3% should be made at the pre-buried location to facilitate drainage.
- Same-Floor Drainage - Floor Slab Lowering: If the bathroom floor has already been recessed by 250mm - 350mm, the layout of the sewage pipes can be directly re-planned. Use oblique tees instead of straight tees to avoid backflow and blockage in straight pipes. The positions of the toilet and other drainage outlets can be freely adjusted, but it is necessary to ensure a reasonable pipe slope.
- Same-Floor Drainage - Floor Slab Raising: Suitable for structures without slab lowering, build a high platform of 180mm - 200mm with lightweight blocks, pre-bury a toilet drainage pipe with a diameter of about 110mm, and then lay floor tiles normally. The advantage is that there is no need to damage the original floor slab, but it will occupy part of the bathroom floor height.
- Inter-Floor Drainage - Modifying the Drainage Pipe on the Ceiling of the Downstairs Neighbor: It is necessary to negotiate with the downstairs neighbor to modify the drainage pipe on the ceiling of their bathroom. During the modification, proper waterproofing must be carried out, and a trap should be installed to prevent the backflow of foul odors. The construction is difficult, requires professional operation, and depends on the cooperation of the neighbor.
- Inter-Floor Drainage Modification to Wall-Mounted Drainage: Suitable for wall-mounted toilets. Build a steel structure in the bathroom, embed the water tank in it, and hang the toilet on the steel structure. A Type II offset connector can be selected for wall-mounted toilets to enhance sealing and stability.