Back to blog
Article
Rural Mobile Toilet Water Pipe Installation
Admin October 05, 2026
The installation of water pipes for rural mobile toilets requires comprehensive planning from aspects such as site selection, water supply, drainage, electricity, fixation, and insulation. The specific steps and precautions are as follows:

I. Site Selection and Foundation Treatment
Prioritize areas with flat terrain and convenient drainage, avoiding low-lying areas to prevent water accumulation. If placed directly on a muddy ground, a concrete foundation should be poured in advance, with a thickness of no less than 10 centimeters and an area slightly larger than the bottom size of the toilet. The surface should be leveled with a level gauge to prevent long-term use from causing the toilet seat to sink or tilt.
II. Water Supply System Connection
- Confirm the water source location: Ensure a stable water supply for the water-flush toilet, with the water source close to the installation point.
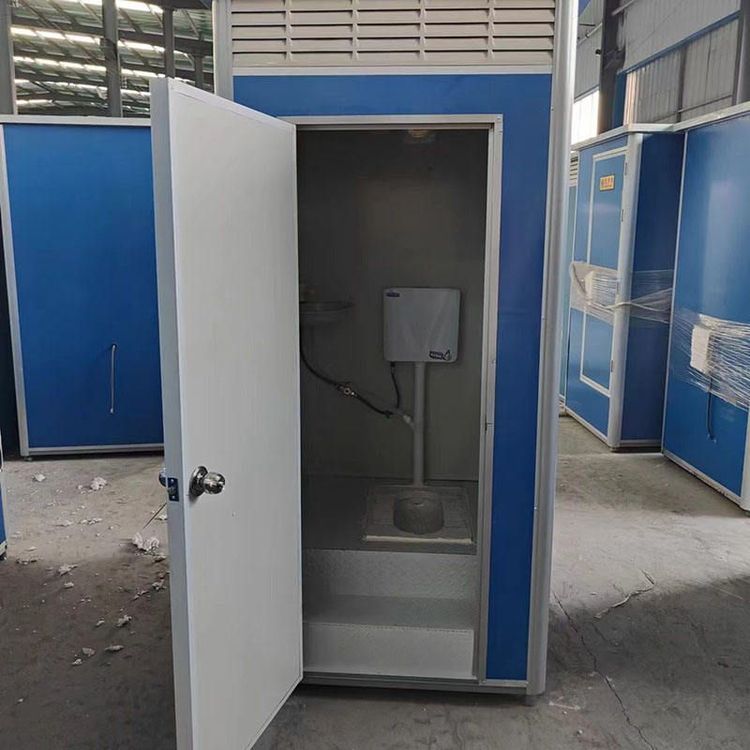
- Select pressure-resistant and freeze-resistant pipes: Water supply pipes should be made of pressure-resistant and freeze-resistant materials (such as PPR pipes), and the burial depth should be below the local frost line to prevent freezing in winter.
- Connection and maintenance: Install a valve at the connection between the water pipe and the toilet water inlet for easy subsequent maintenance. After turning on the water, observe whether the interface leaks and confirm that there are no problems before putting it into use.
III. Drainage System Installation
- Plan the drainage path: The slope of the drainage pipe should be no less than 2% (a drop of 2-5 centimeters per meter) to ensure that sewage flows smoothly into the septic tank or sewage pipe network.
- Septic tank setting: The capacity should be designed according to the number of users, and the location should be close to the toilet but at a certain distance for easy cleaning. Install an anti-odor elbow at the connection to prevent odor backflow.
- PVC pipe installation steps:
- Measure and cut the pipes, and polish the burrs on the pipe ends;
- Apply PVC special glue to connect the pipe fittings and rotate them 90 degrees to fix them;
- Install pipe clamps to fix the main pipes and adjust the slope;
- Connect branch pipes and sanitary fixtures (such as toilets and washbasins), and use rubber gaskets to seal the interfaces;
- Conduct a water flow test to check whether the water flow is smooth and whether the interfaces leak.
IV. Electricity and Lighting System (if equipped)
- Circuit protection: Protect the wires with pipes, set the power outlets in dry locations, and install leakage protection devices.
- Light fixture selection: Choose waterproof lighting fixtures and install them at an appropriate height to ensure sufficient light.
- Solar power supply: In areas without access to the mains electricity, consider a solar power solution. Ensure that the battery capacity meets the usage requirements during continuous rainy days.
V. Fixation and Wind Protection Measures
- Bottom fixation: Connect through embedded parts and foundation bolts. In areas with strong winds, use additional windproof cables for anchoring.
- Component inspection: Ensure that door panels, window frames, etc. are tightly sealed to prevent damage caused by looseness.
VI. Insulation and Freeze Protection Treatment (in cold areas)
- Pipe insulation: Wrap with foam insulation pipes or electric heating tapes.
- Water tank insulation: Install an insulation layer outside the water tank and drain the water in extreme weather.
- Wall insulation: For single-layer walls, insulation panels can be attached inside to improve comfort in winter.
Related