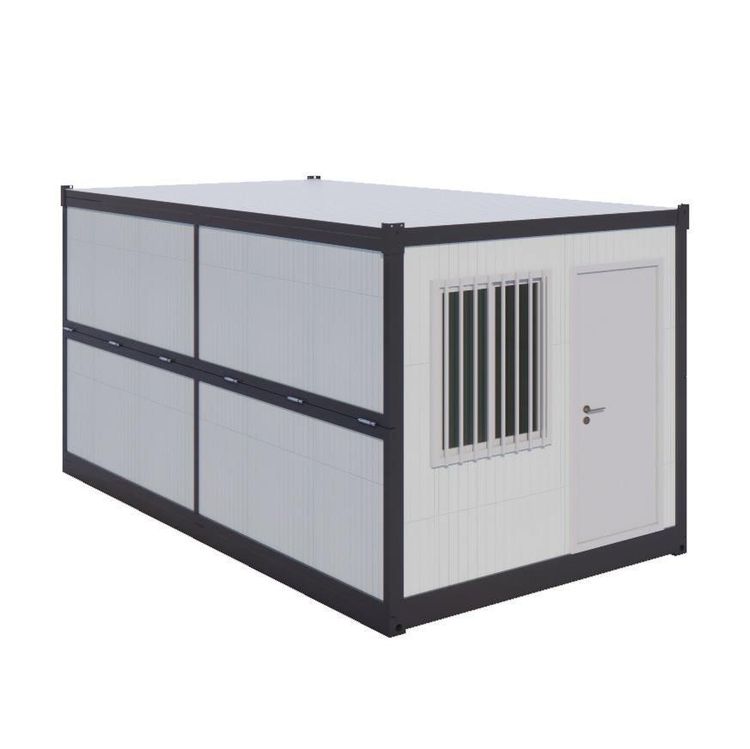
What to Do About Water Leakage in Prefabricated Slab Houses
To address water leakage in prefabricated slab houses, the following measures can be taken:

Using Asphalt
Pour liquid asphalt onto the leaking prefabricated slabs. Asphalt has good waterproofing properties, and the construction process is relatively simple, not requiring complex tools or techniques. However, this method has certain limitations. Its service life is limited, and leakage may occur again after about 3 years. This is because asphalt gradually ages and cracks under the long-term influence of natural environmental factors such as ultraviolet rays and temperature changes, thereby losing its waterproofing function.
Adding a Layer of Tiles
Add a layer of tiles on top of the prefabricated slabs to form an additional waterproof layer. The overlapping tiles can effectively block rainwater penetration, providing good waterproofing and high durability. However, this method is costly, requiring the purchase of tiles and payment of relatively high construction fees. Additionally, the construction is relatively complex, necessitating certain modifications and reinforcements to the roof to ensure it can bear the weight of the tiles.
Using Professional Waterproofing Materials
It is recommended to use polymer cement-based waterproof coatings/slurries, which have numerous advantages, such as being non-toxic and harmless to humans and the environment; simple and quick to apply, not requiring professional technicians; adhering tightly to cement-based materials to form a solid waterproof layer; and having a long service life with strong waterproofing effects. During construction, first, prepare the base surface where waterproofing is to be done, ensuring it is firm, flat, clean, and free of debris and dust. Then, use a brush or roller to evenly apply the waterproofing material to the base surface, generally requiring two coats, with each coat not exceeding 1mm in thickness. Pay special attention to rounding the corners of walls before applying the coating, and use sleeves for pipes passing through walls and fill the holes with leak-stopping compounds to prevent water leakage from these areas.
Conducting a Water Test
After the waterproof coating is applied and forms a waterproof layer, conduct a water test. Fill with water to a height of 20cm and check after 24 to 48 hours to see if there is a significant decrease in water level or if there are wet spots on the ceiling below. If there is no significant decrease in water and no wet spots below, the waterproofing construction is successful; otherwise, identify the leakage points and repair them.
Protecting the Waterproof Layer Later
During later renovation work, be careful to avoid damaging the completed waterproof layer. For example, when laying floors or decorating walls, work carefully to prevent sharp objects from puncturing the waterproof layer.