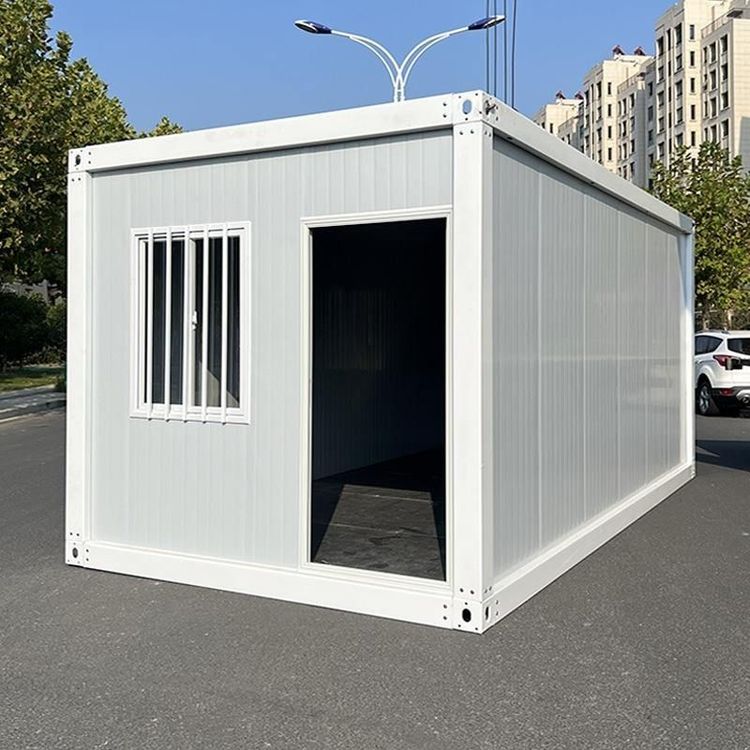
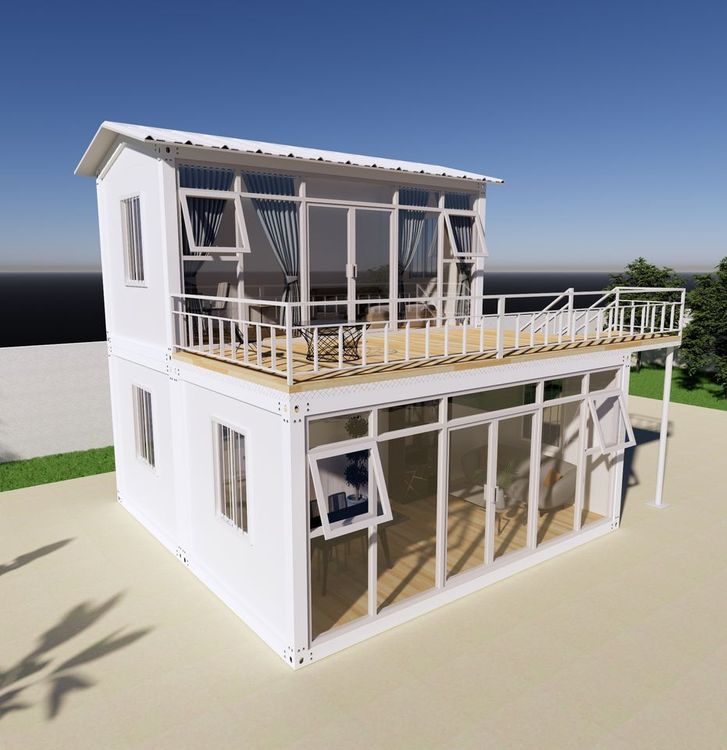
Prefabricated Mobile Toilet Installation
The installation of prefabricated mobile toilets requires a systematic process, covering three core stages: preliminary planning, material arrival, and main body installation. The specific steps are as follows:

I. Preliminary Planning and Site Preparation
Demand Assessment and Model Selection Confirmation
It is necessary to clarify the specific requirements of the usage scenario, including estimated foot traffic, duration of use, the ratio of male to female toilet stalls, and whether barrier-free facilities are needed. For example, during peak tourist seasons in scenic spots with high foot traffic, a model with multiple toilet stalls and high ventilation efficiency should be selected; for temporary event venues, lightweight models can be prioritized. Based on the requirements, determine the toilet specifications, style (single-unit/row-connected), and internal configurations (such as sinks, hand dryers, and deodorization systems).Site Survey and Location Selection
It is essential to conduct an on-site inspection of the installation location's ground conditions, spatial layout, and adjacent facilities. The ground must be flat and solid to prevent later settlement; space must be reserved for a septic tank or waste storage tank, and ensure that the width of the access passage for waste removal vehicles is at least 3 meters; the location should be close to the water supply and drainage network to reduce pipeline laying costs, while being far from drinking water sources and kitchens to prevent contamination.Foundation Construction
Select the foundation type based on the toilet's weight and usage cycle: for short-term use or when the ground conditions are good, a moisture-proof pad can be laid directly; for long-term use or when the ground is soft, concrete foundation piers (with a thickness of at least 20 cm) or a steel load-bearing platform should be poured, ensuring that the surface level error of the foundation is no more than 5 mm to prevent structural damage caused by box tilting.
II. Material and Equipment Arrival
Transportation of the Main Body Box
Use a flatbed truck for transportation. During loading and unloading, use a forklift or crane, and operate steadily and slowly to avoid collision and deformation of the box. Before transportation, the box must be secured to prevent sliding; during unloading, cushioning materials (such as rubber pads) should be laid on the ground to reduce impact force.Inventory of Supporting Components
It is necessary to check all accessories, including connecting bolts, sealing strips, drainage hoses, ventilation pipes, electrical wiring (including lighting/ventilation systems), and installation tool kits (level gauges, wrenches, electric drills, etc.). At the same time, check whether the septic tank, waste storage tank, clean water tank (if not built-in), and water supply pipes are intact to avoid construction interruptions due to missing accessories.Equipment and Personnel Preparation
Ensure that tools such as cranes (or forklifts) and level gauges are in place, and installation personnel must receive safety training and be familiar with operating procedures. For example, lifting operations must be carried out by certified personnel, and warning areas should be set up to prevent injuries from falling objects.
III. Main Body Installation and Fixing
Box Positioning
Use lifting equipment to slowly lift the box above the foundation, align it with the position, and then lower it steadily. Measure the levelness at the four corners and the center point of the bottom of the box using a level gauge, and make fine adjustments using shims (with a thickness of no more than 3 mm) to ensure that the box is completely level and prevent door frame deformation or poor drainage caused by tilting.Box Connection (Row-connected Type)
When installing multiple units in a row, connect adjacent boxes with high-strength bolts and apply waterproof sealant at the joints to prevent rainwater leakage. After connection, check the overall levelness again to ensure the stability of the row-connected structure.