Portable Toilet Installation Guide: A Complete Walkthrough
The installation of portable toilets requires following key steps such as site selection, material preparation, installation of water supply and drainage systems, and testing and inspection, while adjusting installation details according to different types. Details are as follows:

Site Selection: Avoid low-lying areas prone to water accumulation to reduce the risk of the toilet being flooded during rainy days. For example, when installing at an outdoor campsite, choose a high and flat location to ensure smooth drainage.
Material Preparation: Prepare water supply and drainage hoses of appropriate sizes, sealing gaskets, quick connectors, corresponding valves, and temporary water storage or sewage collection containers. For example, if using an ordinary portable toilet, select hoses according to the sizes of its water inlet and outlet to ensure a tight connection.
Water Supply System Installation: First, check the size of the water inlet connector of the portable toilet, place a sealing gasket at the connection point, and then screw on the quick connector to prevent water leakage. Connect one end of the hose firmly to the water inlet connector and the other end to the nearest faucet. Slowly open the valve to adjust the water flow and avoid damaging the sealing components due to sudden changes in water pressure. If there is no fixed faucet nearby, use a temporary water storage container and a self-priming pump for water supply. Place the water storage container slightly higher than the toilet to reduce pressure loss in the pump.
Drainage System Installation: Ensure that the drainage pipe has an appropriate slope so that sewage can flow naturally, preventing blockages and odors. If possible, connect the drainage pipe to the nearest municipal sewage network and seal the connection point to prevent odor escape. If it cannot be connected to the sewage network, select a temporary sewage collection tank of appropriate capacity according to the expected number of users and arrange regular sewage pumping during use to prevent overflow.
Testing and Inspection: After installation, conduct multiple flushing tests to check if the water pressure is normal, if the drainage is smooth, and if there are any leaks at the connection points. Also, test the flexibility of the valves to ensure they can be quickly closed when maintenance is required.
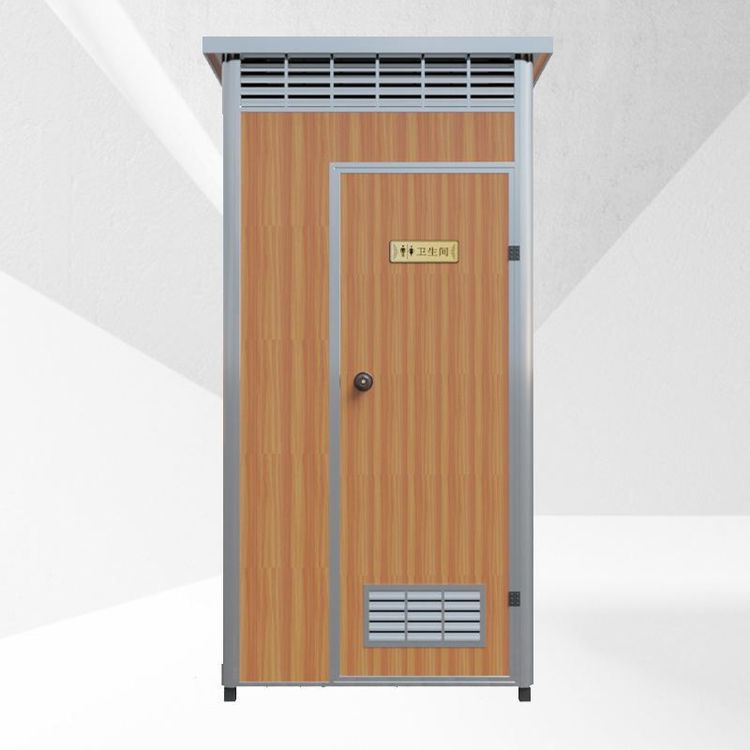
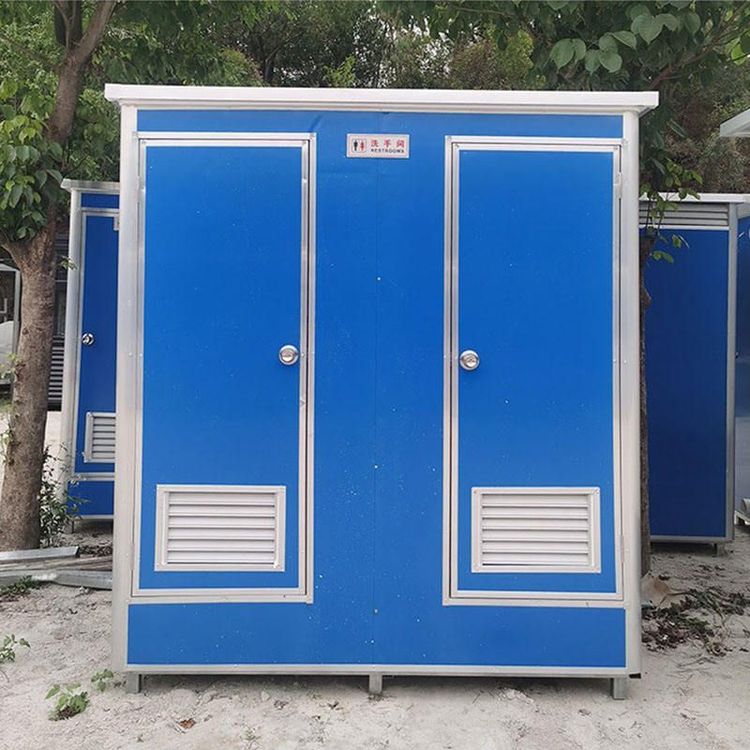
Additional Considerations for Different Types of Portable Toilets: Bucket-style camping toilets have a simple structure with a reinforced bucket bottom and a comfortable toilet seat and lid, requiring no complex installation. Foldable camping toilets can be folded for easy transportation. They are mostly bag-type with a simple frame and seat structure, making them easy to set up. Flushable camping toilets such as the Thetford Porta Potti series require more attention to water supply and drainage connections during installation. Prefabricated plastic portable toilets for houses are made of HDPE and plastic, have wheels for easy movement and privacy doors, and can be quickly installed without professional personnel. They are suitable for outdoor activities, construction sites, or emergency response.