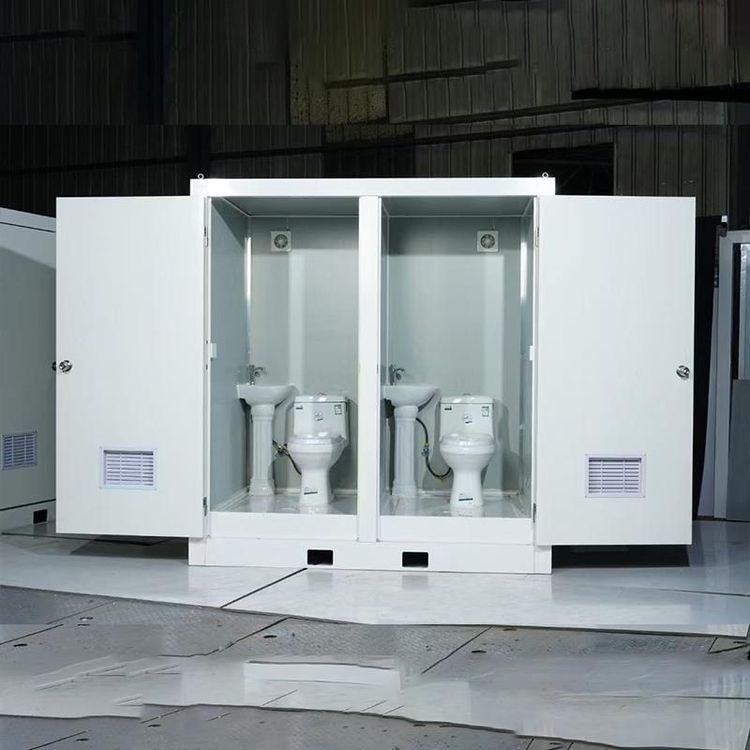
How to Assemble & Install Portable Toilet Step by Step
The assembly and installation of portable toilets require different steps depending on the type. There are significant differences in the installation methods between regular portable toilets and composting toilets. Here is a specific operation guide:

Regular Portable Toilets (Easy-to-Assemble Type)
Prepare Components
Portable toilets are usually provided in packaging similar to a large toolbox, containing a frame and a dedicated collection bag. Check that all components are complete, ensure the frame is undamaged, and the collection bag has no tears or leaks.Assemble the Frame
No complex tools are required; assembly is completed through quick interlocking. Align the bracket clips and press to secure. Most models use lightweight aluminum alloy or high-strength plastic frames, typically weighing less than 5 kilograms, making them easy for a single person to handle. Note: Avoid excessive force during assembly to prevent clip breakage and ensure all connection points are secure.Install the Dedicated Collection Bag
Place the collection bag into the bottom of the frame, ensuring the sealing strip fits snugly against the frame edges to prevent leakage of waste. Some models come with an odor-proof sealing cover; check that the cover is properly closed after installation.Use and Maintenance
After use, seal the collection bag. It is recommended to use it with solidifying powder to quickly solidify liquids into solids, reducing odors and the risk of leakage. Key Point: Add solidifying powder according to the instructions on the package; excessive amounts may cause blockages.Disassembly and Storage
Fold the frame and place it back into the storage bag. The overall volume is smaller than a 20-inch suitcase and can easily fit into a car trunk. Store in a dry, ventilated area, avoiding direct sunlight to prevent plastic aging.
Composting Toilets (Pipeless Type)
Ensure Ventilation
Install a ventilation pipe near an exterior wall. Drill a hole in the ceiling or wall, connect the pipe, and add a rain cap. The ventilation pipe should be kept vertical or slightly inclined to prevent rainwater from flowing back in.Reserve Maintenance Space
The installation location should have at least 60 centimeters of operating space for regular cleaning of compost and inspection of equipment status. Note: Avoid installing the toilet in narrow corners or enclosed spaces.Install a Moisture-Proof Base
Use concrete or tiles to lay the base, ensuring the surface is level and higher than the ground to prevent water infiltration. The recommended base height is 10-15 centimeters, with rounded edges.Secure and Connect
Mark the positions for floor mounting holes, drill, and secure the toilet body to the ground with expansion screws. Connect the urine output pipe to the collection container, ensuring the pipe is free of bends or blockages.Add Composting Medium
After each use, add covering material (such as peat moss or wood chips) to promote the decomposition of organic matter and suppress odors. Recommended Ratio: The volume ratio of covering material to waste should be 1:3.