Back to blog
Article
Nearby Portable Toilet Installation Guide
Admin October 07, 2026
The installation of portable toilets should be carried out according to the scene, choosing from general steps, on-site key guidelines, or manufacturer-customized processes. The specific operations are as follows:
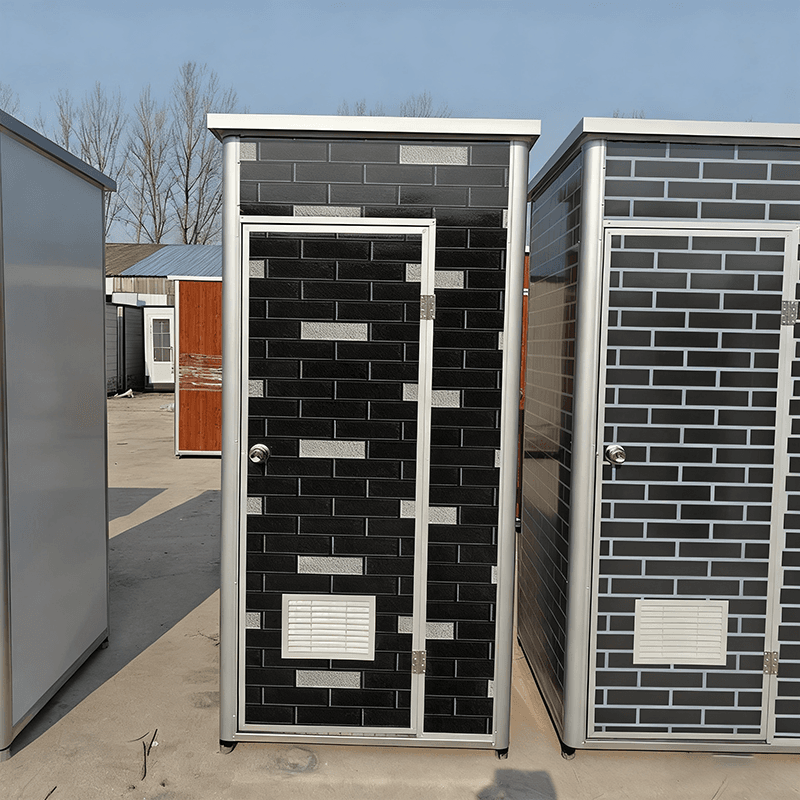
I. General Installation Steps
- Unpacking Inspection: Upon receiving the goods, immediately open the package to check the parts list and confirm that all components (such as the outer shell, sewage pipes, and fasteners) are complete and undamaged. If any parts are missing or damaged, contact the supplier promptly for replacements.
- Ground Preparation: Choose a flat and dry ground for installation, avoiding sloped or soft areas. If the ground is prone to water accumulation, lay anti-slip mats or elevate the foundation to prevent equipment displacement or damage due to rainwater accumulation.
- Securing the Equipment: Choose a securing method based on the usage scenario. For long-term outdoor use, it is recommended to use expansion screws for fixation, which requires drilling holes in the ground with an electric drill before installation. For temporary use (such as at exhibitions or events), use counterweights (such as sandbags or concrete blocks) to press down on the base to prevent tipping over due to wind.
- Water and Electricity Connection:
- Sewage Pipes: Connect to the municipal sewer network or septic tank, ensuring a reasonable pipe slope (usually not less than 2%) to prevent blockages or backflow of sewage.
- Power Supply System: If the equipment requires electricity (such as for lighting or ventilation), lay separate circuits and ensure that sockets are kept away from water sources to prevent electric shock risks.
II. On-Site Installation Key Guidelines (Taking an event scenario as an example)
- Pre-Installation Survey: Confirm the site layout in advance, avoiding underground facilities such as dense drainage pipe areas and cable trenches, and reserve a safety passage at least 1.5 meters wide for personnel passage and equipment maintenance.
- Zoning Setup Principles:
- Start/Finish Area: Set up one portable toilet for every 500 participants to reduce queuing time.
- Along the Track: Set up one every 2 kilometers, with a recommended male-to-female ratio of 1:1.5 to meet actual needs.
- Installation Acceptance Points:
- Appearance Inspection: Ensure that the equipment has no scratches or deformations, and that accessories such as door locks and signs are complete.
- Function Testing: The flushing system should have smooth water flow, and lighting and ventilation equipment should operate normally.
- Emergency Preparedness: Place spare toilet paper and hand sanitizer in each toilet, and equip with a first-aid kit (such as disinfectant wipes and band-aids).
III. Manufacturer-Customized Installation Process
- Tool Preparation: Prepare tools such as an electric drill, a 4.2mm drill bit, and a rivet gun in advance to ensure installation efficiency.
- Assembly and Connection:
- Install the inner corner pieces sequentially, insert the panels into the slots and align them, ensuring even gaps.
- Drill holes at the connection points with a drill bit and insert rivets for fixation to prevent loosening.
Tip: If you have doubts about the installation details, it is recommended to contact a professional manufacturer or rental company for a customized solution to ensure the safe and compliant use of the equipment.