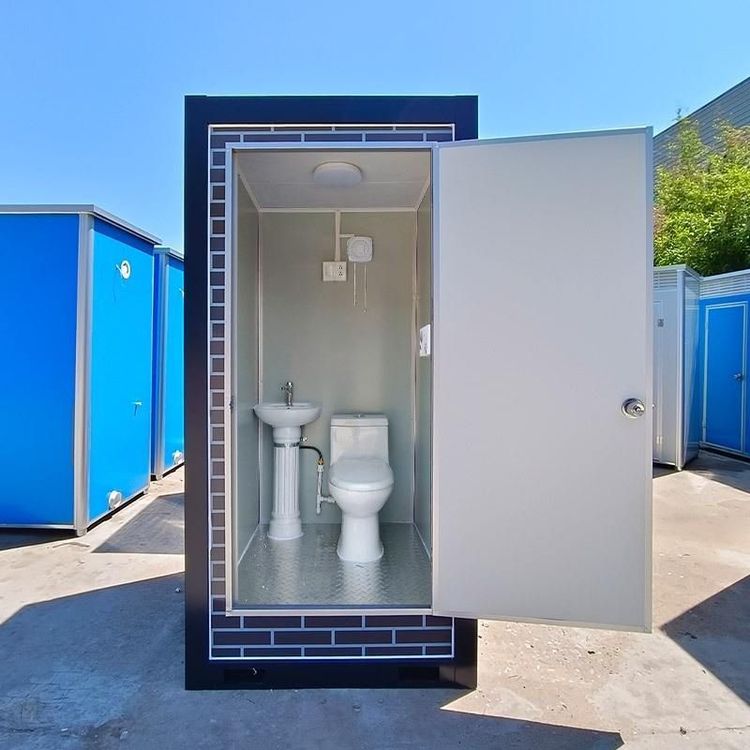
Simple Mobile Toilet
For a simple way to make a mobile toilet, you can refer to the example of modifying a water storage tank. The core idea is to use existing materials to achieve basic toilet functions while ensuring mobility.

I. Basic Structure Construction
Modification of the Main Container
Select a large water storage tank as the core structure. Use an angle grinder to split it longitudinally in the middle, forming two semi-cylindrical shells. Retain one half as the main body of the toilet and process the other half into a water storage device or spare parts. The tank material must have a certain strength (such as HDPE plastic) to withstand the pressure during use.Fabrication of the Mobile Chassis
Install universal wheels (preferably with braking function) at the four corners of a wooden board and secure them with bolts to ensure stability. Connect the wooden board to the bottom of the water storage tank using wooden strips and self-tapping screws. The height of the wooden strips should be adjusted according to the installation requirements of the toilet (usually 20-30 cm above the ground) to form a mobile chassis structure.
II. Integration of Functional Modules
Installation of the Toilet System
Place a finished toilet (preferably a water-saving type) inside the tank. Seal the connection between the toilet and the tank with glass glue to prevent leakage. The toilet tank can be placed externally or integrated on the side of the tank, connected to the water inlet pipe through a three-way joint. The drainage pipe should be led out from a hole at the bottom of the tank, with the end connected to a sewage tank or directly to the municipal sewage network (complying with environmental protection requirements).Water Storage and Supply System
Invert and fix the other half of the water storage tank on the roof. Install a water pipe through a side hole as a water storage device. Connect the water inlet pipe to the toilet tank and shower (if a shower function is required). A water-saving valve should be installed at the outlet to control the flow rate. The washbasin can be made by extending the outlet pipe horizontally with a three-way joint, and a drainage pipe should be set up below it.
III. Optimization of the Enclosure Structure
Walls and Door Frame
Cut an opening on the side of the water storage tank. Use sponge strips to construct a door frame buffer structure and embed transparent plastic soft panels as walls. The height of the soft panels should exceed 1.8 m to meet privacy requirements, and a waterproof cloth can be added at the bottom to enhance sealing.Roof and Ventilation
Invert the upper half of the water storage tank and place it on top of the wooden strips as the roof. Cut holes on the side to install exhaust fans or louvers for ventilation. The roof edge should be waterproofed to prevent rainwater infiltration.
IV. Safety and Detail Handling
Electrical Safety
If a bathroom heater or lighting equipment needs to be installed, use a waterproof socket and connect it to a leakage protector. The wiring should be protected by pipes.Stability Reinforcement
Add diagonal wooden strips at the connection between the tank and the chassis to prevent tipping during use. The universal wheels should be regularly checked and tightened to avoid loosening.
This plan achieves the core functions of a mobile toilet through modular design, with low cost and the ability to be disassembled and reassembled. It is suitable for temporary construction sites, outdoor activities, and other scenarios. When making it in practice, adjust the size according to the number of users and strictly comply with local environmental protection regulations for the disposal of excreta.