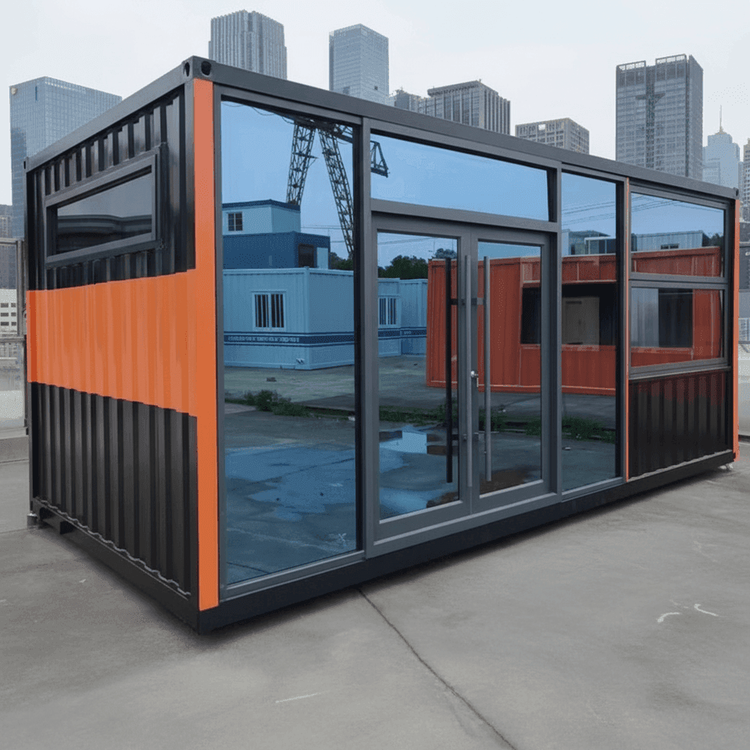
Mobile Toilet Renovation and Installation
The renovation and installation of mobile toilets should be carried out based on the characteristics and structural composition of the finished product, with core steps including foundation preparation, component connection, and functional debugging. Here are the specific instructions:

During the foundation preparation stage, it is necessary to clarify the type of toilet and site conditions. Some mobile toilets are factory-prefabricated finished products, with internal water supply and drainage systems pre-installed, requiring only the reservation of external interfaces (such as water inlet pipes, sewage pipes, and power interfaces). Before installation, it is necessary to confirm whether the site meets the basic conditions: the ground should be leveled and hardened to support the self-weight of the toilet and avoid structural deformation due to foundation settlement; if installed outdoors, a drainage slope (usually ≥2%) should be reserved to prevent water accumulation; at the same time, the site dimensions should be measured to ensure that the outer contour of the toilet (including mobile devices such as wheels or towing structures) maintains a distance of ≥0.5 meters from surrounding obstacles (such as walls and trees) for easy maintenance in the later stage.
Component connection should be carried out step by step by system.
- Water supply and drainage system: Connect the factory-reserved water inlet interface to the municipal water supply pipe or water storage tank through hot-melt connection with PPR pipes (pressure resistance ≥1.6MPa), and install a check valve at the interface to prevent backflow; the sewage pipe should be connected according to the treatment method—if equipped with a fecal sewage storage tank, it should be connected to a septic tank or pumping port through a corrugated pipe (inner diameter ≥110mm), with a slope of ≥3% to ensure gravity emptying; if a biodegradation device is used, a ventilation pipe (height ≥2 meters) should be connected and a rain cover installed.
- Electrical system: If the toilet is equipped with lighting, ventilation, or intelligent control systems, the reserved power cord (usually 3×2.5mm² copper wire) should be connected to an independent distribution box, and a leakage protection switch (rated current ≥16A) should be installed; when installed outdoors, a waterproof junction box (protection level ≥IP55) should be added.
- Structural assembly: For split-type toilets, the floor (usually anti-slip tiles or composite flooring) should be fixed first, then the walls (light steel keel + colored steel plate or fiberglass material) installed, and finally the roof (with a reserved maintenance opening) installed; if equipped with mobile devices (such as wheels), the lubrication of the wheel axles should be checked and the brake devices fixed after assembly is completed.
Functional debugging should cover all subsystems. The water supply and drainage system should undergo a water flow test: open the water inlet valve, check the water pressure (≥0.15MPa) and drainage smoothness at each water point (such as sinks and toilets); after closing the water inlet valve, observe for 24 hours to confirm no leakage. The electrical system should test the lighting brightness (≥200lux), ventilation air volume (≥8m³/min), and intelligent control response (such as automatic flushing and sensor switches). The structural stability should be tested through a load test: evenly place sandbags (total weight ≥80% of the design load capacity) inside the toilet, and after 2 hours, check the floor deformation (≤2mm) and the gap change at the wall connections (≤0.5mm).
You may also like
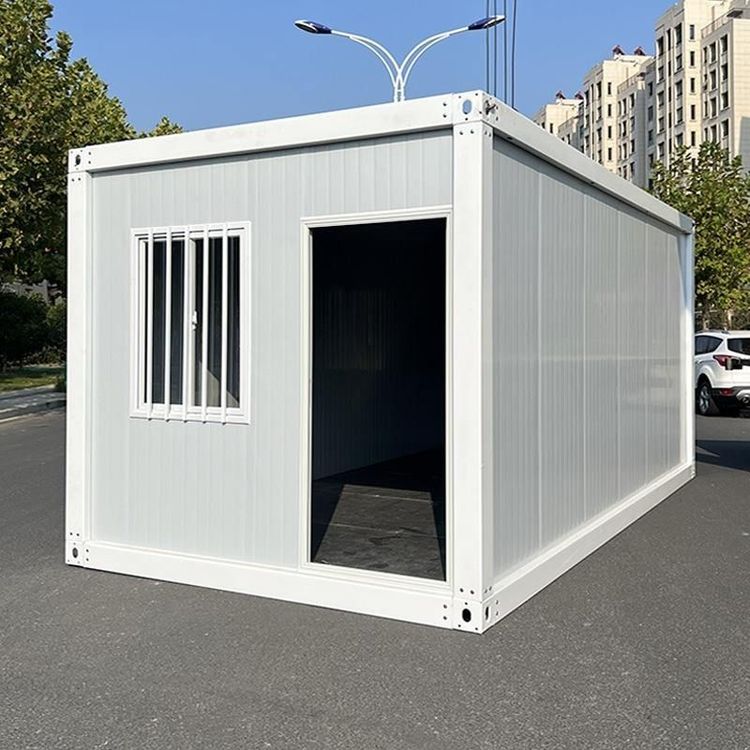
Container House Installation Guide: A Complete Walkthrough
Read More
Portable Toilet Eco-Friendly Custom & OEM: Design & Bulk Production Guide
Read More
How to Assemble & Install Container House Step by Step
Read More