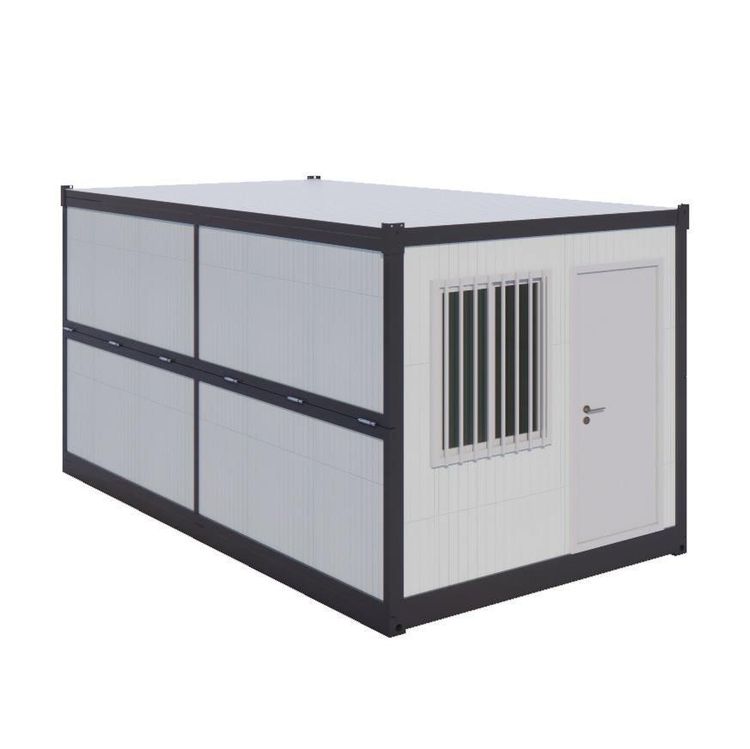
Mobile Shower Toilet Production
Mobile shower toilets can be made using materials such as water storage tanks and plastic pallets, combined with tools. The core steps include building a mobile base, assembling the water storage structure, installing functional modules, and attaching the door.

1. Building the Basic Mobile Structure
Select a plastic pallet as the base due to its lightweight yet strong load-bearing capacity. Install caster wheels at each corner of the pallet to ensure flexible mobility. For enhanced stability, choose caster wheels with brakes to prevent sliding during use. Adjust the base size according to the volume of the water storage tank; typically, it is recommended that the length and width be no less than 1.2 times the bottom diameter of the tank to distribute pressure evenly.
2. Assembling the Water Storage Device
Recycle a water storage tank (such as one made of plastic or metal) as the main container. Cut an opening at the top of the tank for installing functional modules; if additional water storage capacity is needed, stack two tanks and secure the connection with self-tapping screws, applying waterproof sealant at the contact surface. The tank should have a water inlet (connectable to a water pipe or for manual filling) and a water outlet (connected to a sewer pipe or a waste collection bucket). Install a drain elbow at the water outlet to prevent odor backflow.
3. Installing Functional Modules
- Shower Area: Drill holes in the floor inside the water storage tank and install a drain elbow and pipe, connecting to an external drainage system or waste collection bucket. For shower functionality, drill a hole at the top of the tank to install a shower bracket and connect a hose to a water pump inside the tank (a small water pump needs to be additionally configured for circulating water supply).
- Handwashing Area: Use a stainless steel basin as the handwashing sink, fixed to the side or inside of the tank, and connect it to a faucet with a water pipe. The faucet can be of a water-saving design, with a drain outlet below that can share or independently connect to the shower area's drainage system.
4. Door and Sealing Treatment
Attach hinges to the frame of the water storage tank and connect a wooden or plastic board as the door. The door should be equipped with a door handle and a lock. Apply sealing strips at the contact surface between the door and the tank to prevent water leakage or odor escape. If the tank material is thin, add metal strips inside the door frame to enhance structural stability.
5. Auxiliary Functions (Optional)
Some cases mention adding a solar-assisted heating device by wrapping black heat-absorbing tubes around the outside of the tank or installing solar panels to heat the water inside the tank; or for construction sites and other scenarios, using a more durable metal tank and simplifying the internal structure to reduce costs. However, such upgrades require additional design of electrical circuits or heating systems and should be evaluated for feasibility based on actual needs.
Precautions: The production process involves using tools such as angle grinders and hole saws, and includes steps such as cutting, sealing, and fixing. It is recommended to wear protective gear (such as gloves and goggles); after completion, conduct a water leakage test to ensure all connections are properly sealed.