Lego Block Mobile Toilet Construction Diagram
The construction of a Lego block mobile toilet can refer to the following steps:
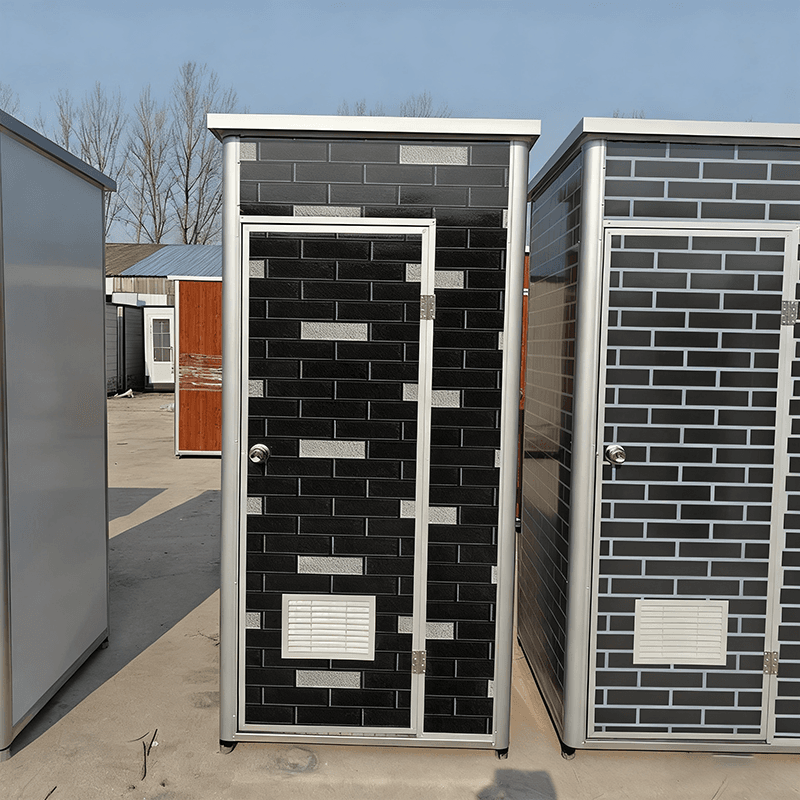
I. Preparation Stage
First, prepare sufficient Lego blocks. The main color of the toilet can be adjusted according to personal preference, such as choosing neutral colors like gray, white, or blue to simulate the appearance of a real toilet. It is recommended to prioritize using basic blocks (such as 2×2 and 2×4 sizes) to build the main structure, while preparing a small number of special pieces (such as doors, handles, and decorative panels) to enhance the details. If referring to Lego MOC tutorial drawings, download or print clear step-by-step illustrations in advance to clarify the quantity and position of each component.
II. Main Structure Construction
- Base Frame: Use 2×4 blocks to拼接 (assemble horizontally) and form a rectangular base at the bottom of the toilet to ensure structural stability.
- Wall Assembly: Stack 2×2 or 2×4 blocks vertically according to the illustrations to gradually build the four walls. Note that a door opening position should be reserved on the side and maintain the verticality of the walls to avoid misalignment during subsequent assembly.
- Top Design: For an enclosed toilet, cover the top with a smooth panel (such as a 2×2 blue panel) to simulate a roof; for an open design, this step can be omitted, and fences or sunshades can be installed directly.
III. Detail Refinement and Assembly
- Side Decoration: After completing the walls, check that the orientation of the blocks is consistent with the drawings (for example, the blue smooth panel should face upwards) to avoid color or texture disarray.
- Door and Functional Component Installation: Use common Lego door pieces (such as doors with hinges) to fix them in the reserved door openings and add details such as handles and locks. If simulating a flushing device, small round panels or cylindrical pieces can be used to represent buttons.
- Overall Assembly: Assemble the main structure with the top, door, and other components according to the instructions, focusing on checking whether the connections are tight to prevent loosening or detachment.
IV. Advanced Optimization (Optional)
Refer to Lego MOC tutorials for further personalized designs, such as adding drainage pipes (simulated with thin cylindrical pieces), toilet paper holders (small round panels + short shafts), or ventilation openings (combinations of hollowed-out blocks). If pursuing a scenic effect, road blocks can be laid around the toilet or green plant decorations can be added to enhance overall coordination.
Precautions: During the construction process, frequently refer to the drawings to ensure that the orientation and position of each block are accurate at every step; if any components are missing, similar-sized blocks can be used as substitutes, but structural stability must be maintained.