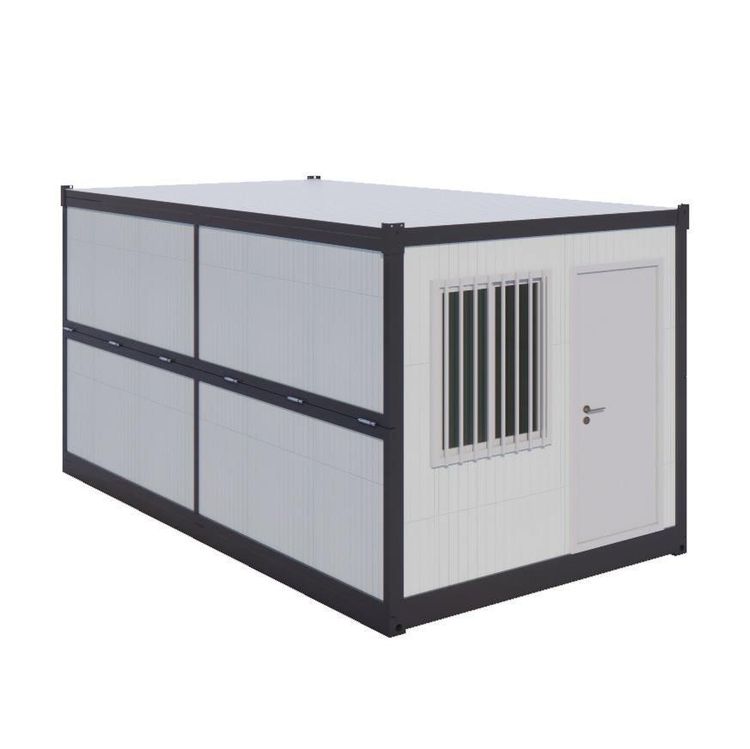
How to Change the Lock on a Container House Door
Changing the lock on a container house door requires following a standardized procedure, with core steps including tool preparation, removing the old lock, cleaning and installation, and testing and adjustment, as detailed below:

I. Tool Preparation
Select appropriate tools based on the lock type: wrenches or wrench sets for removing nuts; slotted screwdrivers for slotted screws; cordless drills or electric wrenches to assist in securing the new lock body; hex wrenches or screwdrivers for specific lock cylinders; welding tools only when welding is required for lock body replacement; cleaning agents and cloths for cleaning the lock body. Before operation, wear gloves and safety glasses, ensure the container is stationary, and place wheel chocks to prevent slipping.
II. Removing the Existing Lock
- Locate the Target Lock: Container door locks are on both the left and right sides; identify the lock to be replaced.
- Remove the Lock Body: After opening the door, use a wrench to unscrew the lock nuts; if slotted screws are present, use a screwdriver to remove them; for new twist locks, use a torque wrench or pipe wrench to grip the top hexagonal recess, rotate the tool vertically half a turn clockwise and then counterclockwise to unlock, some may require moving the handle up and down.
- Remove the Lock Tongue: Unscrew the connecting screws of the lock tongue, gently pull the lock tongue out of the lock housing, avoiding forced pulling that could damage the connecting parts.
- Remove the Lock Cylinder (if applicable): Open the lock cylinder with a key and remove it, or gently tap the bolt to loosen it, then use a hex wrench or screwdriver to loosen the screws and remove the lock cylinder.
III. Cleaning the Lock Body (if applicable)
Thoroughly clean the surface and interior of the lock body with a cleaning agent and cloth to remove dirt and corrosion, ensuring no residue remains after wiping to avoid affecting the installation of the new lock.
IV. Installing the New Lock
- Install the New Lock Body: Align the lock body with its original position and secure the nuts with a cordless drill or electric wrench, avoiding over-tightening that could damage the threads.
- Install the New Lock Cylinder (if applicable): Insert the lock cylinder into the lock body hole, ensuring it is fully seated, and then tighten the screws to secure it.
- Install the Lock Tongue: Align the lock tongue with the lock housing and tighten the connecting screws.
- Install the Handle (if applicable): Align it with the lock cylinder position and secure it with screws.
V. Testing and Adjustment
- Function Testing: Insert the key to test if the lock cylinder opens and closes smoothly, and open and close the door to confirm that the lock functions properly.
- Adjust the Screws: If the lock is not flexible, adjust the tightness of the screws appropriately.
VI. Precautions
- Safe Operation: Avoid using excessive force or non-professional tools to prevent damage to the lock or container structure.
- Lubrication Maintenance: After removal, apply lithium-based grease to the rotating shaft, and in winter, prefer -30℃ anti-freeze lubricating oil.
- Professional Assistance: If inexperienced, it is recommended to contact a professional for operation.
- Compatibility: The new lock cylinder must be of the same type as the original.
- Regular Inspection: Regularly maintain the lock to ensure long-term normal use.