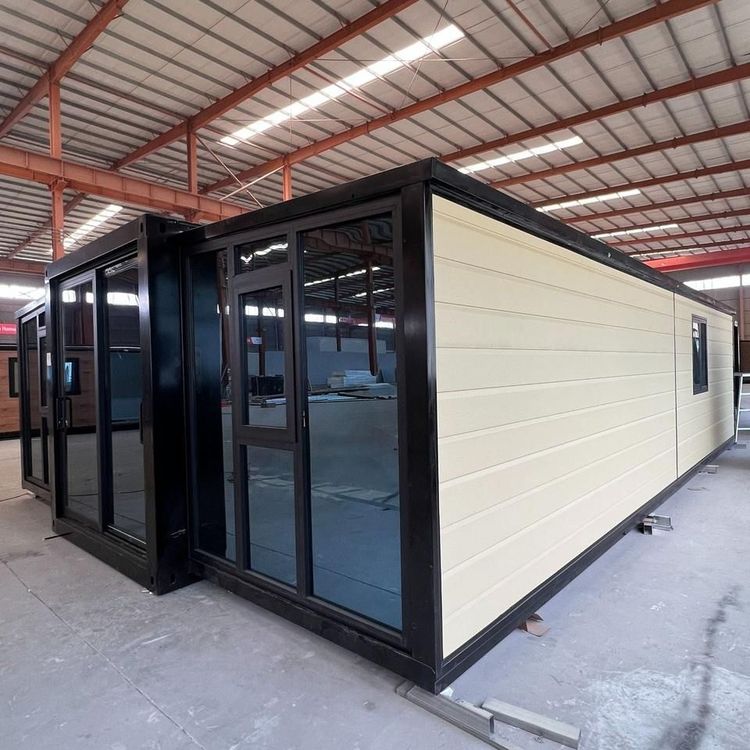
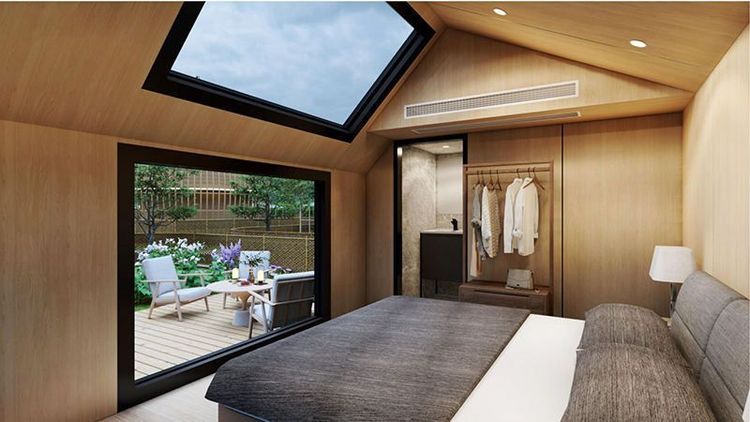
How to Assemble & Install House Step by Step
The assembly and installation of a house can be carried out following these steps:

1. Preparation Phase
First, select an appropriate installation location, ensuring sufficient space and no obstructions. Prepare necessary tools such as screwdrivers, wrenches, hammers, clamps, etc., and verify that all components are intact and undamaged by checking them against the accompanying parts list. Additionally, review the original design drawings to confirm that all required materials and equipment have been procured and delivered to the construction site.
2. Foundation and Initial Construction
After leveling the site, lay the house foundation (e.g., a concrete base) and install the drainage system. Secure the walls to the foundation using embedded parts or chemical anchors to ensure a stable connection. This stage requires strict adherence to the elevation and positioning requirements specified in the design drawings to avoid structural deviations later on.
3. Wall Frame Assembly
Construct the main wall skeleton using wood and metal supports to form the load-bearing structure of the house. Place the prefabricated wall panels on the ground according to the design positions and secure them to the foundation with angle irons. Then, insert metal vertical support columns, install the top horizontal wooden beams, and complete the upright assembly of the wall frame in conjunction with the horizontal supports. Key Point: Use a level and laser distance meter to ensure the frame's verticality and flatness.
4. Roof Structure Construction
Fix the roof to the top horizontal supports using dedicated brackets to ensure overall stability. Build the ceiling frame with wood, then install horizontal and vertical roof support rods to form a triangular truss structure that distributes the load. Note: The roof slope must comply with drainage design requirements to prevent water accumulation and leakage.
5. Partition and Door/Window Installation
Construct internal partitions using materials such as gypsum board, fine wood board, or large-core board, and secure them to the wall frame with self-tapping screws. For door and window installation, first embed metal or wooden frames, secure them with expansion bolts, fill with expanding foam for sealing, and finally install glass or window sashes. Regulatory Requirement: The opening direction of doors and windows must comply with fire escape regulations.
6. Ground Support Reinforcement
Lay building paperboard or 1×4-inch wood joists at the bottom of the house, or directly pour a concrete垫层 (concrete sub-base) as ground support. This step enhances the house's overall resistance to settlement and provides a flat base for subsequent floor installation.
7. Final Inspection and Adjustment
After assembly, conduct stability tests on all connection points by gently shaking each component to confirm no looseness. If necessary, use a torque wrench to retighten bolts. Perform an overall structural load test to ensure the house remains stable under extreme conditions such as wind and snow pressure.
8. Special Component Installation (if applicable)
For special structures like bat houses, select a leeward location with ample sunlight and fix them to tree trunks or building exteriors using metal brackets, ensuring the entrance direction avoids direct strong light to comply with biological habitat preferences.