Back to blog
Article
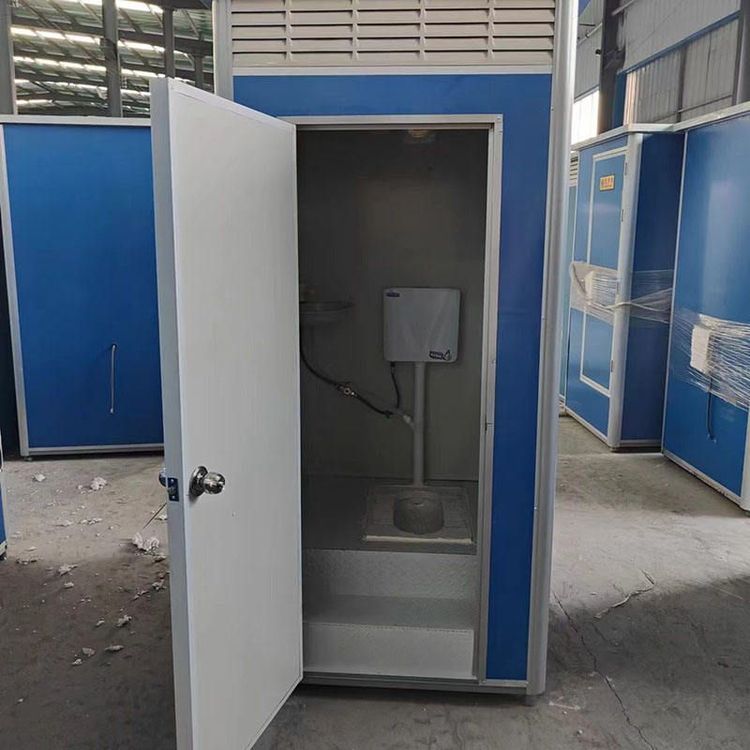
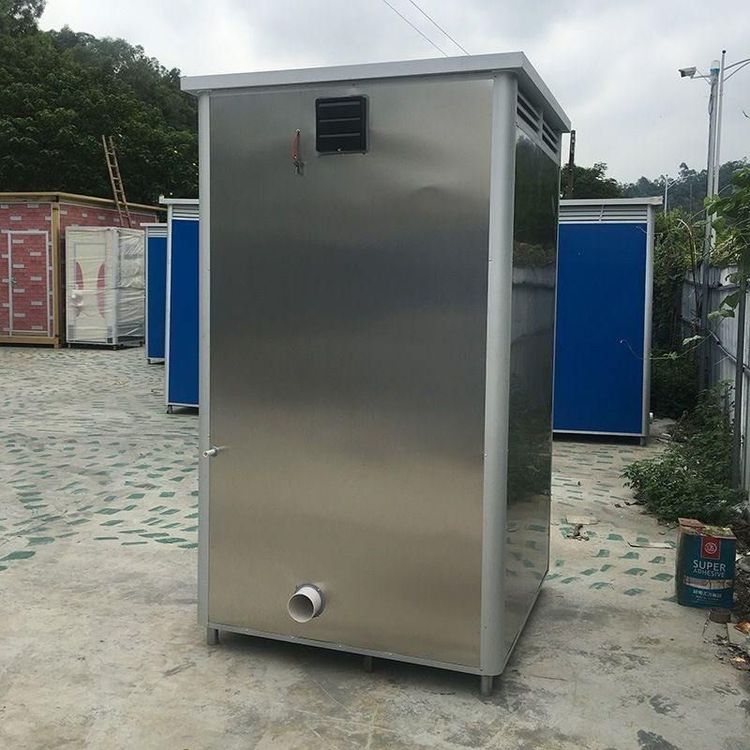
Handmade Mobile Toilet
Admin September 22, 2026
There are several methods for handmade mobile toilets, including using a water storage tank to make a movable toilet, using a water storage tank to make a solar-powered mobile toilet (the production process is unknown), and making a mini toilet by oneself. The following focuses on introducing the detailed steps for making a movable toilet using a water storage tank:

- Prepare materials and tools: You need to prepare materials such as a water storage tank, wooden boards, universal wheels, wooden strips, self-tapping screws, sponge strips, plastic soft boards, foam strips, discarded honeycomb wooden boards, white waterproof paint, drainage pipes, plastic buckets, water pipes, bath heaters, three-way joints, shower heads, toilets, water tanks, glass glue, and sewage buckets, as well as tools like angle grinders.
- Process the water storage tank: Use an angle grinder to split the water storage tank in half. This step is to build the main space of the toilet later.
- Build the mobile base: Fix universal wheels at the four corners of the wooden board to facilitate the movement of the entire mobile toilet. Take several wooden strips and fix them on the upper side of the tank with self-tapping screws to increase the height and provide space for installing other components later.
- Install the door frame and walls: Open a door on the side of the water storage tank. Install sponge strips on both sides of the door to form a door frame, which serves as a seal and buffer. Insert plastic soft boards between the wooden strips to form elevated walls, increasing the privacy and stability of the toilet.
- Make the roof: Place the upper half of the water storage tank on top of the wooden strips to form the roof. Paint the wooden strips with white waterproof paint to enhance their appearance and also provide some waterproofing.
- Make a simple door: Use foam strips to拼接 (assemble) discarded honeycomb wooden boards to make a simple door. Open holes in the door and install connectors.
- Install the drainage and water supply systems: Open a hole at the bottom of the tank and install a drainage pipe to form a floor drain. Open holes on the side and bottom of the plastic bucket and install direct connectors. Place the plastic bucket on the roof to form a small water storage device. Connect the bath heater made of water pipes. Install a three-way joint below the water inlet pipe and connect it to the shower head. Place the toilet on the hole of the drainage pipe, install the water tank properly, and fix it with glass glue. Connect the drainage pipe to the sewage bucket. Horizontally connect a water pipe to the three-way joint of the outlet pipe and extend it to the door as the water inlet pipe for the washbasin.
Related