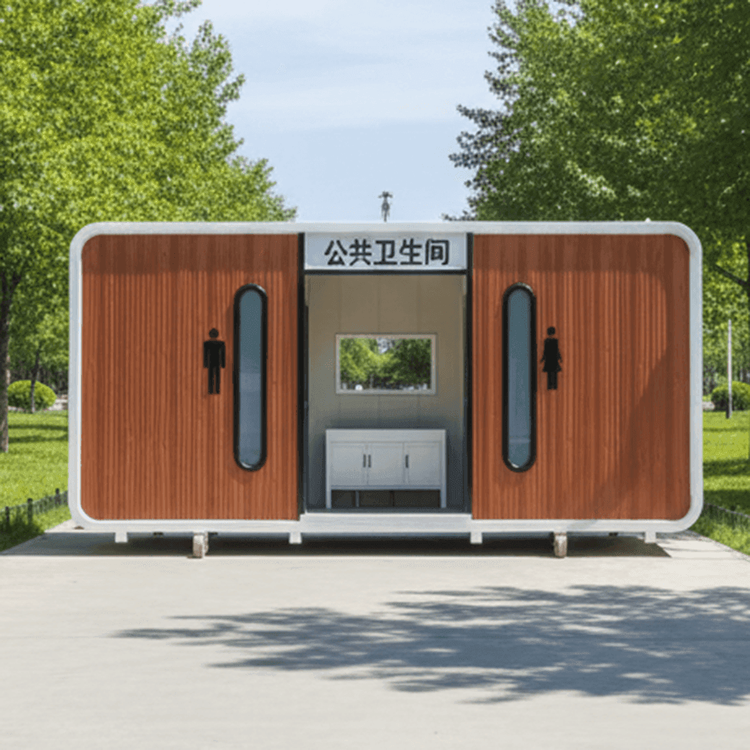
Container House Connection Flowchart
There is no unified standard flowchart for the connection of container houses, but general connection steps can be sorted out based on the installation processes of different types of houses:

I. Foundation Preparation and Line Setting Use a chalk line to mark the installation position lines on the foundation of the panel house according to the dimensions on the design drawings. Ensure squareness using the Pythagorean theorem and mark relative elevation points around the foundation with a level tube (at least 2 points per ground beam). This step provides a reference for subsequent structural positioning. The elevation error must be ≤3mm to avoid house deformation due to an uneven foundation.
II. Connection of Ground Beams and Columns
- Ground Beam Installation: Lift the ground beams into the marked position lines on the foundation. Adjust the axis of the ground beams using adjusting bolts or shims (allowable deviation: 3mm). Use a level and a variable-length ruler to calibrate the elevation based on the highest point of the foundation.
- Column Connection: Erect the columns and insert the lower clamps into the lowest ring beam of the ground beams. Corner columns and intermediate columns need to be welded into shape, and walkway brackets can be installed simultaneously. The perpendicularity of the columns must be checked with a plumb line, with a deviation ≤5mm.
III. Connection of Floor and Wall Panels
- Floor Installation: Before laying the floor panels, perform a mortar bedding treatment. Repair any cracks between panels or surface defects (such as peeling or sanding). Fix the joints between floor panels with self-tapping screws, with a spacing ≤300mm, to ensure uniform load-bearing capacity.
- Wall Panel Connection: Install the first wall panel according to the panel layout drawing and correct it. Use corner aluminum for sealing at corners. Fill the gaps between wall panels with sealant, and seal the gaps between the edge panels and the foundation with waterproof glue to prevent rainwater infiltration.
IV. Connection of Roof and Accessories
- Roof Installation: Connect the columns to the roof frame and install the downspouts, ensuring a drainage slope ≥5%. The joints between roof panels must be welded or riveted and treated with sealant.
- Accessory Installation: This includes accessories for the edges of exterior wall panels, interior wall panels, and the four corners of the roof. After fixing them with rivets, all gaps (such as those between door and window frames and walls) must be sealed with glue to improve overall airtightness.
V. Key Points for the Connection of Special Types of Container Houses
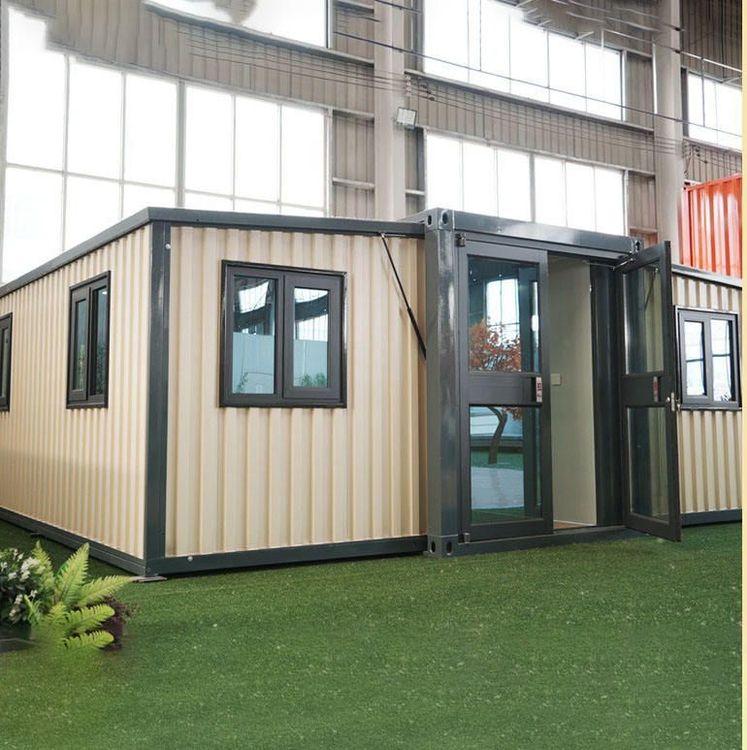
- Foldable Container Houses: First, check the stability of the steel wire ropes. After unfolding the main frame, install the support rods, then push open the wall panels one by one and tighten the screws. Finally, lift them to the predetermined positions.
- Packing-Box Container Houses: First, prepare and organize the foundation. After installing the columns, connect them to the roof. Then, install the wall panels, doors, windows, and accessories in sequence, focusing on ensuring the connection strength between the columns and the roof and between the wall panels and the foundation.
Precautions: During the connection process, continuously check the levelness, perpendicularity, and gap sealing. The tightening torque of all bolts must comply with the design requirements to avoid loosening later.
You may also like
Portable Toilet Furnishing Buying Guide: Options & Tips
Read More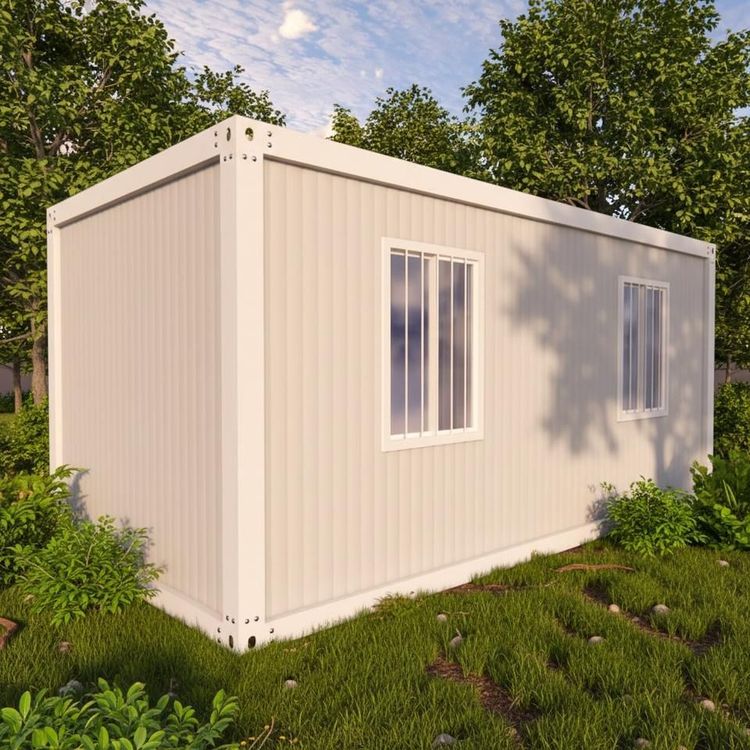
Portable Toilet In Stock Custom & OEM: Design & Bulk Production Guide
Read More
How to Source Portable Toilet Rental Wholesale from China
Read More