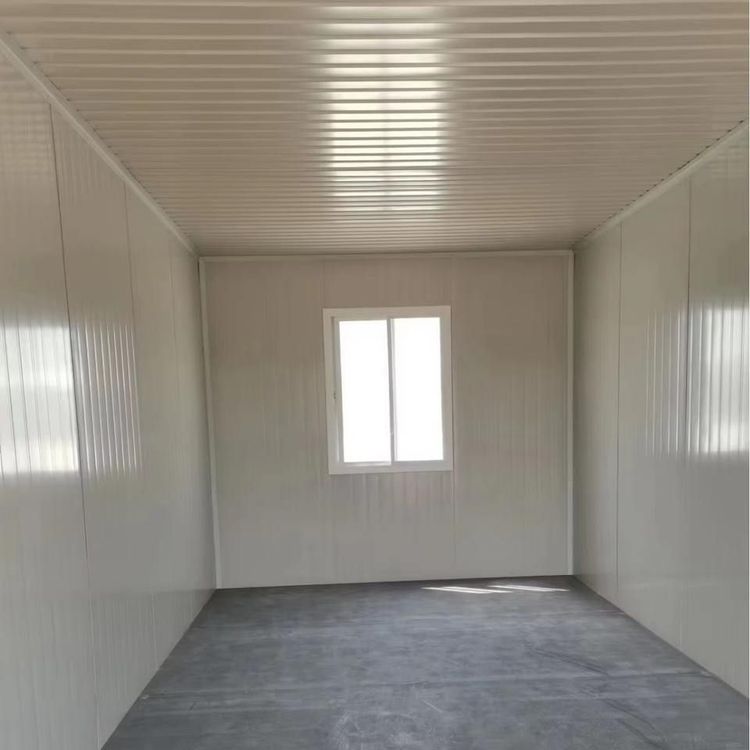
Cement Prefabricated House Installation Tutorial
Here is the installation tutorial for cement prefabricated houses:

I. Preparation Phase Ensure that the dimensions, specifications, and strength of all prefabricated components meet the design requirements, with a particular focus on checking whether the reserved sleeves and reinforcing bars are consistent with the design drawings. Simultaneously, prepare materials such as cement mortar in advance, and commission lifting equipment and measuring tools to ensure stable equipment performance. For example, lifting equipment should be selected according to the weight of the components to avoid overloading operations.
II. Foundation Treatment
- Clear the foundation at the selected site, removing obstacles such as debris and tree roots, and level the land to the designed elevation.
- Pour concrete pedestals or strip foundations according to the design drawings, strictly measuring the dimensions and elevations of each position during the process. For example, the elevation error of the pedestal top surface should be controlled within ±5mm to ensure subsequent installation accuracy. After the foundation solidifies, it should be cured to prevent cracking due to early loads.
III. Prefabricated Component Preparation and Production
- Produce wall panels (such as prestressed hollow slabs and composite laminated slabs), beams, columns, and other components in the factory according to the design plan. During production, control parameters such as the concrete mix ratio and vibration compactness to ensure that the strength meets the standards.
- After completing the reinforcement layout, verify the reinforcement spacing and protective layer thickness to avoid affecting structural safety due to reinforcement misalignment. Before leaving the factory, the components should undergo an appearance quality inspection to eliminate defects such as honeycombs and pits.
IV. Main Structure Assembly and Lifting Operations
- Assemble the components in a progressive order, for example, first install the columns, fix them with bolts or sleeve grouting, and then lift the beams. When installing the beams, use the slot design for precise docking to avoid misalignment.
- During the lifting process, continuously correct the verticality and flatness in real-time. For example, use a laser level to detect the verticality of the columns, with the error controlled within H/1000 (H is the column height). The connection parts should be reinforced according to the specifications, such as ensuring the compactness of the grout in sleeve grouting.
V. Installation and Commissioning of Ancillary Equipment and Finalization
- After completing the installation of electrical, plumbing, and ventilation systems, conduct commissioning work such as power-on trial runs and pipeline pressure tests to ensure normal system functions.
- Perform waterproofing treatment on the house, such as applying waterproof coatings on the roof and pasting waterproof membranes at the wall joints. At the same time, apply anti-corrosion coatings to metal components to extend their service life.
- Clean up the construction site, remove excess materials, and conduct an overall inspection of the house's appearance to ensure there are no issues such as damage or contamination before delivery for use.