
Back to blog
Article
Installation of Mobile Toilet Storage Rack for Cats
Admin October 10, 2026
For the installation of a mobile toilet storage rack for cats, you can refer to the following self-made plan, which includes step-by-step instructions for material preparation, assembly, door panel installation, and cleaning and maintenance:
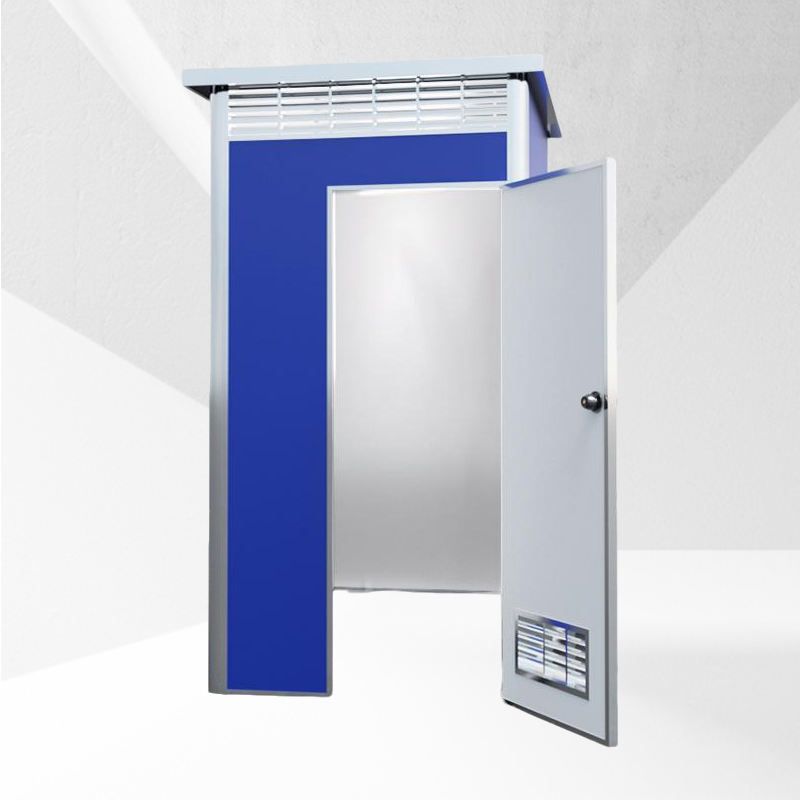
1. Material Preparation
- Basic Structure: If using a PP frosted plastic sheet solution, prepare PP plastic sheets (for securing the litter box area), adhesive, and 3cm high crossbeams (with a single-side load-bearing capacity of up to 5cm) as shelf supports. Add anti-slip foot pads to prevent cats from slipping. If choosing a composite board solution, it is recommended to use 16mm thick composite boards for the entire cabinet, with the backboard thickened to 16mm for enhanced stability.
- Functional Accessories: Pegboards (can be added to multi-tier shelves to increase storage space), raw cat scratching boards (placed at the bottom of shelves to prevent sand leakage), 40*60 stainless steel basins (to be installed according to drawings for the composite board solution), and acrylic sheets (5mm thick, for making door panels).
- Hardware Accessories: Z-shaped corner brackets, adhesive screws (for installing acrylic flip-up doors), top and bottom hinges (for securing swing doors), concealed butt hinges (to enhance aesthetics), aircraft latches (recommended for door locks), and stabilizers (to enhance the stability of shelf dividers).
2. Assembly Steps
- Securing the Litter Box Area: Adhere the PP plastic sheets to the designated positions on the shelf using adhesive, ensuring they match the size of the litter box. For multi-tier shelves, pegboards can be added to the sides to hang cat shovels, cleaning bags, and other items.
- Making Dividers: Adjust the height of the dividers according to the cat's size, leaving an entrance and exit (the width is recommended to be 1.5 times the cat's body width). Lay raw cat scratching boards at the bottom to reduce sand leakage. If using a composite board solution, install the stainless steel basin according to the drawings and reserve a position for installing the acrylic door.
- Enhancing Stability: If the shelf dividers are only fixed by bottom clips, add stabilizers (such as L-shaped brackets) to prevent the shelf from being knocked over by the cat's jumping.
3. Door Panel Installation
- Acrylic Door Solution:
- Flip-up Door: Made of 5mm thick acrylic sheet, with a 6-7mm gap reserved at the top for easy opening and closing. Use Z-shaped corner brackets and adhesive screws for fixation.
- Swing Door: Connect the door panel to the cabinet using top and bottom hinges to ensure smooth opening and closing.
- Right Lower Baffle: Designed as detachable, fixed with concealed butt hinges for easy cleaning of the cabinet interior.
- Detail Handling: It is recommended to use aircraft latches for door locks to prevent cats from accidentally opening them. Prioritize concealed butt hinges for hinges to enhance the overall aesthetics.
4. Cleaning and Maintenance
This design can collect leaked sand inside the cabinet. Simply clean the bottom of the cabinet with a vacuum cleaner or broom once a month. The acrylic door panel can be wiped with a damp cloth, and the raw cat scratching board needs to be replaced regularly to maintain its scratching effect.
Related
You may also like
25Oct
Container House Installation Guide: A Complete Walkthrough
Read More
25Oct
Portable Toilet Eco-Friendly Custom & OEM: Design & Bulk Production Guide
Read More
25Oct
How to Assemble & Install Container House Step by Step
Read More
25Oct