Zhangban Town Mobile Toilet Installation
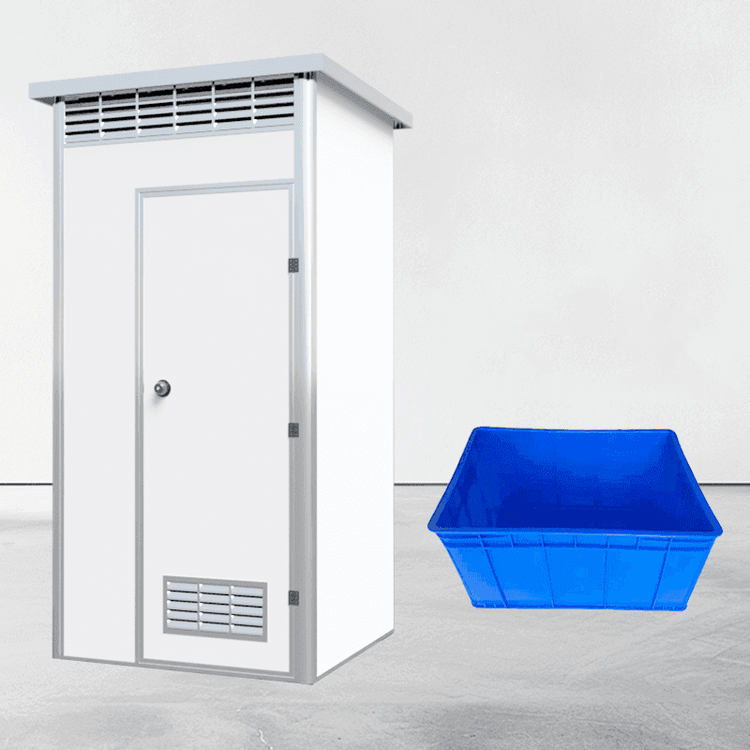
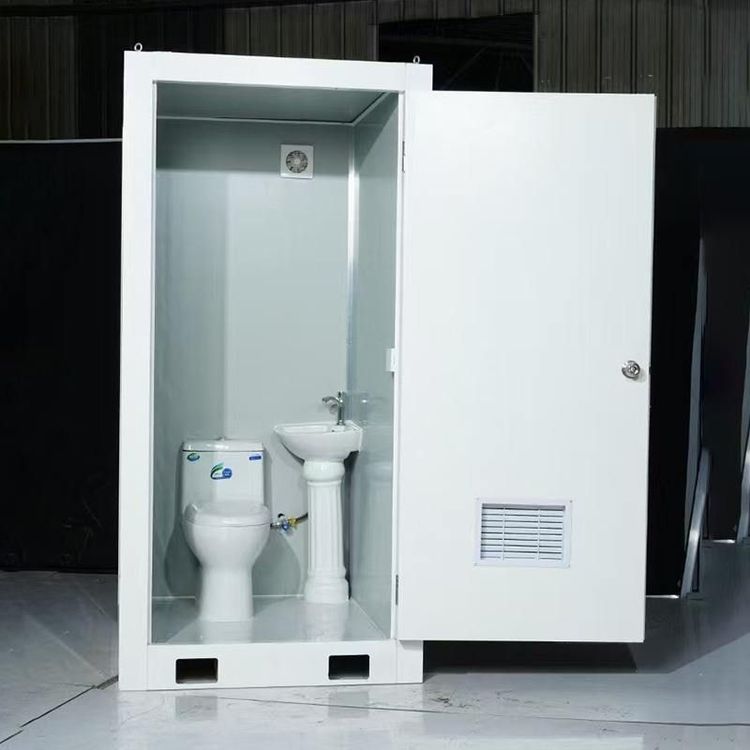
The installation of mobile toilets in Zhangban Town should follow a simple and efficient process, with core steps including positioning, assembly, connection, and commissioning. Specific implementation should be adjusted according to the toilet type (split-type or integrated) and structural characteristics.
I. Positioning and Site Preparation
Before installation, determine the specific location of the mobile toilet based on site planning. Key requirements include a solid ground surface and smooth drainage. If the ground has a slope or is uneven, hardening treatment should be carried out in advance or a shock-absorbing base (if equipped) should be laid. The drainage system should be connected to the municipal sewer network or septic tank to ensure that sewage discharge meets environmental protection standards. Additionally, reserve positions for water and electricity interfaces, and plan the direction of the sewage discharge pipeline in advance for integrated toilets.
II. Assembly Process
Split-type Mobile Toilets:
- Chassis and Frame Installation: Place the chassis at the designated position, adjust it to be level, and then fix the frame to ensure structural stability.
- Wall Panel and Roof Installation: Insert the prefabricated wall panels into the chassis slots one by one, and secure them with bolts or clips; then install the roof panel and perform sealing treatment to prevent rainwater leakage.
- Internal Facility Configuration: Install partitions, toilets, flushing systems, handwashing basins (optional), etc., and connect water and electricity pipelines (modular interface design can shorten installation time).
Integrated Mobile Toilets (such as box-type toilets):
- Lifting and Positioning: Since the internal decoration and equipment have been integrated in the factory, only need to use a crane to place it at the designated position on site, adjust it to be level, and then fix it.
- Pipeline Connection: Connect water and electricity interfaces and sewage discharge pipelines to ensure tightness and prevent leakage.
III. Shock-absorbing Base Installation (if equipped)
- Check Components: Ensure that the base bracket, shock-absorbing device, expansion bolts, and other components are intact and undamaged.
- Ground Treatment: Flatten the ground and confirm that it is level to avoid damage to the equipment due to base tilt.
- Bracket Fixation: Place the base bracket steadily, adjust its height, and then fix it to the ground with expansion bolts.
- Shock-absorbing Device Installation: Ensure that the shock-absorbing pad is fully in contact with the bracket and the ground to reduce vibration and noise during use.
- Re-inspection and Testing: After installation, re-inspect the levelness, check the firmness of connections, and perform a shaking test to ensure stability.
IV. Connection and Commissioning
- Water and Electricity Commissioning: After connecting to the power supply, check whether lighting and ventilation equipment are operating normally; open the water valve to test the pressure and water flow stability of the flushing system.
- Sewage Discharge Testing: Check whether the sewage discharge pipeline is unobstructed by simulating use, and confirm that the septic tank or municipal sewer network is properly connected for integrated toilets.
- Tightness Inspection: Focus on checking the joints of wall panels, the edges of the roof, and pipeline connections to ensure there is no risk of leakage.
After installation, a comprehensive acceptance inspection should be carried out to ensure that all functions meet design requirements before the toilet can be put into use.