Villa Container House Design
The design of villa container houses requires comprehensive planning from five aspects: spatial layout, lighting and insulation, courtyard design, construction process, and post-construction maintenance. Here are the key design points:

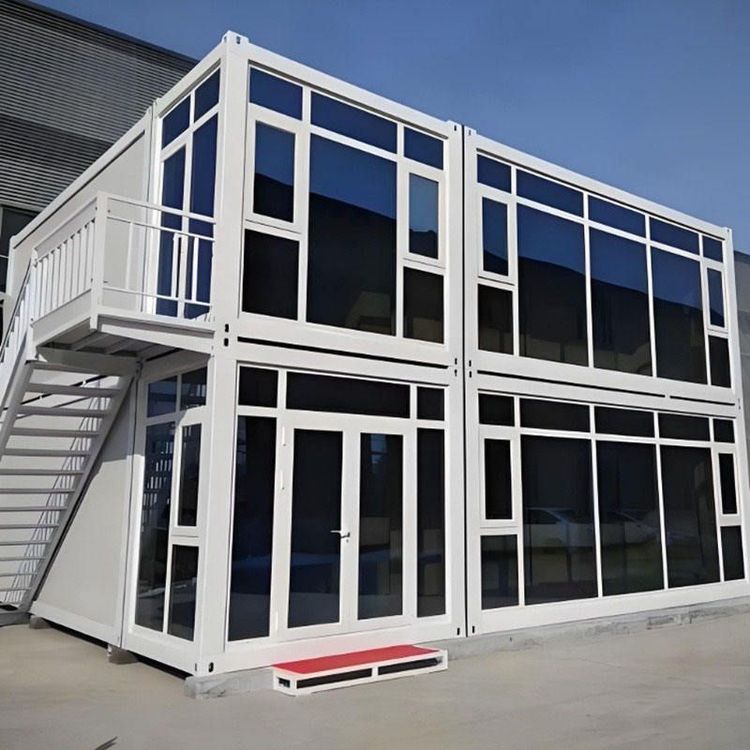
1. Layout and Spatial Arrangement Container houses can achieve functional zoning through splicing or staggered-level designs. Splicing Combination: Using 2-3 containers for horizontal splicing or staggered stacking can expand functional areas such as living rooms, bedrooms, and bathrooms. For example, connecting two containers can create a flat layout with an integrated living and dining area, two bedrooms, and a bathroom with a bathtub (approximately 100㎡). Staggered-Level Design: Stacking containers vertically creates spatial hierarchy, with the ground floor reserved for a leisure courtyard or walkway to improve ventilation and lighting. Small Unit Optimization: It is recommended to use multi-functional furniture such as foldable beds (which convert into sofas during the day), foldable tables, and integrated cabinets to enhance space utilization.
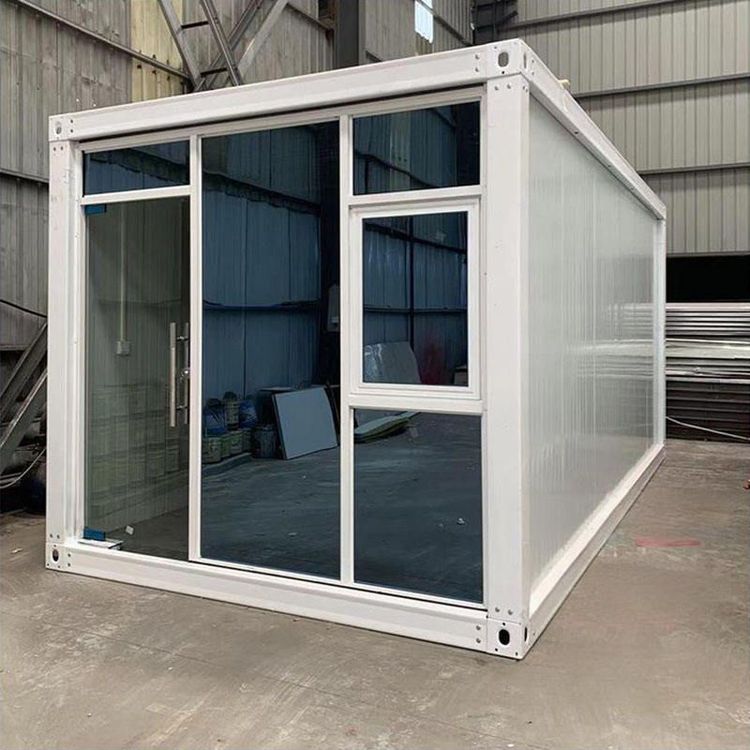
2. Lighting and Insulation Lighting Optimization: Install large floor-to-ceiling windows, roof skylights, or glass partitions to enhance indoor transparency and blend with the natural environment. Insulation Treatment: The walls and roof require internal insulation layers (such as polystyrene boards or rock wool), and triple-glazed windows (three layers of glass) should be selected to improve thermal insulation performance, which is superior to traditional red brick walls. Shading Design: Install roof eaves or terrace awnings to prevent excessive sun exposure in summer while enriching the architectural facade.
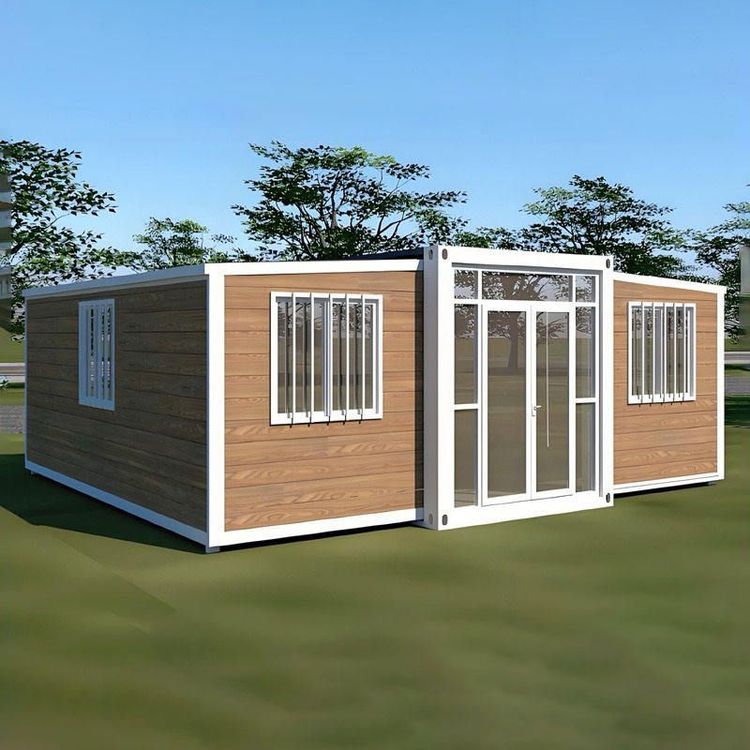
3. Courtyard and External Environment Facade Beautification: The exterior facade can be treated with paint spraying, themed murals, cladding, or glass curtain walls to摆脱 (get rid of) the industrial feel of containers and create a villa-like atmosphere. Independent Foundation: Containers should be elevated on pile foundations to avoid direct contact with the ground, preventing moisture and pests while facilitating site leveling.
4. Construction Process Approval Procedures: Related approvals must be obtained based on land nature. Rural homesteads require structural drawings stamped by an engineer; cultivated land and basic farmland are strictly prohibited from construction; forest land requires forestry approval; leased land is mostly limited to temporary structures, with the contract clearly specifying the nature of use. Construction Points: Include planning the locations of entrances and window openings, aluminum alloy reinforcement, laying light steel joists with solid wood flooring, wall construction (insulation film as a base, light steel joist substrate, moisture-proof gypsum board edging), embedding electrical circuits and pipelines, and installing insulation cotton.
5. Post-Construction Maintenance Rust and Corrosion Prevention: During construction, all cut and welded edges should be polished and coated with epoxy primer and topcoat; annually inspect welds, corners, bottoms, and eaves, and immediately polish and repaint any small rust spots; reapply heavy-duty corrosion protection every 8-12 years in inland dry areas, 7-10 years in southern humid areas, and 3-5 years in coastal areas; elevate the container body on a foundation to avoid direct contact with the ground. Waterproof Sealing: The sealant around doors and windows, container joints, and roof gutters should be replaced every 5-7 years; annually clean roof leaves and strictly prohibit water accumulation.