Back to blog
Article
How to Install Mobile Toilets in Tongren
Admin September 28, 2026
The installation of mobile toilets in Tongren follows the core process of 'positioning - assembly - connection - debugging'. The specific steps are as follows:

I. Positioning and Site Preparation
- Site Planning: Determine the installation location of the mobile toilet based on usage needs, considering factors such as pedestrian traffic, drainage direction, and distance from surrounding buildings.
- Ground Preparation: Ensure the ground is solid and level to prevent toilet tilting or damage due to foundation settlement. If the ground is soft soil or sloped, hardening treatment (such as pouring a concrete base layer) is required.
- Drainage System: Check that drainage pipes are unobstructed. For split-type toilets, reserve a septic tank or sewage discharge port. For integrated toilets, confirm the feasibility of connecting the sewage pipe to the municipal sewer network.
II. Assembly and Structural Construction
Split-Type Mobile Toilets:
- Chassis Installation: Use a forklift or manual labor to place the prefabricated steel structure chassis平稳 (steadily) at the predetermined location. Adjust it to a level state using a spirit level to prevent subsequent structural deformation.
- Wall Assembly: Insert the sandwich panel wall panels sequentially into the chassis slots and secure them with bolts or clips. When installing the roof panel, perform sealing treatment (such as applying waterproof glue or installing sealing strips) to prevent rainwater leakage.
- Time Control: Wall installation typically takes 1-2 hours. Ensure all connection points are secure.
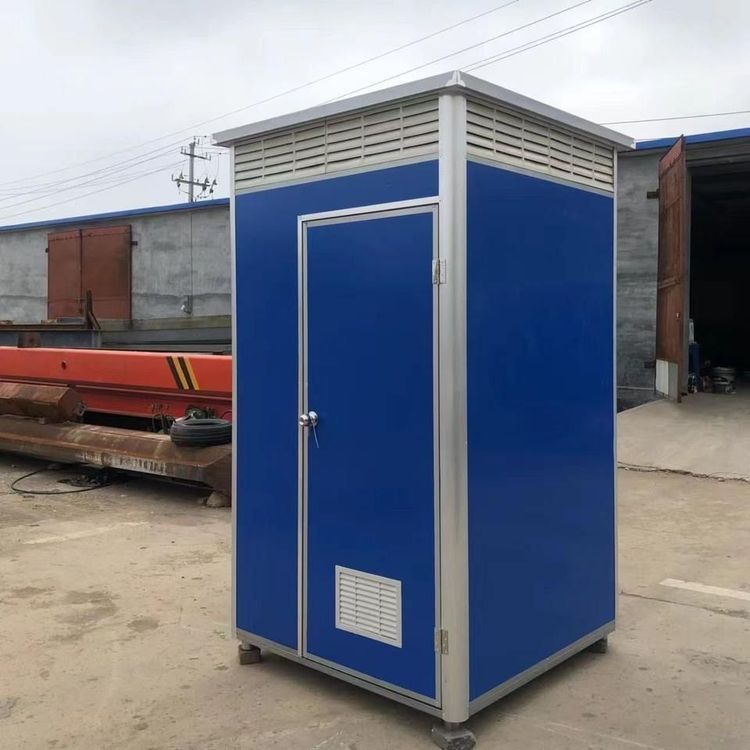
Integrated Mobile Toilets (Box-Type Toilets):
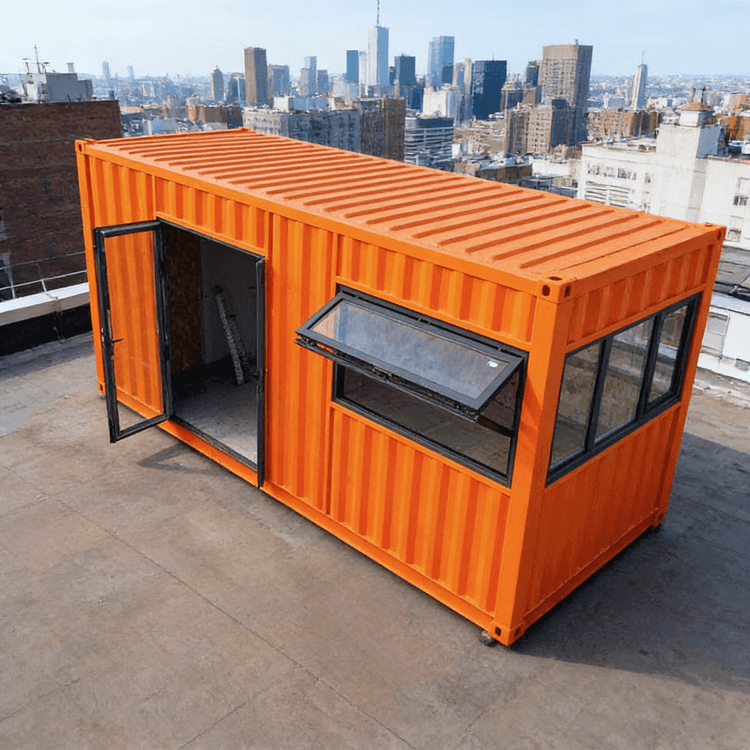
- Lifting and Positioning: Since the factory has completed interior decoration and equipment integration, simply use a crane to lift the entire structure to the designated location on-site and secure anti-slip devices.
- Advantage: Eliminates the need for interior assembly steps, resulting in higher installation efficiency.
III. Equipment Connection and Pipeline Laying
Split-Type Toilets:
- Internal Equipment: Install partitions, toilets, flushing systems, handwashing basins (optional), and ventilation equipment, ensuring a reasonable layout that conforms to ergonomic principles.
- Water and Electricity Connections:
- Water Pipes: Connect the water inlet pipe to the flushing system, use quick connectors to save time, and install a water valve to control water flow.
- Electrical Circuits: Connect lighting, exhaust fans, and other electrical appliances. This must be done by a professional electrician to ensure proper grounding and installation of leakage protection devices.
- Sewage Pipes: Connect the toilet to the septic tank or municipal sewage pipe, ensuring a slope of ≥2% to guarantee smooth drainage.
Integrated Toilets:
- Only need to connect external water, electricity, and sewage pipes. The modular interface design can shorten the installation time to 2-4 hours.
IV. Functional Inspection and Debugging
- Flush Test: Check the flushing force of the toilet and the water replenishment function of the water tank to ensure no blockages or leaks.
- Electrical Circuit Inspection: Test whether lighting, sockets, and ventilation equipment are working properly, and troubleshoot any short circuits or poor connections.
- Sealing Inspection: Focus on checking the roof, wall panel joints, and sewage pipe connections. Apply sealant if necessary.
- Overall Acceptance: Simulate usage scenarios to confirm that all functions meet design requirements before putting the toilet into use.
Tip: Strictly follow operational specifications during the installation process, especially for water and electricity connections. It is recommended to have a professional team complete the installation to ensure safety.