Back to blog
Article
How to Install a Storefront Portable Toilet
Admin October 08, 2026
The installation of a storefront portable toilet should follow the following procedures to ensure safety and proper functionality:

I. Pre-installation Preparation
- Site Assessment
- Confirm that the installation site has a flat surface with adequate load-bearing capacity, avoid low-lying areas prone to water accumulation, and reserve at least 0.5 meters of operating space around the site.
- Check the distribution of underground pipelines (such as cables, water pipes, and gas pipelines) to avoid damage during construction.
- Tools and Materials Preparation
- Equip with basic tools such as wrenches and screwdrivers, and prepare auxiliary tools such as anti-slip gloves and tape measures.
- Select the sewage disposal method (packing type or microbial degradation type) according to needs, and confirm the model and configuration of the portable toilet.
- Personnel Coordination
- Arrange for dedicated personnel to cooperate on-site, designate the work area, and prohibit unrelated personnel from approaching.
II. Foundation Treatment
- Concrete Base: Pour on-site and cure to the designed strength to provide stable support.
- Steel Chassis: Place directly on a flat surface, secure with anchor bolts, and ensure levelness.
III. Main Structure Installation
- Main Body Positioning
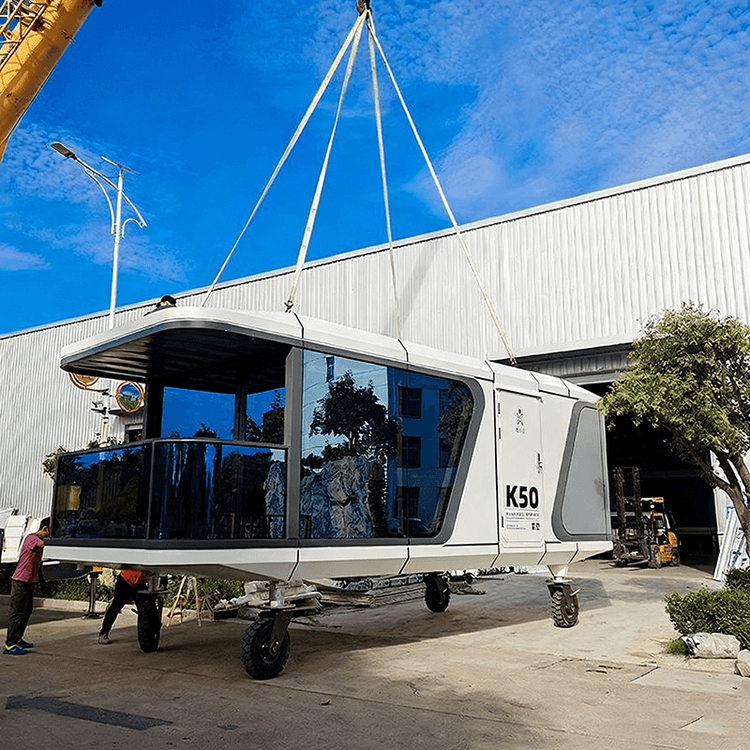
- Use lifting equipment to hoist the prefabricated box onto the foundation, adjust the bottom legs to ensure levelness, and avoid collisions.
- Frame Assembly
- After securing the base, connect the wall panels (right, left, and front) in sequence, tighten the screws, and check for stability.
- Install the upper slot to support the roof cover, and reserve positions for ventilation louvers to enhance air circulation.
- Note: Two people should cooperate during operation to prevent tipping during erection.
IV. Functional System Connection
- Drainage Connection
- Connect the drainage pipe to the municipal sewer or collection tank, ensuring no leakage; in areas without a pipeline network, an integrated septic tank can be configured.
- Water and Electricity Connection
- The power connection should be operated by a professional electrician, and private connections are prohibited; connect the water inlet to a clean water source and install valves and anti-freezing devices.
V. Functional Debugging and Safety Inspection
- Equipment Debugging: Test the operation of equipment such as flush valves, lighting, and exhaust fans.
- Safety Inspection: Recheck structural connections, electrical wiring insulation, and waterproof sealing to eliminate potential hazards.
VI. Detail Handling and Finalization
- Clean the inside and outside of the toilet, tighten all bolts and nuts to prevent loosening.
- Clean up the surrounding environment and place a "Cleaned" sign.
- Instruct users on usage, explaining the flushing method, the location of the emergency button, etc., to avoid misoperation.
Key Tips: The installation process must strictly follow operational specifications, especially during lifting and water and electricity connections, to ensure safety and long-term use effectiveness.