South Bank Mobile Toilet Installation
The installation process of mobile toilets on the South Bank varies depending on the type of toilet, mainly divided into split-type and integrated types, with core steps including positioning, assembly, connection, and functional debugging.
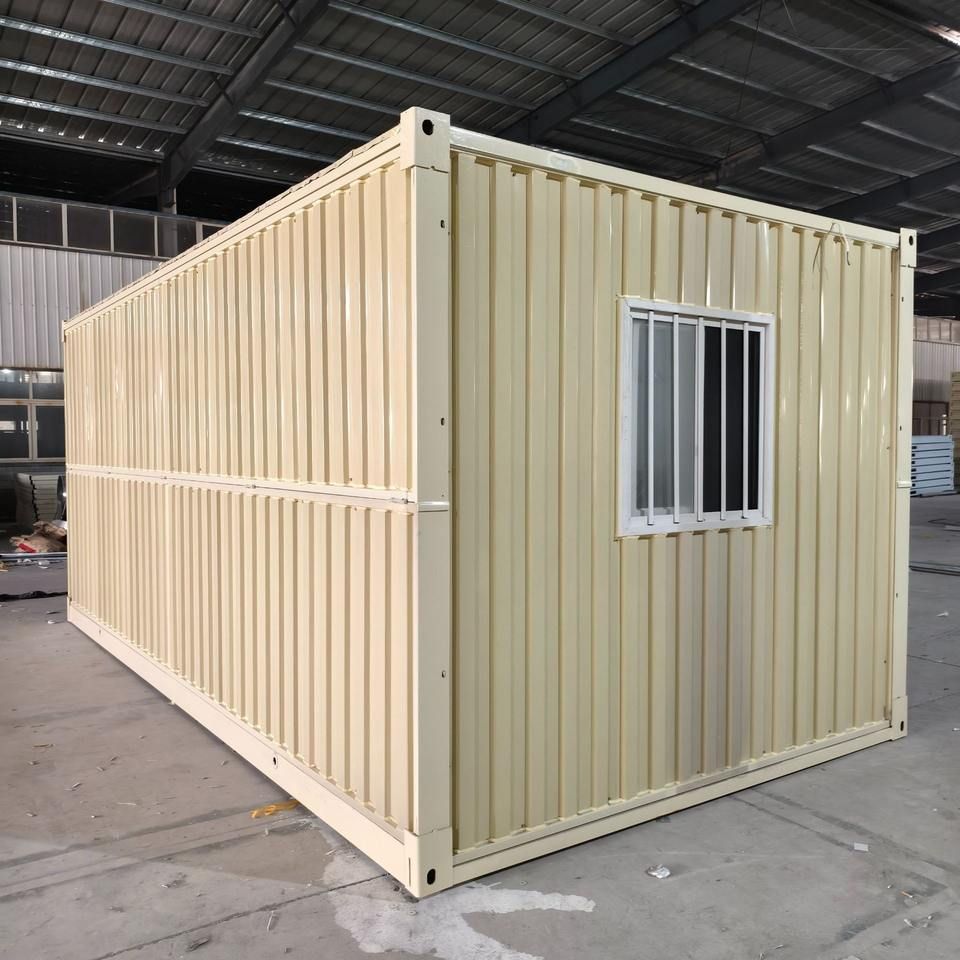
Split-Type Mobile Toilet Installation Process
Positioning the Chassis and Frame
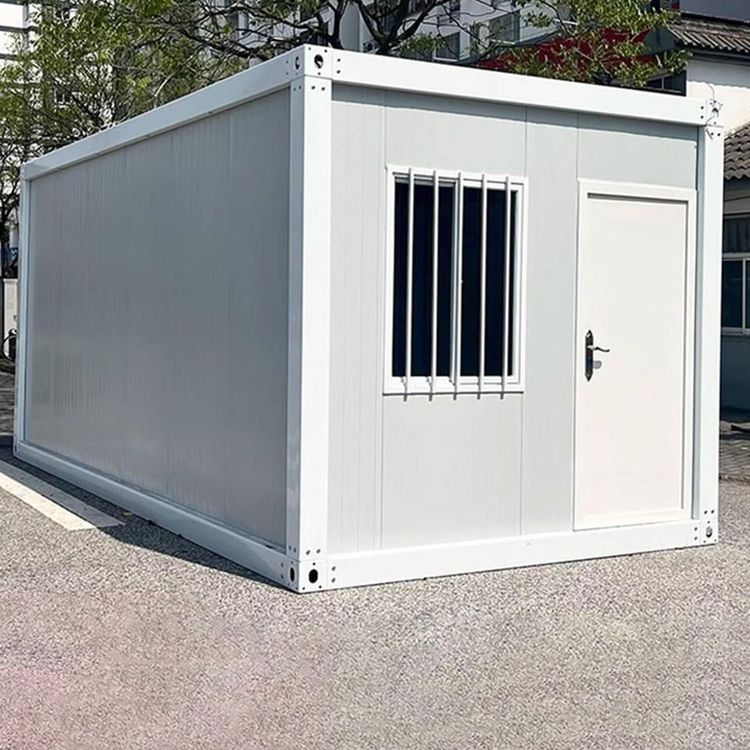
Use a forklift or manual labor to place the prefabricated steel structure chassis steadily at the predetermined location, ensuring the ground is solid and drainage is smooth. Adjust the chassis to a level state using a spirit level to avoid tilting or structural instability during subsequent installation. The positioning of the chassis should be combined with site planning, reserving sufficient operating space.Installing Walls and Roof Panels
Insert the sandwich panel walls sequentially into the chassis slots and secure them with bolts or clips to ensure a tight connection. After the wall panels are installed, install the roof panels and perform sealing treatment, focusing on checking whether waterproof glue is applied or sealing strips are used at the joints to prevent rainwater leakage. This step usually takes 1-2 hours, depending on the number of wall panels and installation proficiency.Connecting Internal Facilities
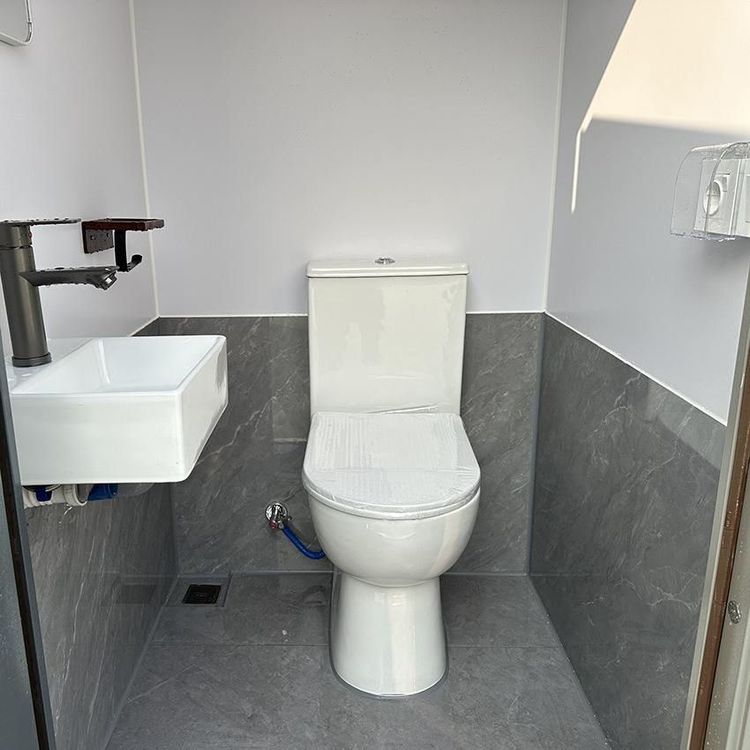
Install internal partitions, toilets, flushing systems, sinks (if any), lighting, and ventilation equipment. The connection of water and electricity pipelines should be operated by professionals, but modular design (such as quick connectors) can simplify the process. For example, the flushing system needs to be connected to the water source and sewage pipeline, and the electrical circuit needs to be connected to the main power supply and equipped with a leakage protection device to ensure safety.Functional Inspection and Debugging
Conduct a flushing test to check whether the water flow is smooth and the sewage is thoroughly discharged; test the electrical circuit to ensure that the lighting and ventilation equipment are operating normally; check the sealing of the walls and roof to avoid rain leakage or odor diffusion. After debugging, an installation acceptance form needs to be filled out to confirm that all functions meet the standards.
Integrated Mobile Toilet Installation Process
Integrated toilets (such as box-type toilets) have completed internal decoration and equipment integration in the factory, making on-site installation simpler:
- Lifting and Positioning
Use a crane to lift the entire toilet to the predetermined location, ensuring that the ground bearing capacity is sufficient to avoid sinking or tilting. - Connecting Water, Electricity, and Sewage Pipelines
Quickly connect to the water source, power supply, and sewage pipes. The modular interface design can shorten the installation time to 2-4 hours. - Functional Testing
Check whether the flushing, lighting, ventilation, and other systems are operating normally, and confirm that there are no water leakage or electrical leakage hazards before putting them into use.
Installation Precautions: Regardless of the type, priority should be given to ensuring the flatness of the ground and drainage design to avoid affecting the lifespan of the toilet due to water accumulation; water and electricity connections should comply with safety regulations to prevent accidents.