
Back to blog
Article
Rural Mobile Toilet Installation Manual
Admin October 03, 2026
The installation of rural mobile toilets should follow standardized procedures, focusing on pre-installation preparation, main structure installation, simple fabrication plans, and technical acceptance criteria. The specific steps are as follows:
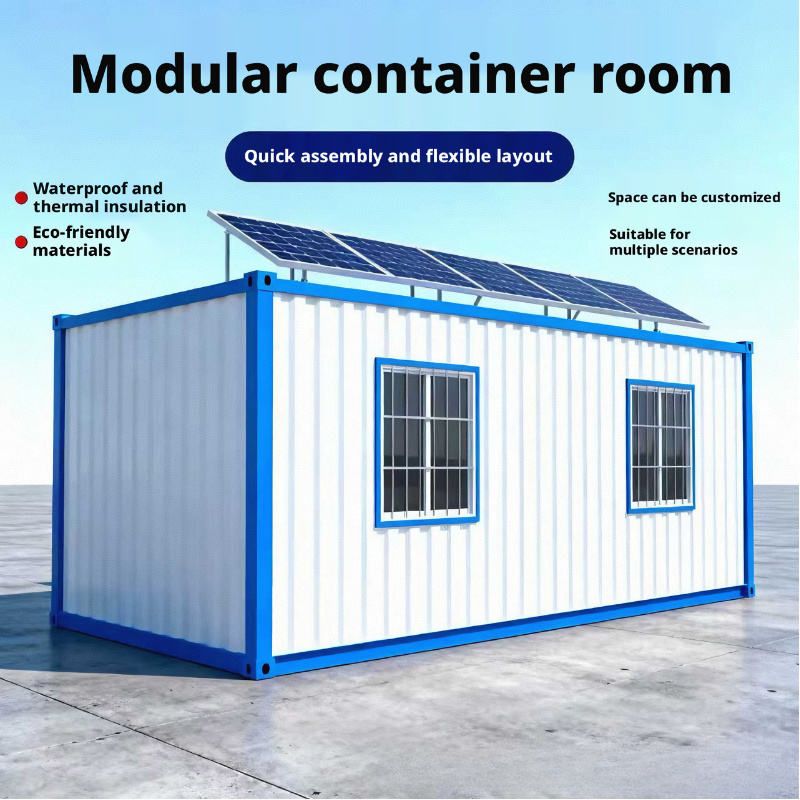
I. Pre-Installation Preparation
Site Selection and Inspection
- Ground Conditions: Prioritize hardened cement floors, asphalt surfaces, or compacted gravel areas. Avoid soft mud, sandy areas, or slopes to ensure a flat and solid ground.
- Space Reservation: Reserve at least 1 meter of space around the toilet for installation, maintenance, and personnel access. Also, consider the distance to water sources, power supplies (if needed), and sewage discharge points.
- Environmental Safety: Avoid low-lying areas prone to waterlogging, geologically unstable zones, and areas at risk of falling objects. Choose a secluded but easily accessible location.
Tool and Material Preparation
- Basic Tools: Level, tape measure, wrench, screwdriver, electric drill, gloves, etc..
- Auxiliary Materials: Prepare shims (for leveling), anchor bolts or expansion screws (for hardened ground fixation), and anti-corrosion wooden strips or cement bricks (for constructing a base platform on non-hardened ground) based on the ground type.
- Component Verification: After unpacking, check that wall panels, roof covers, bases, doors, sanitary fixtures (toilets, sinks, etc.), pipes, and fasteners are complete and undamaged.
II. Main Structure Installation Steps
Base Platform Construction (for non-hardened ground)
- Lay anti-corrosion wooden strips or cement bricks to form a rectangular frame matching the toilet base dimensions. Use a level to repeatedly measure and ensure the platform is level.
Base Placement and Leveling
- Place the base on the hardened ground or base platform. Use a level to measure the diagonals and four sides, adjusting with shims of different thicknesses until completely level.
Wall Frame and Panel Assembly
- Fix the side panels, back panel, and base (using embedded bolts or special connectors). Tighten diagonally step by step to avoid deformation.
- Install the front panel and door frame, ensuring the door frame is square and making fine adjustments with adjustable components.
Sanitary Fixture Installation
- Sewage Pipe Inspection: Before installation, clean the pipes of mud, waste paper, and other debris.
- Toilet Installation: Flip the toilet over and draw a cross-center line at the sewage outlet, extending it to the bottom feet. Determine the positions of the base screws, drill holes with an electric drill, and embed expansion screw sleeves. Install a special sealing ring or apply glass glue or cement mortar (ratio 1:3) around the sewage pipe for sealing.
III. Technical Standards and Acceptance
- After installation, check the structural stability (e.g., whether wall connections are secure), tightness (e.g., whether sewage pipe joints leak), and user comfort (e.g., whether door panels open and close smoothly and whether there is water accumulation inside).
- If fabricated using waste materials, comply with national standards such as the "Code for Acceptance of Construction Quality of Steel Structures" (GB50205-2001).
Related
You may also like
30Oct
Portable Toilet Rental for Construction Sites: What to Consider
Read More
30Oct
Portable Toilet Rental Price Guide: Budget, Mid-Range & Premium
Read More
30Oct
Portable Toilet Color Steel: A Practical Buyer's Guide
Read More
30Oct