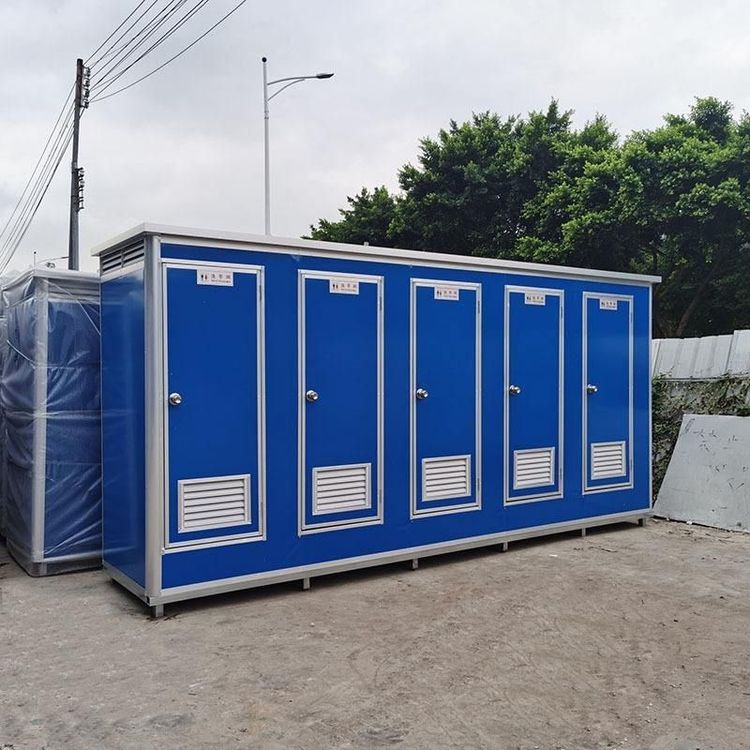
Installation of Real Stone Paint Mobile Toilets
The installation of real stone paint mobile toilets should follow a standardized process, covering key steps such as site selection, assembly, system connection, and commissioning. The specific points are as follows:

Site Selection and Ground Preparation Choose a flat and solid foundation, avoiding slopes, low-lying areas, or soft soil regions to prevent structural tilting or settlement. The ground should be initially leveled, and if possible, a gravel or concrete foundation can be laid to enhance load-bearing capacity and drainage. This step provides stable support for subsequent installation, avoiding toilet deformation or damage due to foundation issues.
Main Structure Assembly Mobile toilets are usually transported to the site in prefabricated components and need to be assembled in the order specified in the instructions, including base plates, wall panels, and roof covers. Real stone paint cladding panels should possess waterproof, corrosion-resistant, and easy-to-clean properties to adapt to outdoor environments and maintain aesthetics. During assembly, check that the clips or bolts are securely fastened to ensure structural tightness and prevent rainwater or odor leakage.
Sewage System Connection
- Flush toilets: Connect to the sewage pipeline, maintaining a pipeline slope (usually ≥2%) to ensure smooth waste flow. Install sealing rings at connections to prevent leakage.
- Waterless or biodegradable toilets: Install a waste storage tank and ensure it is tightly sealed to prevent odor diffusion or sewage overflow.
Water Supply and Flush Device Installation Tighten the connections when attaching the water supply hose, and adjust the water output and response speed of the flush valve to ensure effective flushing. In cold regions, take insulation measures for water pipes (such as wrapping with insulation cotton) to prevent freezing and system failure.
Ventilation System Setup Install exhaust fans or ventilation ducts, with ventilation openings generally located on the roof or upper sidewalls. Equip them with insect screens and waterproof covers to prevent foreign objects from entering. Fix power cords through conduits to avoid safety hazards caused by exposure.
Internal Facility Installation Include accessories such as toilet seats, sinks, and mirrors. Pay attention to the sealing between sanitary ware and walls to prevent water leakage. The sink drain pipe should be connected to the designated pipeline to avoid sewage overflow.
Anti-slip and Safety Measures Lay anti-slip mats or choose flooring with a concave-convex pattern inside the toilet to reduce the risk of slipping. Select waterproof lighting fixtures and protect circuits with conduits to prevent electric shock or short circuits.
Final Inspection and Commissioning Test the operation of systems such as the flush device, sewage pipeline, door and window opening and closing, and ventilation equipment. Clean up installation debris and thoroughly clean the inside and outside of the toilet. The materials must pass fire resistance certification to ensure safety. Durability depends on the materials of the external cladding and internal fittings, with stainless steel panels being suitable for areas with high foot traffic or harsh environments.
Installation quality directly affects service life and user experience, requiring standardized processes and meticulous commissioning to ensure stable operation.