Back to blog
Article
How to Install Mobile Toilets in Pu'er
Admin October 08, 2026
The installation of mobile toilets in Pu'er should be carried out in accordance with the site conditions and toilet type, following the steps outlined below:

I. Site Assessment and Preparation
- Basic Condition Inspection: Measure the ground levelness of the predetermined area, using a level to ensure an error of no more than ±5mm. Check the soil bearing capacity; if the soil is soft, it should be hardened in advance or a steel plate over 10mm thick should be laid. At the same time, verify the distribution of underground pipelines to avoid damaging municipal facilities.
- Sewage System Pre-embedding: If connection to the municipal sewage network or an independent septic tank is required, pre-lay PVC sewage pipes with a diameter of DN100 or more, designing a slope of 1%-2% to ensure self-flow drainage of fluids. The septic tank should have a clearance channel reserved, with a width of no less than 2.5 meters.
- Space Planning: Reserve operating space according to the toilet size. For integrated toilets, an additional lifting operation radius (usually ≥3 meters) should be reserved; for modular toilets, space for wall panel assembly should be reserved.
II. Main Structure Positioning and Fixing
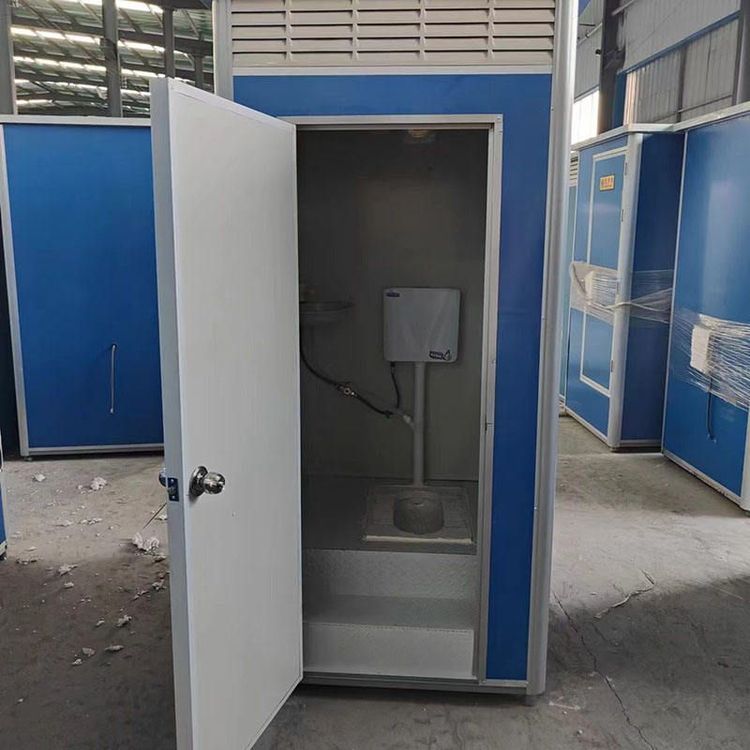
- Integrated Toilets: Use a crane to lift the toilet body onto a pre-fabricated base, rigidly connecting it to the base with bolts of M12 or more. The base should be 100mm above the ground to prevent moisture.
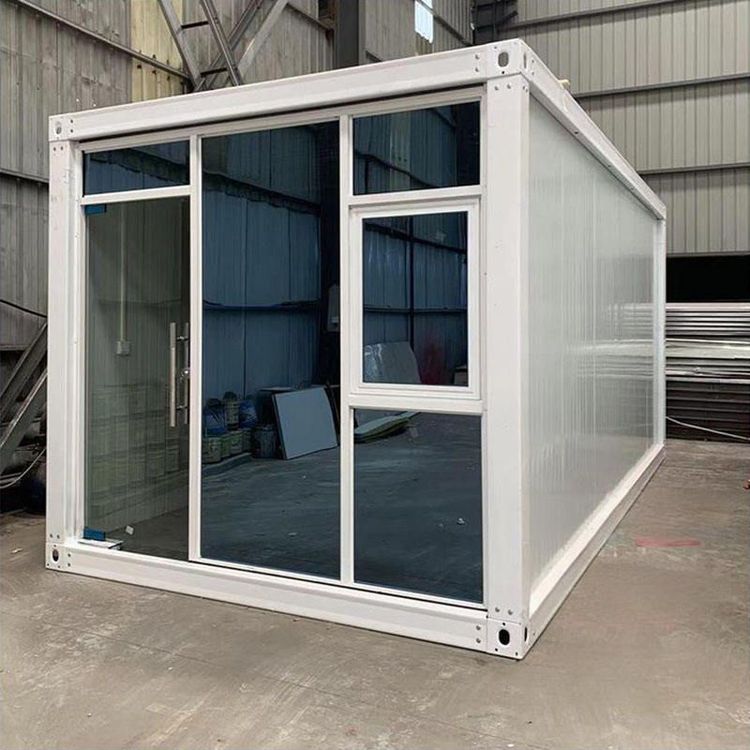
- Modular Toilets: First, install the steel structure chassis, adjust its levelness, and then assemble the sandwich panel walls (thickness ≥50mm) and roof in sequence, fixing them with M8 bolts or clips and applying waterproof sealant at the joints.
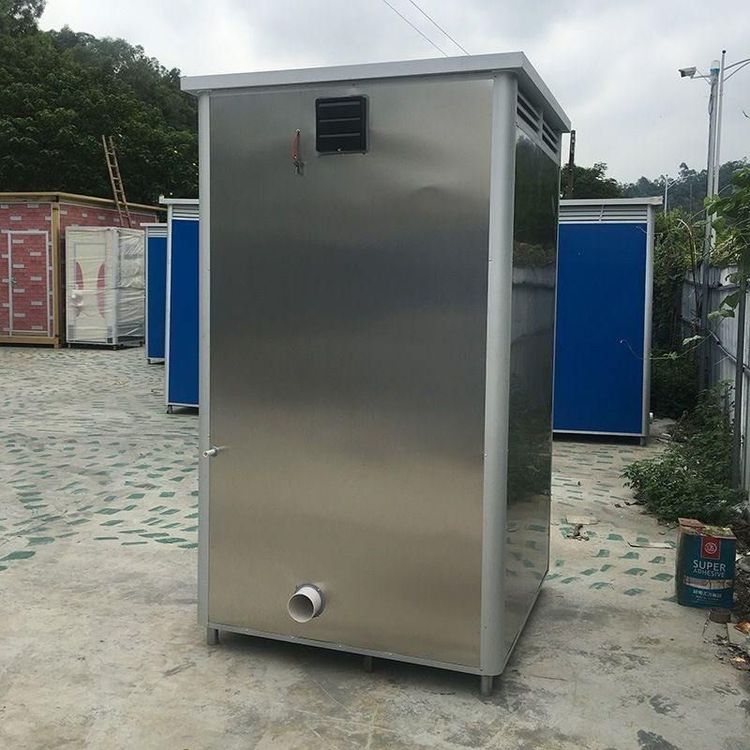
- Sewage Connection: For toilets requiring pipe connection, pre-embed the pipes before positioning the toilet body, connecting them with rubber seals and conducting a pressure test to ensure no leakage (test pressure ≥0.6MPa).
III. Internal Functional System Connection
- Water and Electricity Systems: Install freeze-proof and pressure-reducing valves on the water supply pipes, use IP65 waterproof connectors for the electrical lines and ensure reliable grounding; the ventilation pipe diameter should be ≥150mm, with a slope of ≥1% to prevent condensation water backflow.
- Facility Debugging: Connect modular interfaces such as the toilet bowl, flushing system (water pressure ≥0.15MPa), and sink. The quick-connect design can shorten installation time by more than 30%. For toilets with built-in wastewater treatment units, separately debug the biochemical filter or membrane filtration device.
IV. Detail Handling and Acceptance
- Functional Testing: Check components such as door locks, flushing devices, lighting (illuminance ≥150lx), and exhaust fans (air exchange rate ≥80m³/h), ensuring continuous operation for 2 hours without failure.
- Safety Regulations: Tighten all bolts and nuts, ensure handrails can withstand an impact force of ≥500N, the slope should be ≤1:12, and post barrier-free signs and warning signs.
- Cleaning and Finalization: Remove internal debris, apply anti-rust paint to metal parts, and clean the entire unit before handing it over for use.
Notes: The on-site installation time for integrated toilets can be shortened to 2-4 hours, but strict adherence to the "Hygiene Standards for Mobile Toilets" (GB/T 21239-2023) is required, and a water permeability test and electrical safety inspection must be passed after installation.
Related