Back to blog
Article
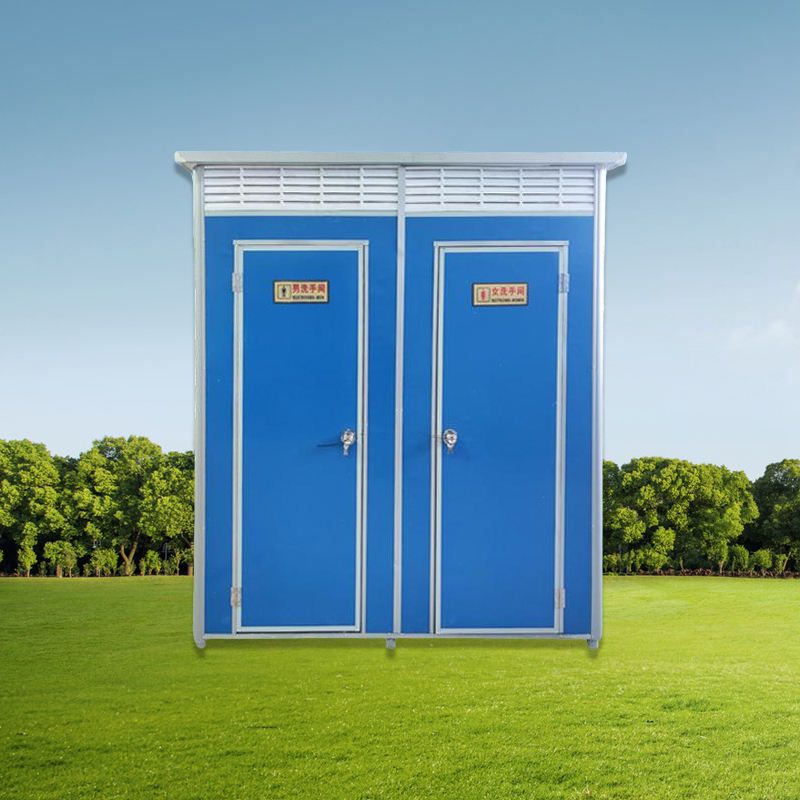
Personal Simple Portable Toilet
Admin September 21, 2026
A personal simple portable toilet can be made using either a water storage tank and a pallet or a water storage barrel. Here are the specific steps:
Making with a Water Storage Tank and a Pallet
- Basic Frame Construction: Fix universal wheels at the four corners of the pallet bottom to ensure easy mobility. Place a water storage tank recovered from a garbage station as the main structure. Use an angle grinder to cut along the marked line on the top of the water storage tank to form an open tank. Stack two open-top water storage tanks upside down and fix them with self-tapping screws to form a double-layer wall structure, enhancing stability.
- Functional Module Installation: Cut a rectangular opening on the side of the tank as the doorway. Drill a hole in the interior floor, insert an elbow and a water pipe, and seal it. Install and fix the toilet. Fix water pipes at the wall fasteners, install a faucet, and use screws to fix a pipe cap below it to connect the water pipe as the drain outlet. Drill a hole in the pipe cap to install a stainless-steel basin as the sink. Connect the toilet tank inlet pipe and the shower hose, and install a shower bracket and a toilet seat.
- Detail Refinement: Make a spray-type shower head with wooden boards and water pipes to meet basic flushing needs. Make a bathroom door with wooden boards and hinges, and install a door handle to ensure privacy. The overall structure should pay attention to tightness to prevent sewage leakage.
Making with a Water Storage Barrel
- Main Structure Modification: Use an angle grinder to split the water storage barrel in half. Fix universal wheels at the four corners of a wooden board. Fix wooden strips on the upper side of the barrel with self-tapping screws to increase the height and form a wall frame. Cut an opening on the side of the water storage barrel as the doorway. Install sponge strips on both sides of the doorway to form a door frame. Insert plastic soft boards between the wooden strips to form an elevated wall, enhancing structural stability.
- Roof and Waterproofing Treatment: Place the upper half of the water storage barrel on the top of the wooden strips to form a roof. Paint the wooden strips with white waterproof paint to prevent rain erosion. Make a simple door by splicing foam strips and discarded honeycomb wooden boards. Drill a hole at the bottom of the barrel and install a drain pipe to form a floor drain, ensuring smooth drainage.
- Functional System Integration: Drill holes on the side and bottom of the plastic barrel and install direct connectors. Place the plastic barrel on the roof to form a small water storage device. Connect a bath heater made of water pipes. Install a tee below the inlet pipe and connect it to a shower head to meet bathing needs. Place the toilet at the drain hole, install a water tank, and fix it with glass glue. Connect the drain pipe to a sewage barrel to ensure centralized sewage treatment. Connect a water pipe horizontally from the tee of the outlet pipe to the doorway as the sink inlet pipe. Drill a hole in the door and install a connector to complete the water system.