How to Assemble an Outdoor Portable Toilet
The assembly of an outdoor portable toilet should be carried out in accordance with standardized steps. The specific process is as follows:

Prepare Tools and Site
After receiving the goods, prepare tools such as an electric drill, a 4.2-millimeter drill bit, a rivet gun, and a level. Count all components (such as the frame, side panels, roof, toilet, and waste storage tank) to ensure there are no missing or damaged parts. Choose a flat and solid ground for installation to prevent structural tilting or damage due to uneven ground. If the on-site space is limited, prioritize using factory-prefabricated modular structures, which can be transported to the site and then assembled.Build the Main Frame
Arrange the base components in order according to the drawing markings, and initially fix them with connecting pins or bolts. Adjust them to a level state using a level. Then install the upright members, ensuring there is no tilt in the vertical direction, and connect the top crossbeams to form a cubic frame. If it is a telescopic design, unfold each section in order and lock the buckles to prevent contraction during subsequent use.Install Side Panels and Roof
Install the side panels step by step from the bottom up. After fitting them against the frame edges, use special trim strips to fix the seams. When installing the door panel, pay attention to the hinge position to ensure smooth opening and closing. Add insect screens at the window openings and seal the surrounding areas to prevent insects from entering. When laying the roof, first place the main roof panel in the center and fix it to the beam frame with self-tapping screws. Then install the drainage troughs and downspouts to ensure smooth rainwater drainage.Assemble the Sanitary System
Align the toilet base with the reserved opening on the frame, seal the connection with a silicone gasket, and then fix it. Place the waste storage tank directly below the toilet and ensure accurate alignment. If it is a biodegradable toilet, add degrading agents according to the instructions to promote the decomposition of waste. After installation, check the tightness between the toilet and the waste storage tank to prevent leakage.Fix Details and Seal
Use a rivet gun to fix all the joints. For example, after installing the inner corners in order, insert the panels into the slots and align them, drill holes with a drill bit, and insert rivets to fix them. Add sealing strips to all panel seams to prevent rainwater from seeping into the interior. After installation, check again to ensure that all components are firmly connected and the structure is stable.
Precautions: During the assembly process, strictly follow the instructions to avoid structural damage or operational failures due to improper operation. If you encounter complex structures or uncertain steps, it is recommended to contact the manufacturer's technical support.
You may also like

Portable Toilet Used in 2026: Buying Guide & Recommendations
Read More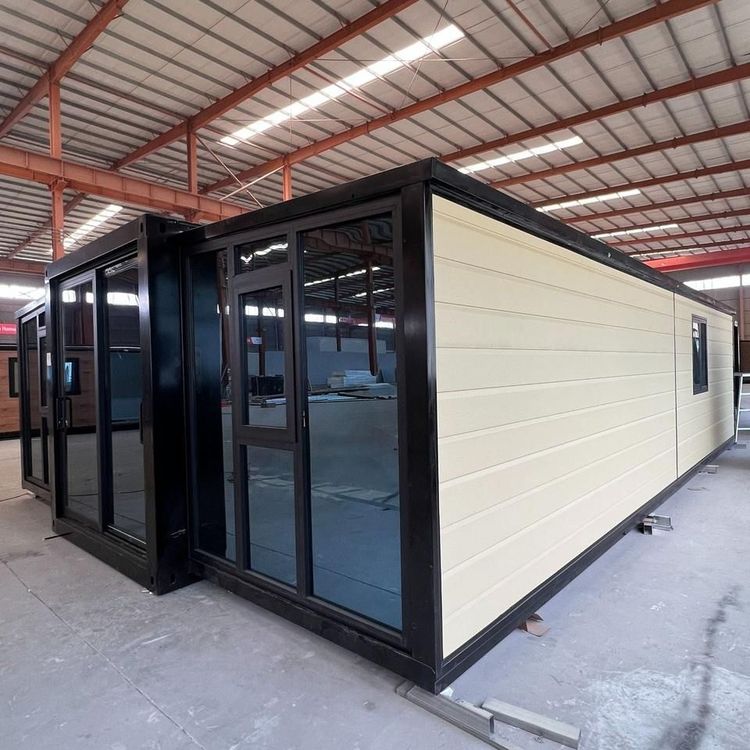
Portable Toilet Custom Explained: How to Choose the Right One
Read More
Top Portable Toilet Smart Manufacturers: How to Choose a Factory Partner
Read More