Back to blog
Article
How to Install an Outdoor Mobile Toilet
Admin September 27, 2026
The installation of an outdoor mobile toilet requires selecting appropriate steps based on its type, with the core process including site preparation, main body installation, functional connection, and acceptance and maintenance. Details are as follows:

I. General Installation Steps
Site Confirmation
- Choose a flat and solid ground, avoiding low-lying areas prone to water accumulation to prevent rainwater backflow or foundation settlement.
- Reserve at least 0.5 meters of operating space around the area for subsequent maintenance and pipe connection.
Tool Preparation
- Basic tools: Electric drill (with a 4.2mm drill bit), rivet gun, wrench, screwdriver for main body fixation.
- Auxiliary tools: Anti-slip gloves (to prevent scratches), tape measure (for measuring spacing), level (to ensure the main body is level).
Main Body Positioning
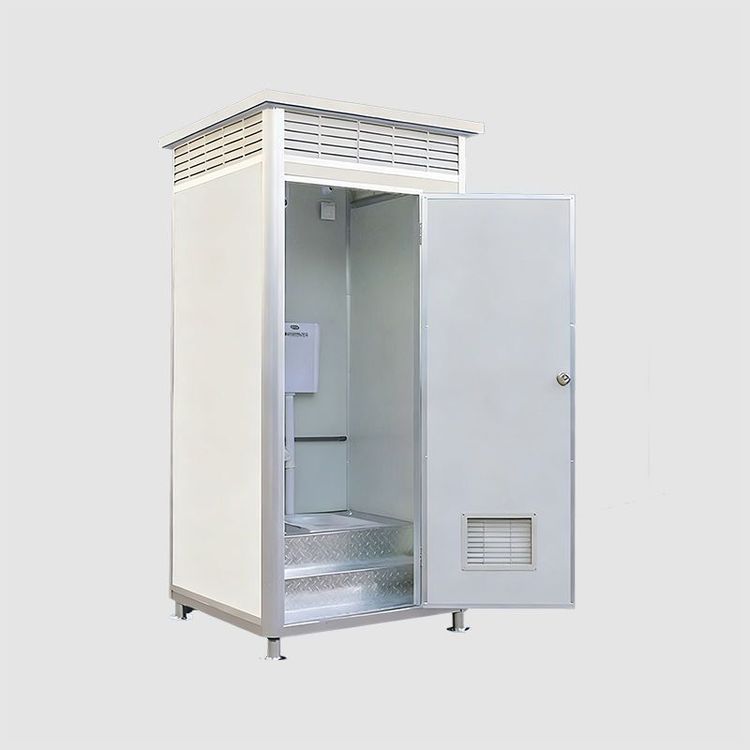
- Single-unit structure: Lift or drag it to the designated position, adjust the adjustable legs at the bottom, and confirm it is level with a level before fixing it.
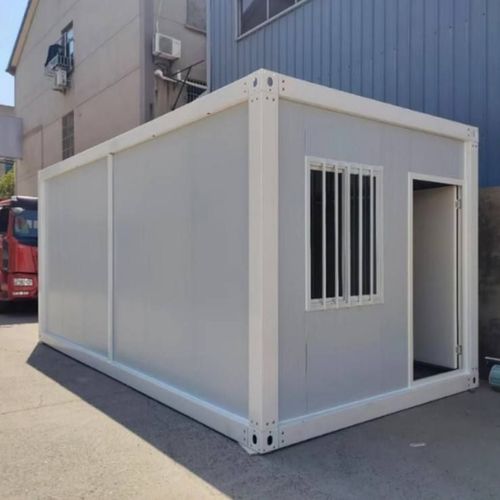
- Composite structure: Assemble according to the splicing instructions, for example, install the inner corner pieces first, then insert the panels into the slots and align them, drill holes with an electric drill, and insert rivets to fix them, ensuring there are no gaps at the joints.
II. Functional Connection Steps
Drainage System
- Open the drainage port at the bottom of the toilet, connect the drainage pipe to the municipal sewer or collection tank, wrap Teflon tape around the joint to prevent leakage, and test the drainage smoothness.
Water and Electricity Connection
- Power: Operated by a professional electrician, connect the power for lighting and ventilation equipment. Unauthorized connections are strictly prohibited. For power-driven toilets, plan the cable route in advance.
- Water: If equipped with a flushing system, connect it to a clean water source. Install a filter at the water inlet to prevent clogging.
III. Post-installation Inspection and Maintenance
Internal Function Testing
- Check if the door lock, flush button, and emergency call device are functioning properly. Clear any sharp objects or debris inside to prevent user injuries.
Environmental Cleanup
- Remove the installation waste and place a 'Cleaned' sign around the toilet to enhance the user experience.
Usage Training
- The lessor or technician should explain the operating points to users, such as the flushing method, location of the emergency button, and types of items prohibited from being discarded.
IV. Installation Tips for Special Types
- Folding Toilet: Assemble the support frame according to the snap-fit design. Some models require an additional mobile phone toilet paper holder to be installed. Pay attention to the weight limit of the support frame.
- Trailer-mounted Toilet: Plan the transportation route in advance to ensure sufficient turning radius. Use anti-slip chains or ground anchors for fixation to prevent movement.
If problems such as difficult pipe connection or main body tilting occur during installation, stop the operation immediately and contact the technical personnel of the leasing company for assistance to avoid damage or safety hazards caused by unauthorized modifications.
Related