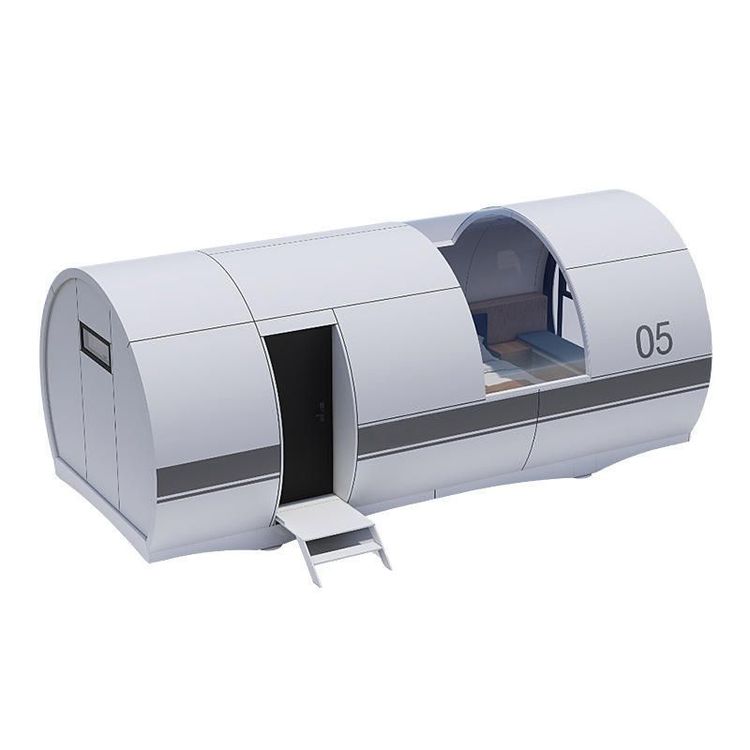
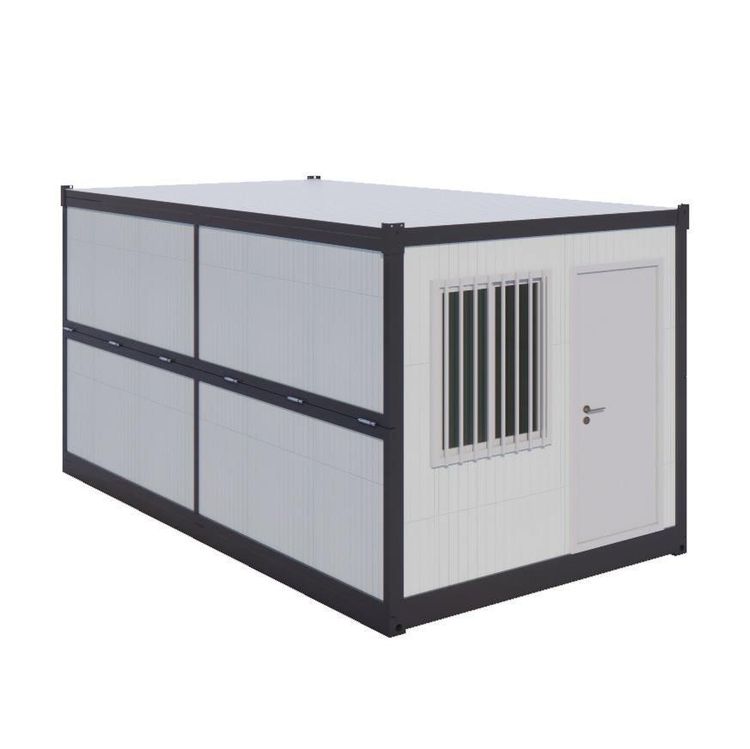
Outdoor Mobile Toilet Construction Illustration
Currently, there is no complete illustration for the construction of outdoor mobile toilets, but descriptions of two construction methods are provided for reference.

Installation of Factory-Prefabricated Finished Products
Factory-prefabricated mobile toilets are a relatively common and convenient construction method. These mobile toilets are usually fully manufactured in the factory, eliminating the need for complex civil engineering work. During installation, similar to building with blocks, the columns are first fixed according to the design positions to ensure their verticality and stability. Then, the various prefabricated components, such as walls and roofs, are assembled by splicing, with each fastener fitting tightly to ensure the structural integrity of the entire toilet. The advantage of this installation method is its speed and efficiency. The fully assembled product can be used immediately after installation on-site, making it suitable for scenarios with urgent time requirements, such as large-scale event venues and temporary construction sites.
Simple DIY Mobile Toilet
A young man has created a movable toilet using a water storage tank and a pallet. The specific steps are as follows:
- Install universal wheels: Use tools to fix universal wheels at each of the four corners of the pallet bottom for easy mobility.
- Process the water storage tank: Place a water storage tank retrieved from a garbage station onto the pallet. Use an angle grinder to cut along the marked line on the top of the tank, removing the top surface to create an open-top tank.
- Secure the tank body: Place another open-top water storage tank upside down and stack it on top of the first tank. Use self-tapping screws to fasten the frames of the two water storage tanks together.
- Cut the doorway: Cut a rectangular opening measuring 180 cm in height and 50 cm in width on the frame of the water storage tank as the doorway, and cut the tank body accordingly.
- Install the drainage system: Use a hole-opening tool to create a hole in the interior floor of the water storage tank. Insert a elbow from the bottom upwards, cut a section of pipe and insert it, and seal the gaps with glue. Cut off any excess pipe.
- Install the toilet and accessories: Place the toilet bowl aligned with the drainage hole and secure it with glue around the edges. Fix the water pipe on the wall fasteners, install a faucet, and secure a pipe cap with screws below the faucet. Connect the water pipe and create an opening as the drainage pipe outlet. Drill a hole in the pipe cap, apply glass glue, and secure a stainless steel basin as the sink.
- Complete the facilities: Connect the water inlet pipe to the toilet tank, connect the shower hose, install the shower bracket and toilet seat, and install a spray-type showerhead made from a water pipe.
- Install the door: Bring a wooden board, fix hinges on the frame of the water storage tank, and attach the other side of the hinges to the wooden board to form the toilet door. Then, install a door handle on the door.