Back to blog
Article
Outdoor Mobile Toilet Construction Guide
Admin October 05, 2026
The construction of outdoor mobile toilets requires selecting between rental installation and self-made construction based on the scenario. The specific steps are as follows:

I. General Installation Process for Rented Mobile Toilets
Pre-installation Preparation
- Site Inspection: Ensure the ground is level and solid, away from main construction roads, excavation edges (maintain a distance of over 1.5 meters), and pollution sources to prevent equipment damage due to unstable foundations or pollution.
- Material Verification: Check that all components such as the toilet body, door locks, flush valves, and sewage pipes are complete. If any damage is found, immediately contact the supplier for replacement to avoid interruptions during subsequent construction.
- Foundation Preparation: Lay gravel or concrete foundations according to the toilet type (single or connected). The load-bearing capacity for a single toilet should be ≥200kg/㎡ to ensure long-term stability.
On-site Installation Steps
- Toilet Body Positioning: Use a forklift or crane to smoothly hoist the toilet body to the designated location, keeping it level to prevent structural deformation or poor drainage.
- Drainage Connection: Connect the sewage pipe to the construction site's drainage system or a temporary collection pit. Seal the joints with sealing tape or cement and install an anti-backflow valve to prevent sewage backflow.
- Flush System Debugging: After connecting the water supply, test the flush function and check that the drainage pipes are unobstructed to ensure no blockages or leaks.
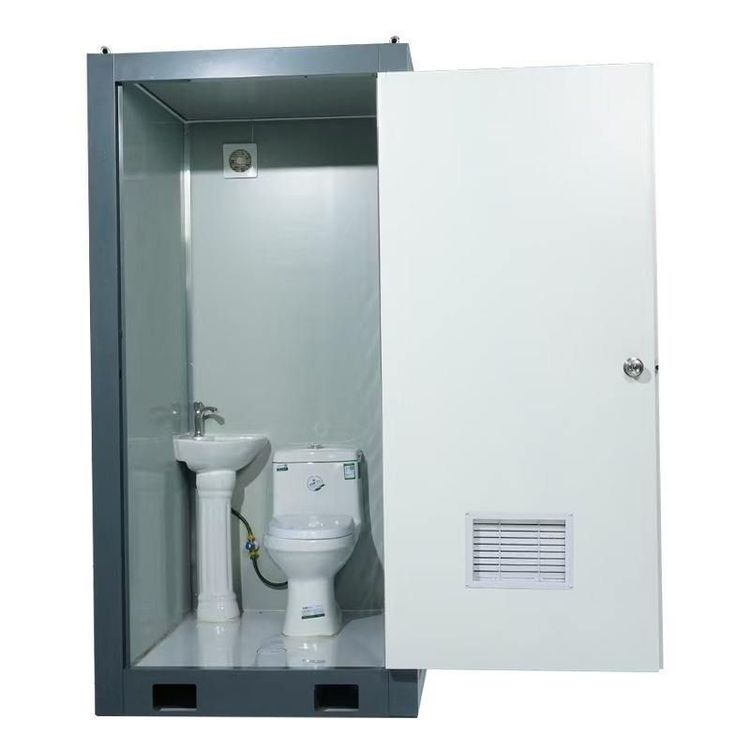
- Internal and External Inspection: Confirm that internal facilities (such as sinks and hooks) are secure and that the external toilet body is sealed without leaks to avoid safety hazards during use.
Layout and Management Standards
- Reasonable Location Selection: Place the toilet in a densely populated yet concealed area, avoiding low-lying waterlogged areas and storage zones for flammable and explosive materials to ensure safety and convenience.
- Daily Maintenance: Regularly clean the toilet, replenish consumables like toilet paper and hand soap, and inspect circuits and valves monthly to extend the equipment's service life.
II. Self-made Mobile Toilet Construction Steps (DIY Example)
- Material Preparation: Required tools include water storage tanks, plastic pallets, universal wheels, angle grinders, and self-tapping screws. Ensure materials are corrosion-resistant and easy to process.
- Construction Process:
- Bottom Structure: Fix universal wheels at the four corners of the pallet to form a movable base for flexible position adjustment.
- Tank Modification: Cut the top of the water storage tank to create an opening. Stack two tanks and secure them with self-tapping screws to increase internal space.
- Opening and Drainage: Cut a rectangular doorway measuring 180 cm in height and 50 cm in width. Drill a hole in the internal floor and install an elbow pipe, sealing the gaps to prevent leaks.
- Facility Installation: Secure the toilet, water tank, faucet, and sink (made from a stainless steel basin), and connect the water inlet pipe and shower hose to ensure complete functionality.
- Door Construction: Make a door from wooden boards and hinges, and install a door handle to ensure privacy and ease of use.
III. Precautions
- Safety Tips: Keep away from fire sources during installation, set up clear signage, and secure or relocate equipment during extreme weather to prevent tipping or damage.
- Dispute Resolution: If rented equipment fails, promptly contact the supplier and retain contract records to clarify responsibility.