How to Install a Portable Toilet Purchased Online
The installation of a portable toilet purchased online should be carried out step by step according to its type and sewage disposal method, as detailed below:

1. Confirm the Sewage Disposal Method and Plan the Location
The sewage disposal mode of a portable toilet directly affects its installation method. Packing-type or microbial degradation-type toilets do not require connection to a sewer pipe and can be directly moved to the target location. However, it is necessary to ensure that the ground is level and meets the requirements of the usage scenario (such as outdoor event venues, temporary construction areas, etc.). Flush-type toilets require prior planning of the sewer pipe layout to ensure that sewage discharge complies with local environmental protection requirements and avoids environmental pollution. If installed indoors, a drainage outlet should be reserved and the pipe's airtightness should be checked. For outdoor use, considerations should be given to the drainage slope and anti-freezing measures (such as burying pipes below the frost line in northern regions).
2. Handling and Positioning
Before handling, determine the stress points based on the toilet's design:
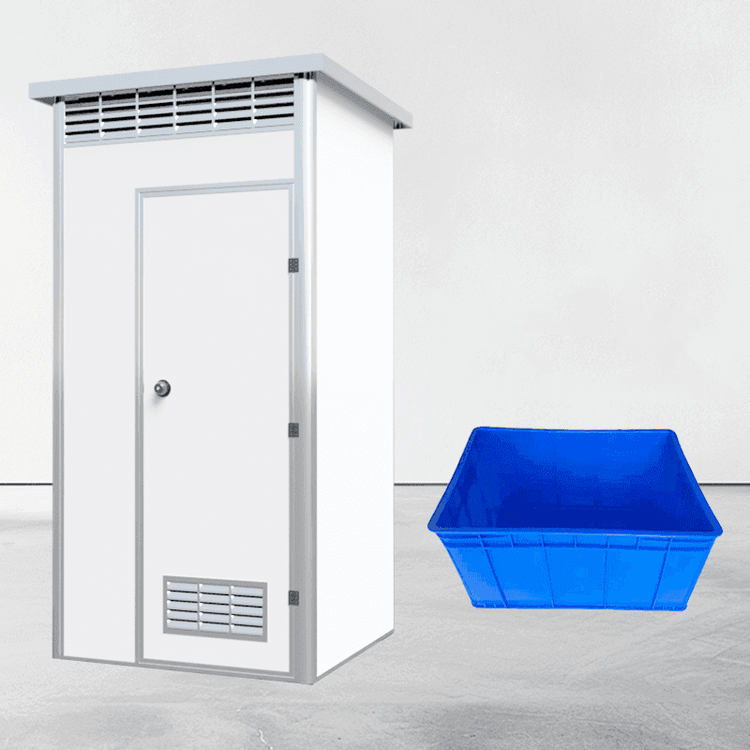
- Pointed-roof design: The balance point is usually near the top. When handling, keep it vertical to avoid structural damage caused by tilting.
- Flat-roof design: Manufacturers generally pre-install lifting hooks. Use a crane or lifting strap to secure the hooks for lifting. For small, simple models (with fewer than 4 seats), rollers can be installed at the bottom for short-distance movement by manual pushing.
- Large toilets: When the weight exceeds 500 kilograms or the volume is large, professional equipment such as a crane should be used, and operations should be directed by a dedicated person to ensure safety.
When positioning, check the ground levelness again to avoid toilet tilting or uneven stress on components due to ground irregularities.
3. Assembly and Debugging Inspection
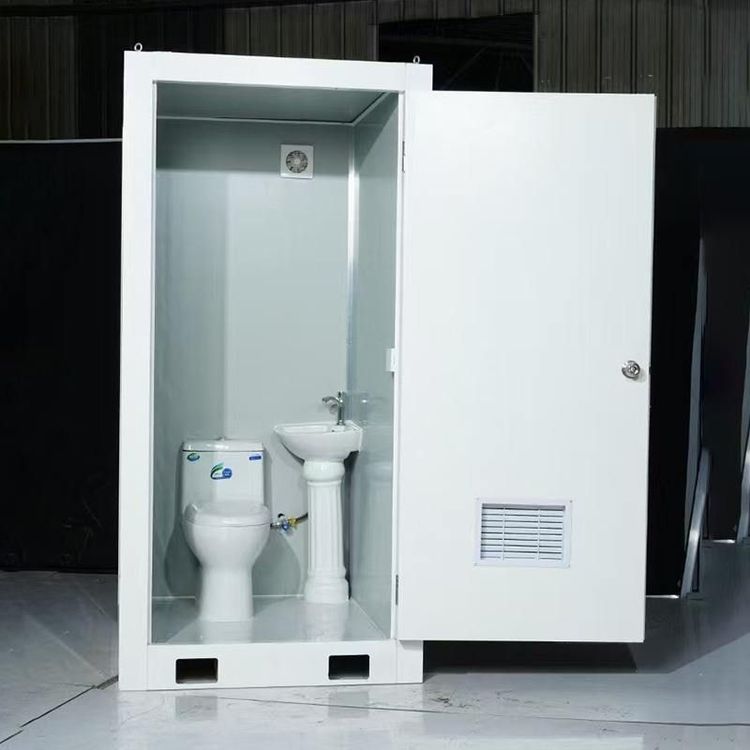
- Assembly: Install the main structure (such as walls and roof), internal facilities (toilet, sink, water storage device), and accessories (door locks, lighting, ventilation system) step by step according to the instructions.
- Check for firmness: Focus on verifying whether connecting parts such as screws and hinges are tightened to avoid loosening during use. If it is a detachable structure, test the airtightness of the joints.
- Function testing:
- Flush-type toilets: After turning on the water, check whether the toilet flush and sink drainage are smooth and whether there are any leaks in the pipes.
- Packing-type/microbial degradation-type toilets: Test the packing bag replacement mechanism or the start-up of the microbial treatment system.
- Cleaning and disinfection: Use a neutral detergent to wipe the inner and outer surfaces, focusing on cleaning high-frequency contact areas such as the toilet and sink. Disinfect by spraying with a chlorine-containing disinfectant (such as 84 disinfectant) to ensure no odor and compliance with hygiene standards.
4. Installation Tips for Special Types
If you have purchased a portable toilet seat (not a complete toilet), the installation steps are simpler:
- After unpacking, check that all accessories (toilet seat body, water tank, hose, sealing ring, etc.) are complete.
- Connect the water tank to the toilet seat body with a hose, ensuring that the sealing ring is properly installed to avoid water leakage.
- Place it in a dry, well-ventilated area, away from water sources (such as shower areas) to prevent electrical short circuits (if it is an electric model).
After installation, it is recommended to conduct a no-load test before the first use to confirm that all functions are normal before putting it into use.