Installation of New Plastic Mobile Toilets
The installation of new plastic mobile toilets should follow the steps and precautions below:
I. Pre-installation Preparation
- Site Selection: Prioritize flat and solid ground, such as concrete, asphalt, or compacted gravel surfaces. Avoid soft soil, sandy areas, or slopes with significant gradients to prevent tilting or settling of the toilet unit.
- Tools and Equipment Preparation: Depending on the size and weight of the toilet, prepare a forklift or small crane for lifting, along with tools such as a spirit level, tape measure, wrench, and screwdriver.
- Component Inspection: After unpacking, verify that all components, including the main unit, roof, doors, windows, and sanitary fixtures, are present. Check the structure and panels of the unit for any damage or deformation.
II. Positioning and Leveling of the Main Unit
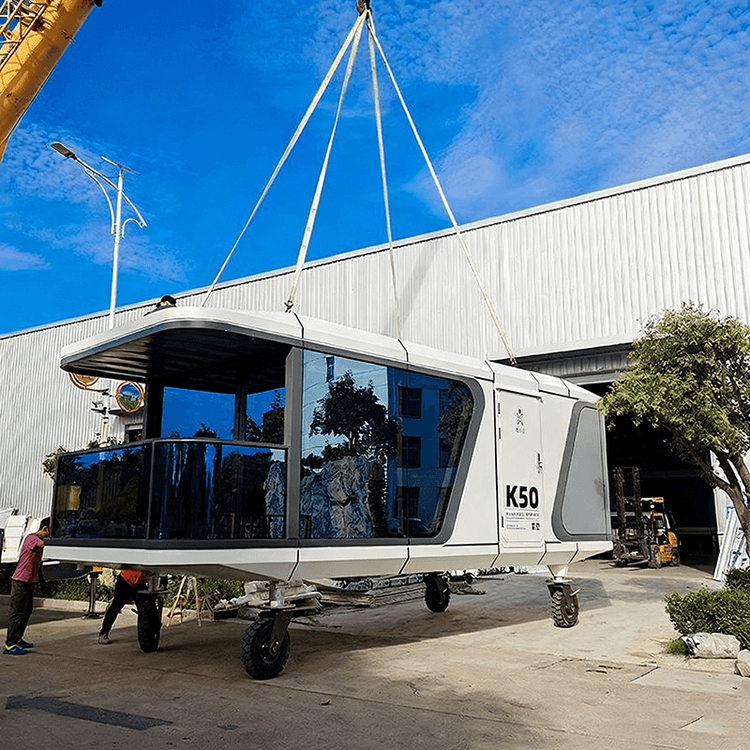
- Lifting Operation: Use lifting equipment to raise the unit steadily. Ensure that lifting straps or steel cables are secured at the designated lifting points on the unit to prevent deformation due to uneven force distribution.
- Level Adjustment: Use a spirit level to measure at multiple points on the unit's base frame. If unevenness is detected, slightly lift the lower side with a jack or crowbar and insert hard, waterproof shims (such as rubber or plastic sheets) to level it.
III. Pipe System Connection
- Water Supply Pipes: In direct water supply mode, connect the on-site water supply pipe to the toilet's water inlet using flexible hoses or PPR pipes. Wrap Teflon tape or install sealing gaskets at the connections to prevent leaks.
- Sewage Pipes: Flush toilets require connection to sewage pipes. Maintain a pipe gradient (usually ≥2%) and install sealing rings at the connection between the toilet's sewage outlet and the external pipe to prevent odor leakage.
IV. Installation of Other Systems
- Ventilation System: Install exhaust fans or ventilation ducts on the roof or upper sidewalls to ensure internal air circulation and reduce odor accumulation.
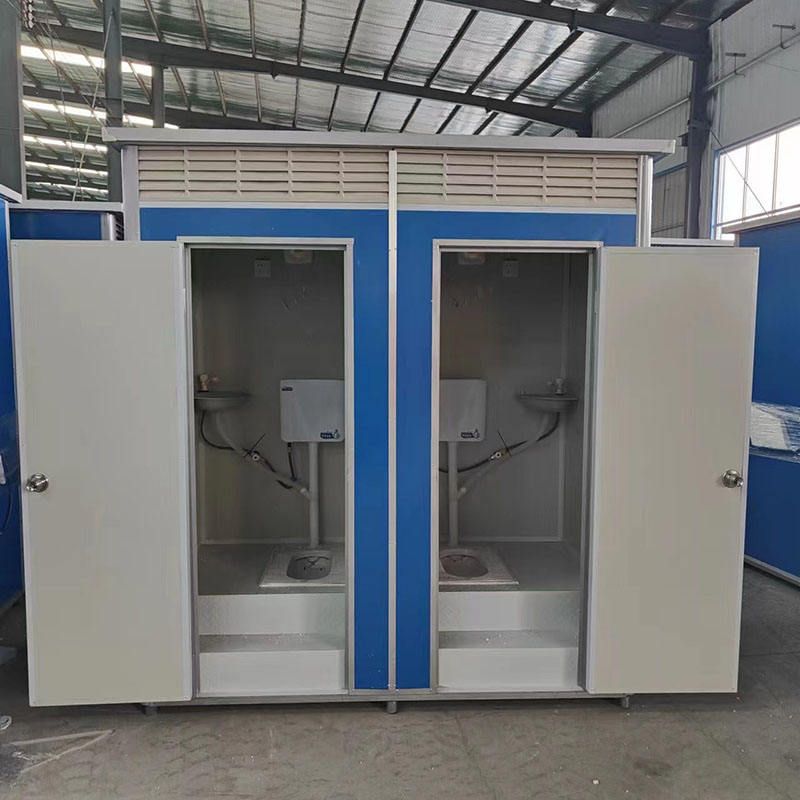
- Internal Fixtures: When installing toilet seats, sinks, mirrors, and other accessories, use sealant or waterproof strips to seal the joints between fixtures and walls to prevent water seepage.
V. Anti-slip and Safety Measures
- Floor Anti-slip: Lay anti-slip mats or choose flooring with a textured surface inside the toilet to reduce the risk of slipping.
- Electrical Safety: Use waterproof lighting fixtures and protect electrical lines with conduits to prevent electric shock hazards.
VI. Final Inspection and Testing
Test the flushing mechanism, sewage pipes, door and window operation, and ventilation equipment to ensure they function properly without leaks, blockages, or jams.
VII. Usage and Maintenance Instructions
Explain daily maintenance points to the management, such as regularly cleaning the sewage tank, adding degrading agents (if applicable), checking the airtightness of water pipes, and cleaning ventilation filters, to extend the service life of the equipment.