Back to blog
Article
How to Install Mu Xu Mobile Toilets
Admin October 11, 2026
The installation of Mu Xu mobile toilets requires step-by-step operations based on the type (split-type or integrated-type). The core process includes pre-installation preparation, main body installation, functional testing, and safety maintenance, as detailed below:

I. Pre-Installation Preparation
- Site Selection
- The ground must be solid, flat, and well-drained, avoiding soft or waterlogged areas. For public places (e.g., scenic spots), temporary facility approvals must be obtained in advance.
- For split-type toilets, clear the ground of debris and lay a gravel or concrete foundation (with a load-bearing capacity of ≥200kg/㎡ for single-person toilets). Integrated-type toilets can be directly hoisted without complex foundations.
- Equipment Inspection
- Verify the integrity of the toilet body and accessories (e.g., door locks, flush valves, sewage pipes). Contact the supplier promptly for replacements if any damage is found.
- Tools and Team
- Prepare tools such as forklifts, cranes, bolts, and sealants. It is recommended to engage a professional construction team to avoid installation errors due to inexperience.
II. Main Body Installation Steps
Split-Type Toilets
- Chassis and Frame Positioning: Use a forklift to place the prefabricated chassis steadily and adjust its levelness.
- Wall and Roof Installation: Insert the sandwich panel walls into the chassis slots and secure them with bolts or clips. Install the roof panel and seal it to prevent leaks. This step typically takes 1-2 hours.
- Internal Facility Connection: Install partitions, toilets, flushing systems, sinks (if applicable), lighting, and ventilation equipment. Connect water and electricity lines (modular quick connectors can reduce installation time), which must be done by professionals.
Integrated-Type Toilets (e.g., container-type)
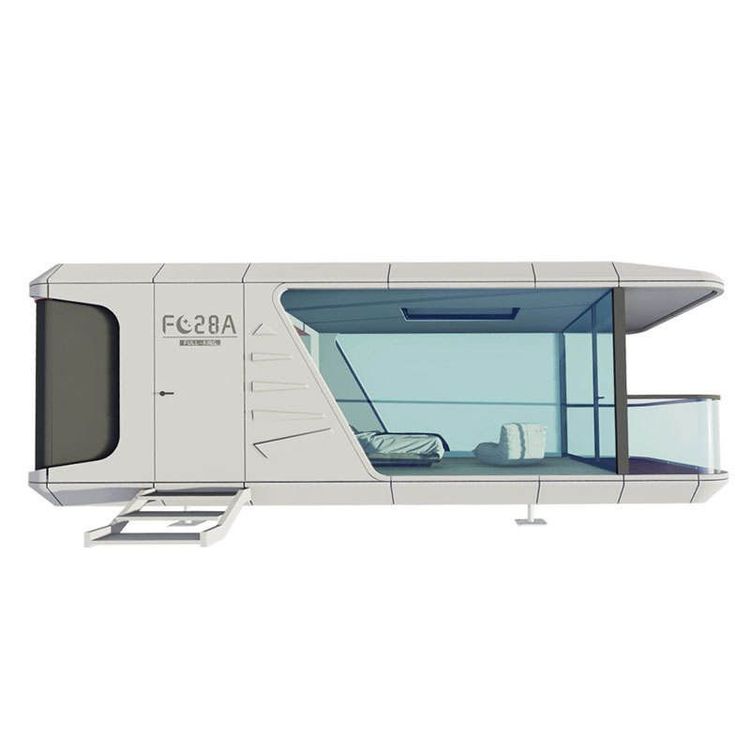
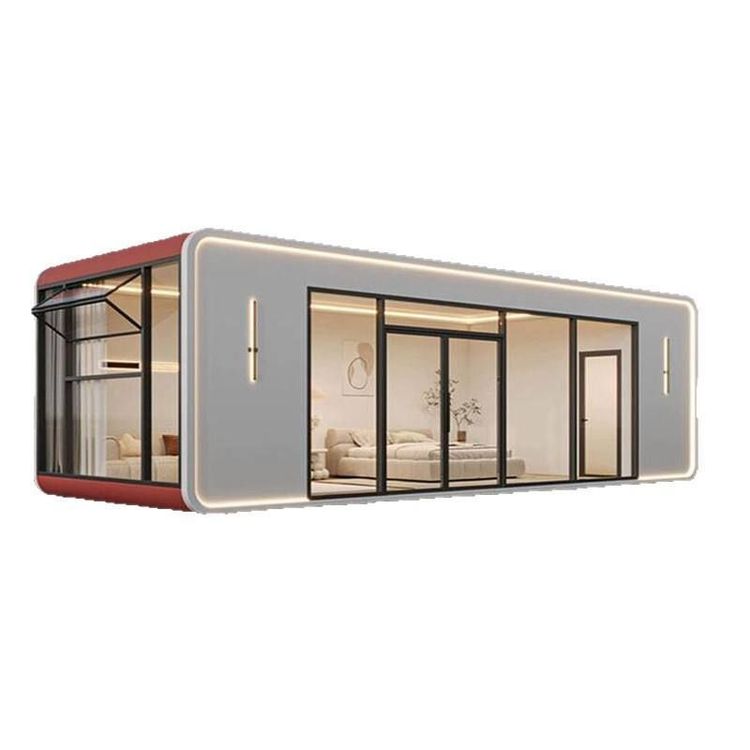
- Hoisting and Positioning: Use a crane to place the factory-prefabricated toilet body steadily. Connect water, electricity, and sewage pipes. The overall installation time can be reduced to 2-4 hours.
- Drainage System Connection: Connect the sewage pipe to the municipal sewer network or a sewage collection tank (which requires regular cleaning). Seal the connections to prevent leaks and install an anti-backflow valve.
III. Functional Testing and Acceptance
- Flush and Circuit Testing: Connect a temporary power source or generator to check if the lighting and flushing systems are functioning properly. For eco-friendly toilets, verify that the fecal tank capacity meets requirements.
- Sealing Inspection: Focus on checking the connections of sewage pipes, water tanks, etc., to ensure no leaks or water accumulation.
- Safety Signage: Set up anti-collision signs around the toilet to prevent vehicle or pedestrian collisions.
IV. Key Considerations
- Compliance: Installation must comply with the Mobile Toilet Hygiene Standards (GB/T 21239-2023) to ensure structural safety and hygiene standards.
- Maintenance Cycle: Regularly inspect bolts and seals for aging and replace them promptly. For daily cleaning, replenish toilet paper, hand soap, and disinfect regularly.
- Disassembly Process: If relocation is required, perform operations in reverse order: disconnect water, electricity, and sewage → clean and seal connections → remove internal facilities → disassemble the main structure (roof → walls → chassis). A skilled team typically takes 1-3 hours to disassemble a split-type toilet.
Tip: Specific operations should be carried out in accordance with the equipment manual or contact the supplier for technical guidance to avoid affecting usage due to improper operation.