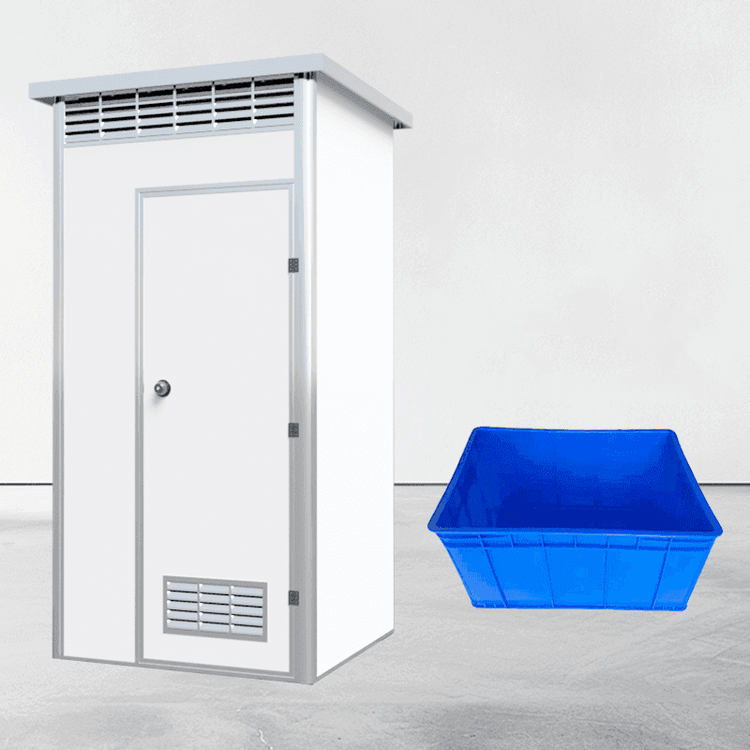
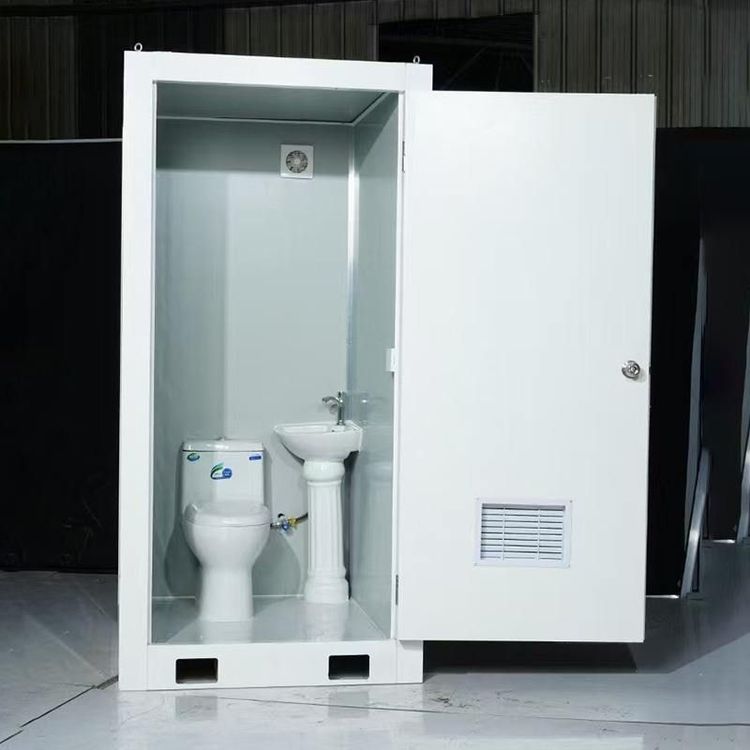
Mobile Toilet with Septic Tank
The installation of a mobile toilet with a septic tank requires selecting an appropriate plan based on the specific type and scenario. Taking the integrated three-chamber plastic septic tank used in rural toilet renovations as an example, the installation steps are as follows:

Site Selection and Marking
Measure and select the location for the septic tank, adhering to the following principles: keep it away from drinking water sources to avoid contamination; avoid parking spaces, driving areas, and underground pipelines to prevent damage during construction or use; do not place it too far from the toilet building for easy pipe connection; prioritize the downwind side of the kitchen to reduce odor impact. After site selection, mark the area to define the excavation scope.Excavation of the Foundation Pit
Determine the size of the foundation pit based on the external dimensions of the septic tank. The length, width, and depth of the pit should be slightly larger than those of the septic tank itself to allow for installation and backfilling. For example, if the septic tank measures 2 meters in length, 1.5 meters in width, and 1.2 meters in height, the pit can be designed to be 2.2 meters long, 1.7 meters wide, and 1.3 meters deep to ensure construction convenience.Foundation Treatment
Clear debris from the bottom of the foundation pit to ensure a flat surface. Perform hardening treatment to enhance the load-bearing capacity, commonly by laying a 10-15 cm thick gravel layer and compacting it, or pouring a 10 cm thick concrete foundation. The hardened layer must be level to prevent deformation of the septic tank after installation due to foundation settlement.Septic Tank Installation
Lift the septic tank smoothly into the foundation pit, adjust its position to align its center with the marked lines, and use a level to check its horizontal state. If the septic tank is buried underground, ensure its top is level with or slightly lower than the ground surface for easy backfilling and installation of supporting facilities.Pipe Connection and Sealing
Connect the inlet and outlet pipes and the fecal transfer pipe, install sealing gaskets, and ensure the joints overlap by at least 5 cm to prevent leakage. Seal the interfaces between the fecal transfer pipes inside the septic tank's three chambers and the connections between the external inlet and outlet pipes and the septic tank. Common sealing materials include waterproof glue and rubber rings, which should be applied evenly and pressed firmly.Backfilling and Compaction
Backfill the soil in layers, with each layer not exceeding 30 cm in thickness. Compact the soil with a compactor or manually during backfilling to prevent the septic tank from shifting due to loose backfill. Pause backfilling when reaching 10 cm from the ground surface to install supporting facilities.Installation of Supporting Facilities and Inspection Wells
Install an exhaust pipe to ensure the discharge of gases from the septic tank, preventing structural damage due to excessive air pressure; the exhaust outlet should be at least 50 cm above the roof of the toilet building. Install an inspection well, with the wellhead level with the ground surface for easy future cleaning and maintenance.Leakage Detection and Use
After backfilling, fill the septic tank with water to 80% of its design capacity and observe for 24 hours to confirm no leakage before official use. If leakage is detected, recheck the sealed areas and make repairs.
Market Product Example: The Lieganglang PE septic tank is made of thickened ox tendon material, with a double-layer 2-cubic-meter capacity suitable for use by up to 50 people. It features corrosion resistance, impact resistance, and is suitable for temporary or mobile scenarios.