Back to blog
Article
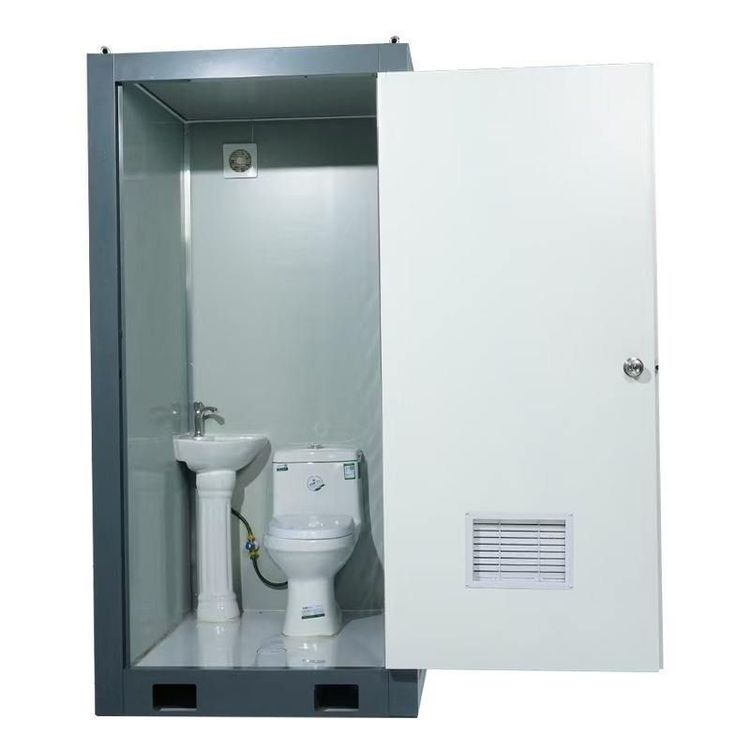
Mobile Toilet Sink Installation
Admin October 01, 2026
The installation of a sink in a mobile toilet should follow standardized procedures, focusing on pre-installation preparation, installation steps, detail checks, and safety regulations, as detailed below:

I. Pre-Installation Preparation
- Inventory and Inspection of Components: Before installation, verify that all components, including the sink body, drain, seals, expansion bolts (or counterweights), Teflon tape, and silicone sealant, are present. Inspect the sink for any cracks, scratches, or other damage to avoid rework due to missing parts or equipment failure after installation.
- Site Assessment and Measurement: Choose an installation location away from low-lying areas prone to water accumulation to prevent sewage backflow. Reserve at least 50 cm of operating space for installation and maintenance. Use a tape measure to check site dimensions, ensuring the sink size matches the reserved space to avoid installation difficulties due to size mismatches.
II. Installation Steps
- Base Fixation: Place the sink body steadily in the designated position and use a level to adjust its horizontal alignment, with a deviation of no more than 3 mm, to prevent sink tilting and drainage issues. For ground installations, secure the sink bottom with expansion bolts; for mobile toilets, use counterweights (such as concrete blocks) to press down on the sink bottom for enhanced stability.
- Drain Connection:
- Wrap 5-8 turns of Teflon tape (slightly thick) around the drain threads to enhance sealing and prevent leaks.
- Connect one end of the sewage pipe to the drain and the other end to the sewer or collection tank, ensuring a pipe slope of at least 2% to facilitate drainage by gravity and prevent sewage stagnation.
- Sealing Treatment:
- The joint between the sink and countertop is prone to dirt accumulation. Apply anti-mold silicone sealant evenly (about 2 mm thick) between the lower seal and ceramic contact surface to prevent mold growth.
- Check that the upper and lower seals (one each at the top and bottom of the sink) are properly installed to avoid leaks due to poor sealing.
III. Detail Checks
- Function Testing: Press the flush button three times consecutively to observe smooth drainage and check the drain seal for blockages or leaks. For under-counter sinks, test the load-bearing capacity of the bracket to ensure sink stability.
- Component Installation: Install auxiliary components such as curtains and non-slip mats. Check the flexibility of door locks and flush buttons to ensure ease of use.
IV. Safety Regulations
- Fire Prevention Requirements: Smoking or the use of open-flame equipment inside the toilet is prohibited to prevent fires caused by flammable materials such as silicone sealant.
- High-Altitude Work: If installation requires working at heights (e.g., on a rooftop mobile toilet), wear a safety harness and ensure the work platform is stable. Suspend installation during strong winds (≥ Level 5) to avoid the risk of falling objects.
Tip: For under-counter sinks, custom-make an installation bracket according to the sink dimensions and ensure the countertop is long enough (typically 10-15 cm longer than the sink) to avoid complex disassembly/assembly or insufficient load-bearing capacity due to a short countertop.