Mobile Toilet Installation Process
The installation process of mobile toilets varies depending on the type, mainly divided into two types: ordinary mobile toilets and mobile toilets (toilet bowls). The specific installation steps are as follows:

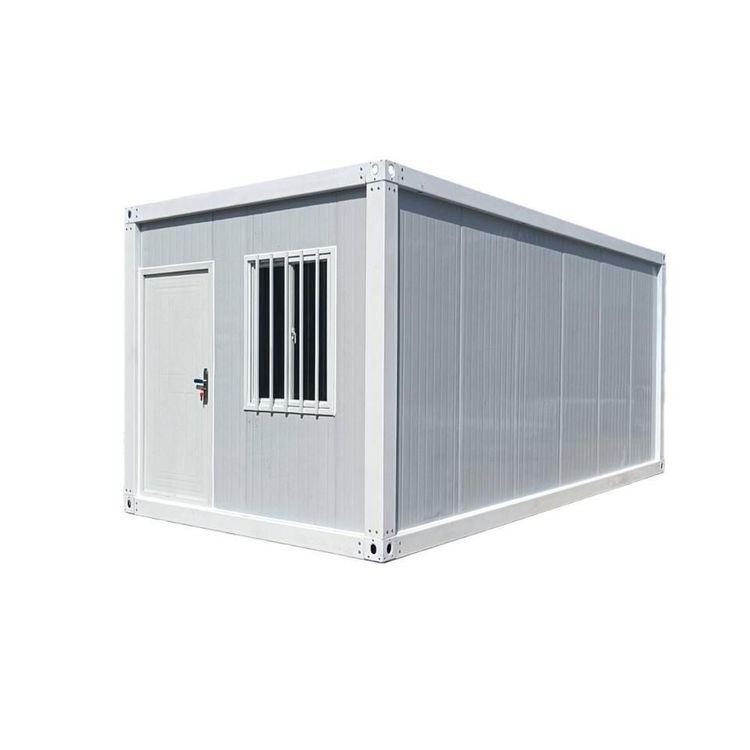
The installation of an ordinary mobile toilet requires tools such as an electric drill, a 4.2-millimeter drill bit, and a rivet gun. The first step is to install the inner corners. The inner corner components need to be fixed to the frame according to the design position, ensuring accurate angles and firm connections to provide basic support for the subsequent installation of panels. The second step is to assemble the panels. Insert the prefabricated panels one by one into the slots. When assembling, align the upper and lower edges of the panels to ensure the flatness of the overall structure. The third step is to drill holes and fix them. Use a drill bit to drill holes at the joints of the panels. The hole diameter should match the specifications of the rivets. Then insert the rivets and use a rivet gun to complete the fixation. Pay attention to keeping the spacing between the rivets even to avoid uneven local stress that could cause the structure to loosen.
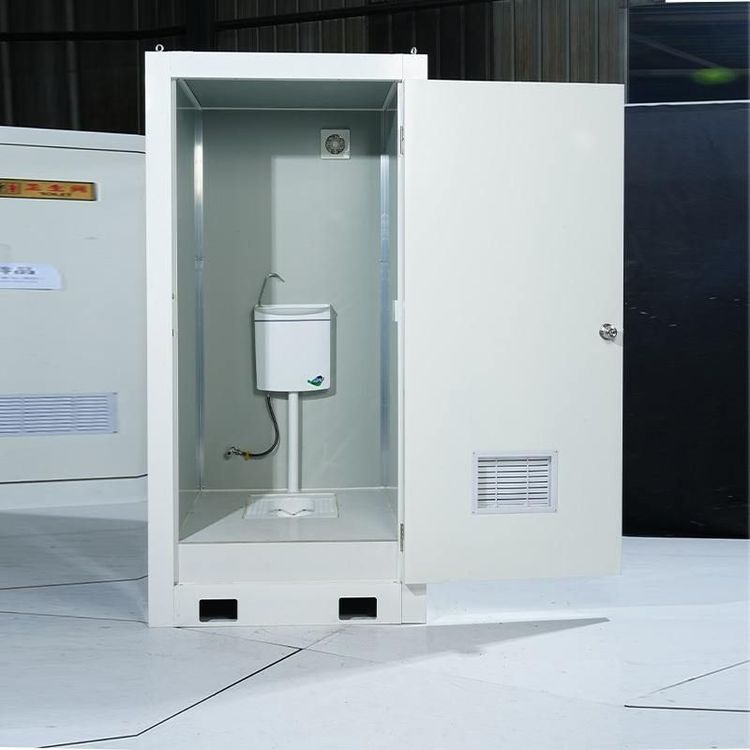
The installation process of a mobile toilet (toilet bowl) is relatively simplified. The first step is to unpack and inspect. Check the parts list to confirm that components such as the toilet body, water tank, sealing ring, and fixing bolts are complete to avoid affecting subsequent installation due to missing parts. For subsequent steps, refer to the product manual. Different brands may have different designs. For example, some models require installing the drain pipe interface first and then fixing the toilet base; some smart toilets need to be connected to the power cord and tested for functionality. If a toilet offset device is involved, it should be installed before laying the floor tiles. First, measure the distance between the original drain outlet and the new position and select an offset device of the appropriate length. Second, adjust the floor slope. Use special tools to shave down or raise the floor to ensure that the drainage slope is not less than 2% to avoid water accumulation or blockage. Finally, fix the offset device. Seal the interface with cement mortar and conduct a closed-water test after it dries.
Installation precautions: For ordinary mobile toilets, it is essential to check whether the rivets are firmly fixed to prevent the panels from falling off during use. For mobile toilets (toilet bowls), ensure that the drain pipe is tightly connected to the offset device to prevent leakage. If the floor is uneven, level it with cement in advance to prevent the toilet from wobbling after installation. After installation, it is recommended to conduct a functionality test, such as checking whether the door lock and ventilation system of an ordinary mobile toilet are working properly and testing whether the flushing and drainage of a mobile toilet (toilet bowl) are smooth.