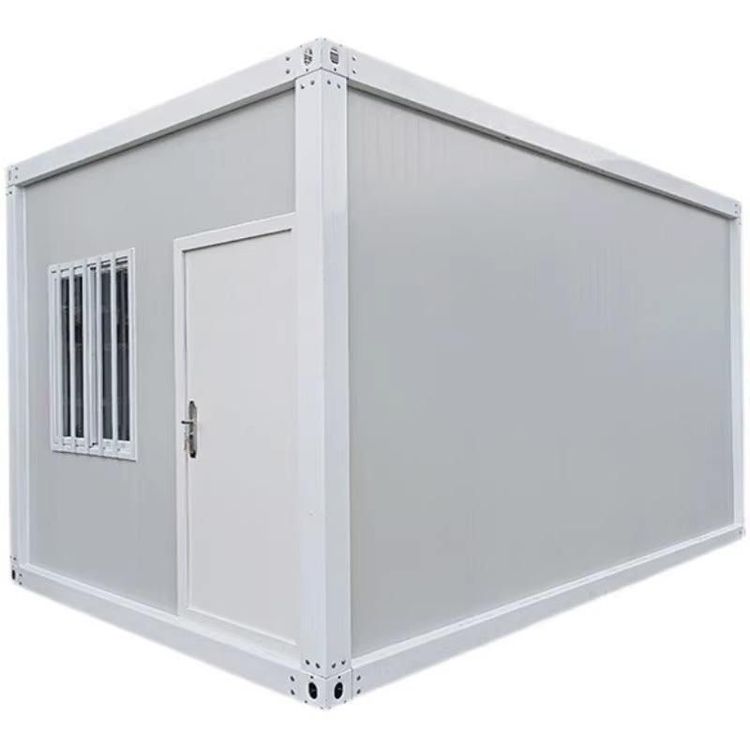
How to Install the Position of a Mobile Toilet
The installation position of a mobile toilet (toilet bowl) can be adjusted using a dedicated offset connector, but it is essential to strictly adhere to installation specifications to ensure proper drainage and structural safety.

1. Installation Timing
The installation of the offset connector should be completed before laying floor tiles. If the floor has already been tiled, some tiles may need to be removed, or alternative methods (such as raising the floor) must be employed to create installation conditions. Otherwise, the waterproof layer may be damaged, or the drainage slope may be affected.
2. Offset Distance and Slope Control
- Slope Requirements: The greater the offset distance, the steeper the drainage slope must be. It is generally recommended to maintain a slope of 5% (i.e., raising the pipe by 5 cm for every 1 meter of horizontal distance) to ensure smooth sewage discharge and prevent blockages.
- Long-Distance Offset: If using a flat-pipe offset connector (approximately 50-60 mm in height), follow the standard of raising the pipe by about 5 mm for every 100 mm of movement. For example, when offsetting by 1 meter, the end of the pipe must be raised by 5 cm. This requires cutting a groove in the floor (approximately 20-40 mm deep) to compensate for the height difference, followed by floor leveling and tiling to restore flatness.
3. Detailed Installation Steps
- Measurement and Cutting: Measure the offset distance according to actual needs and use a saw to cut the main body of the offset connector to the appropriate length, ensuring component compatibility.
- Component Connection: Use specialized adhesive to firmly connect the main body of the offset connector with components such as elbows to prevent leakage.
- Floor Grooving and Fixing: Cut a groove in the floor (slightly wider than the offset connector), embed the offset connector, and secure it. If using a new type of offset connector, its flange can directly mate with the connection seat on the main body and be fixed to the floor with cement, eliminating the need for expansion screws and simplifying the process.
- Toilet Installation: After fixing the offset connector, install the toilet using conventional methods, ensuring that the sealing ring aligns with the drain outlet to prevent odor leakage.
4. Floor Treatment Options
Depending on the type of offset connector and the offset distance, choose to raise the floor or cut a groove downward:
- Flat-Pipe Offset Connector: Reduce the floor elevation by cutting a groove (20-40 mm deep). After leveling and tiling, the offset connector will be roughly level with the floor.
- Ordinary Offset Connector: If the offset distance is short and there is no condition for cutting a groove, the floor may need to be raised directly, but ensure that the slope meets the standard.
5. Advantages of New Offset Connectors
Some new offset connectors feature an integrated design of the flange and main body, which can be fixed to the floor with cement, eliminating the need for expansion screws. This reduces installation difficulty and minimizes damage to the floor, making them suitable for DIY projects or spaces with limited room.
Summary: Adjusting the installation position of a mobile toilet should prioritize drainage functionality, strictly controlling slope, component connection, and floor treatment. When necessary, choose new offset connectors to simplify the process and ensure long-term safe and reliable use.