
Back to blog
Article
Installation Guide for Mobile Toilets in Mobile Panel Houses
Admin September 28, 2026
The installation guide for mobile toilets (mobile restrooms) in mobile panel houses is as follows:
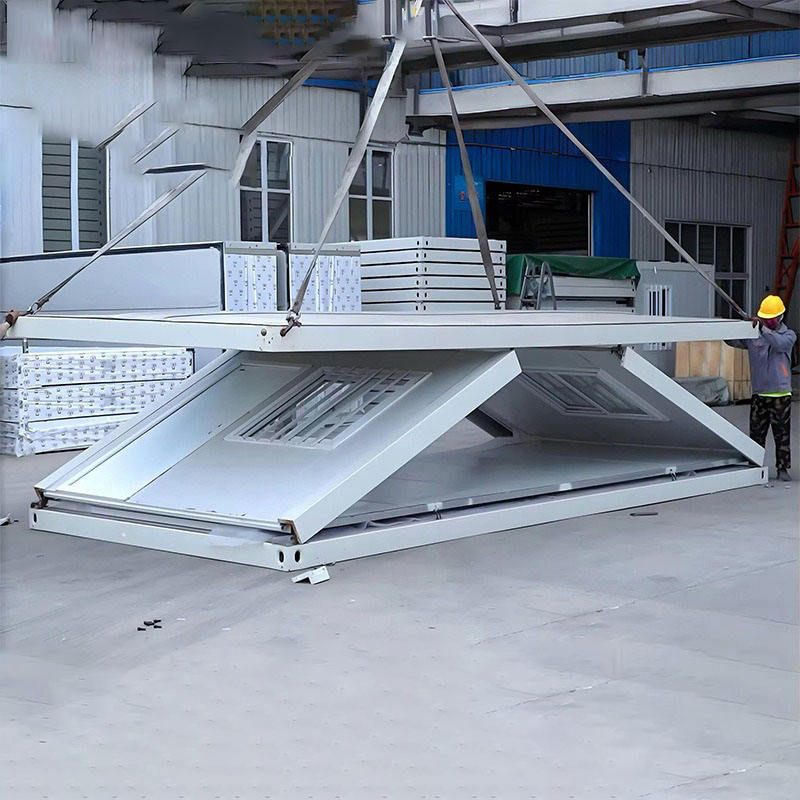
Preparation Phase
- Confirm Installation Location: Ensure the ground is level and can bear the weight of the toilet to prevent tilting or damage due to uneven ground or insufficient load-bearing capacity. Additionally, check that the sewage pipes are unobstructed and that the ground level and other conditions meet the requirements to ensure normal toilet use and sewage discharge functions.
- Select Model Configuration: Choose the appropriate mobile toilet model and configuration based on actual needs. Common sewage disposal methods include packaged and microbial degradation types. The packaged type is suitable for places with low sewage treatment requirements and frequent movement; the microbial degradation type is more environmentally friendly and suitable for areas with high environmental requirements.
- Prepare Tools and Materials: Prepare the tools and materials required for installation, such as an electric drill, a 4.2-millimeter drill bit, and a rivet gun. These tools will be used to fix and connect various components, ensuring the firmness and stability of the installation.
Assemble the Frame
- Fix the Base: Secure the base to the ground to ensure it remains stable. This is the foundation of the entire toilet structure and must be installed firmly.
- Connect Wall Panels: Connect the right-side panel and the left- and front-side wall panels in sequence and tighten the screws. During connection, pay attention to the sealing and firmness of the joints between components to prevent water leakage or loosening. Part of the installation process can be referred to as follows: install the inner corners in sequence, insert the panels into the slots and align them, drill holes after alignment with the top and panels, insert rivets, and fix them with a rivet gun. This step usually requires two people to cooperate to ensure no tipping occurs during the erection process.
- Install Upper Components: Install the upper slots to support the top components, and install ventilation louvers to enhance air circulation and reduce odors. Finally, cover the top to complete the construction of the entire structure.
Detail Handling and Final Work
- Clean and Organize: Clean and organize the interior and exterior of the entire toilet to remove dust and debris generated during the installation process and keep the toilet clean.
- Check and Tighten: Check and tighten all bolts and nuts to prevent loosening and detachment, which may affect normal use or pose safety hazards.
- Maintenance and Upkeep: Implement daily maintenance measures, such as regular cleaning and inspection of sewage pipes, to extend the product's lifespan and improve user experience.
Related
You may also like
27Oct
Portable Toilet Eco-Friendly: MOQ, Samples & Quotation Guide
Read More
27Oct
Top Portable Toilet Color Steel Manufacturers: How to Choose a Factory Partner
Read More27Oct
Portable Toilet Picture: Types, Features & Buying Tips
Read More
27Oct