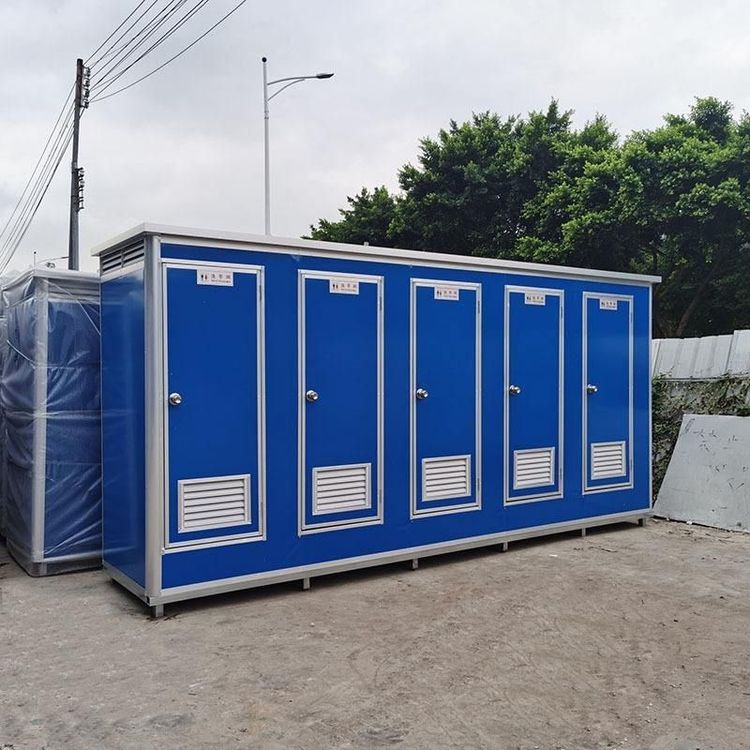
How to Install a Mobile Toilet
The installation methods for mobile toilets vary depending on the type, which can be broadly categorized into general mobile toilets and mobile commodes (considered a type of mobile toilet). Below are the detailed installation steps:

Installation of General Mobile Toilets
The installation of a general mobile toilet requires tools such as an electric drill, a 4.2-millimeter drill bit, and a rivet gun. During installation, the first step is to install the inner corners. Fix the inner corner components in the predetermined positions according to the design requirements, ensuring that the inner corners are firmly installed and the angles are accurate, providing a stable frame foundation for the subsequent assembly of the panels. The second step is to assemble the panels. Insert the panels into the slots and align them, ensuring that the connections between the panels are tight, flat, and free of gaps or misalignments. After aligning the panels with the installed parts above, use the drill to make holes. The positions and spacing of the holes must strictly adhere to the design requirements to ensure the stability of the rivet fixation. Finally, insert the rivets and secure them with the rivet gun. Accurately insert the rivets into the drilled holes and firmly fix them with the rivet gun to make the entire structure of the mobile toilet more stable and reliable.
Installation of Mobile Commodes
The installation process for mobile commodes is relatively more complex. First, install the toilet flange. Align the center of the flange with the center of the drainpipe and place the commode correctly, ensuring a tight connection between the commode and the drainpipe to prevent water leakage. Next, install the angle valve and the three-way connector for the water inlet and spray head. The angle valve is used to control the flow of water, while the three-way connector is used to connect the water inlet, spray head, and other components. Ensure that the connections are firm and well-sealed during installation. Then, screw on the water inlet hose of the commode. Connect one end of the hose to the angle valve and the other end to the water inlet of the commode, making sure to tighten the hose fittings to prevent water leakage. After that, assemble the commode spray head. Tighten the sealing rubber rings at both ends to ensure the spray head is well-sealed, and then connect it to the other end of the three-way connector. Next, firmly clamp the spray head bracket onto the top of the three-way connector to ensure that the spray head is stably fixed in the appropriate position. Finally, apply sealant after testing the commode for water leakage. Applying sealant can further enhance the seal between the commode and the floor, preventing sewage leakage.
In addition, when installing some mobile commodes, check whether all accessories are complete after receiving the package. You can also contact customer service for installation instructions or follow the manual for installation.