
Mobile Toilet Foundation Construction Drawing
There is no direct illustration of the foundation construction for mobile toilets, but stable installation can be achieved through the following fixing methods:
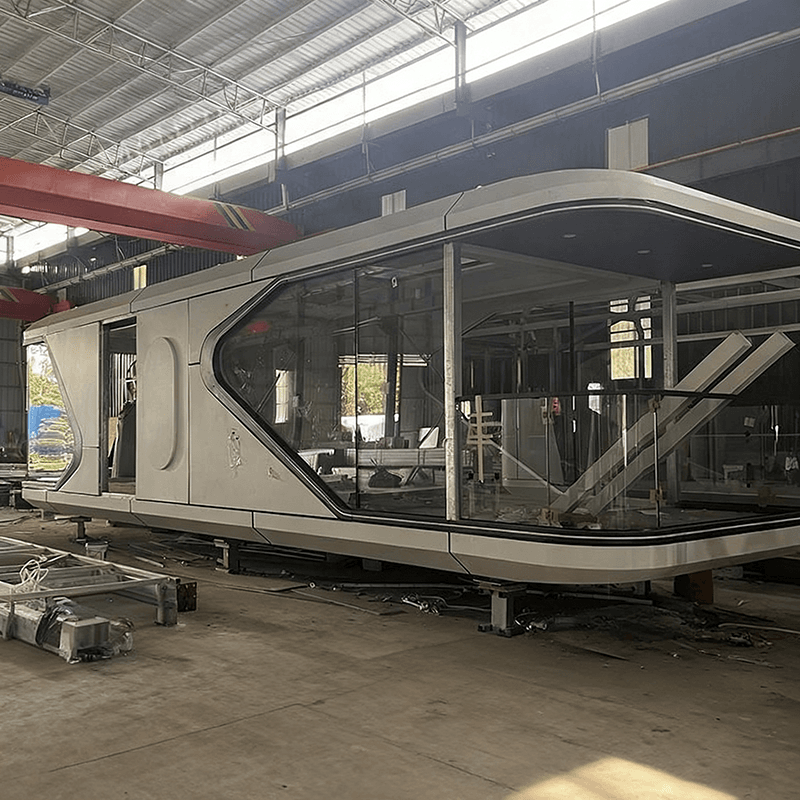
The ground fixation of mobile toilets should be selected based on the usage scenario, geological conditions, and the self-weight of the toilet. Common methods include expansion bolt fixation, concrete pouring fixation, and counterweight block fixation. The specific operations are as follows:
1. Expansion Bolt Fixation Method
Suitable for hard ground (such as cement and asphalt), the operation steps are as follows:
- Positioning and Marking: Use a level to determine the positions of the four corners at the bottom of the toilet and mark the drilling points to ensure the toilet is level after placement;
- Drilling and Installation: Drill holes in the ground with an impact drill. The hole diameter should match the specifications of the expansion bolts (usually M10-M12), and the depth should be adjusted according to the bolt length (generally ≥ 8 cm);
- Fixing and Connection: Insert the expansion bolts into the holes and tighten the nuts with a wrench to make the bolts expand and ensure a tight fit with the ground. Finally, connect the toilet chassis to the bolts through the bolt holes. It is recommended to use 2-4 bolts on each side to enhance stability and avoid tilting due to unilateral force.
2. Concrete Pouring Fixation Method
Suitable for soft soil foundations or long-term fixation requirements, the steps are as follows:
- Foundation Pit Excavation: Excavate a foundation pit with a depth of 50 cm and a width of 60 cm according to the size of the toilet, ensuring that the foundation size is slightly larger than the bottom projection of the toilet;
- Cushion Layer Treatment: Lay a 10 cm thick gravel cushion layer at the bottom of the pit and compact it with a compactor to enhance drainage;
- Concrete Pouring: After formwork installation, pour C30 concrete and insert a steel reinforcement framework (such as Φ12 deformed steel bars) to form a grid structure and improve the crack resistance of the foundation;
- Connection and Fixation: After the concrete has set for 3-5 days (when the strength reaches more than 70% of the design value), connect the toilet chassis to the foundation through embedded bolts or welding to ensure firmness.
3. Counterweight Block Fixation Method
Suitable for temporary use or scenarios where the ground cannot be damaged, the operation points are as follows:
- Counterweight Selection: Place prefabricated concrete blocks or sandbags around the bottom of the toilet. It is recommended that the weight of each block be ≥ 50 kg, and the total counterweight should be ≥ 1.5 times the self-weight of the toilet to resist wind or external forces;
- Waterproof Treatment: Wrap the counterweight blocks with waterproof tarpaulin to prevent weight reduction due to rain erosion;
- Safety Reminder: When moving the toilet, professional personnel should be employed to disassemble the counterweight blocks to avoid injury from tipping, and the fixed state of the counterweight blocks should be regularly inspected.
The above methods should be selected in combination with on-site conditions. The expansion bolt method is quick in construction but depends on the hardness of the ground. The concrete method offers the best stability but has a long cycle. The counterweight block method is flexible but requires regular maintenance.



