
Back to blog
Article
Mobile Toilet Door Installation Diagram
Admin October 05, 2026
The installation process for mobile toilet doors (bathroom sliding doors) is as follows. There is no diagram available for now, but detailed textual instructions are provided:
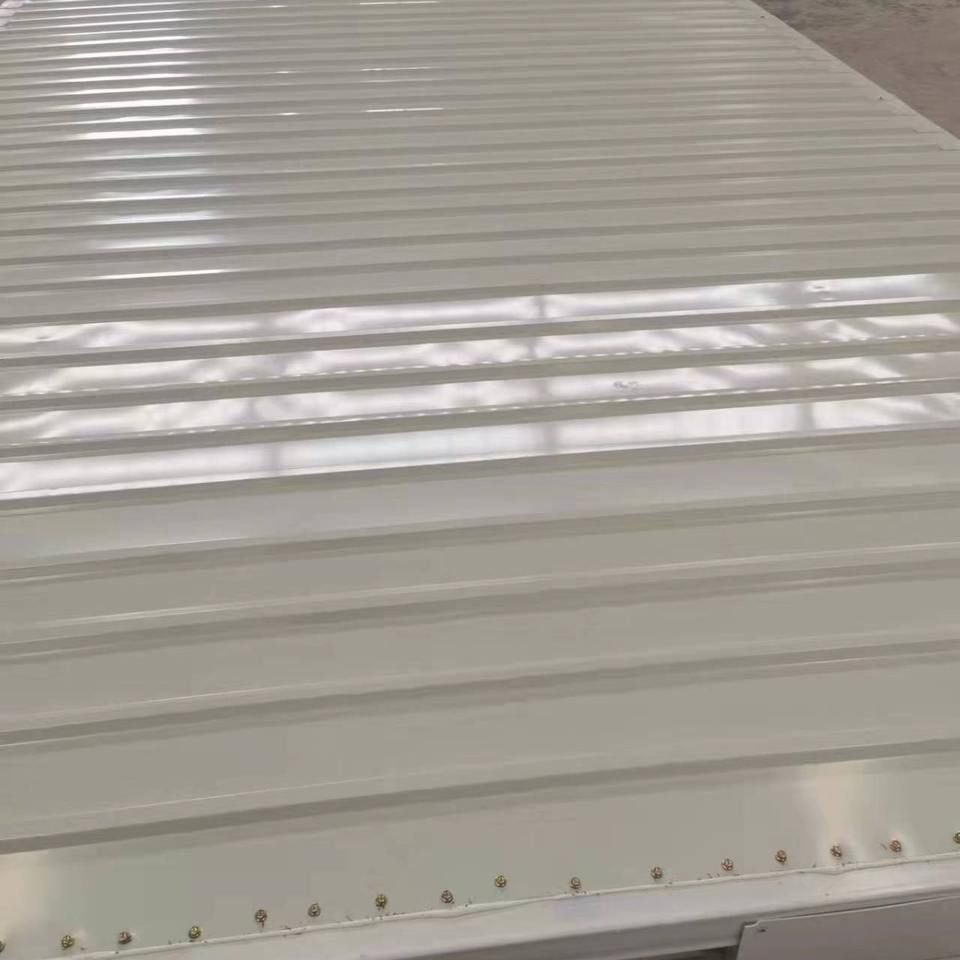
I. Basic Positioning and Fixing
- Vertical Positioning: Use a spirit level to determine the vertical reference line on both sides of the door opening to ensure that the verticality error of the frame after installation is ≤2mm. Apply structural adhesive (it is recommended to use neutral silicone adhesive) at the marked positions, with a uniform thickness of the adhesive layer controlled between 3-5mm to avoid air pockets.
- Frame Fixing: Align the metal frame (made of aluminum alloy or stainless steel) with the vertical line. Use an impact drill to drive Φ6 expansion bolts into the preset holes, with a spacing of no more than 400mm. The gap between the frame and the wall should be filled tightly with expanding foam to prevent loosening in the later stage.
II. Track System Installation
- Hanging Track Installation: For top-hung sliding doors, steel structural brackets need to be embedded in the ceiling (for concealed tracks, hot-dip galvanized square tube false beams should be welded in advance). Use a spirit level to check the levelness of the hanging track and adjust the height screws of the brackets to ensure an error of ≤1mm/m. After fixing, use a laser level for secondary verification.
- Floor Track Handling: The floor track should fit snugly against the ground. It is recommended to use self-leveling cement for leveling before installation. Reserve a 3-5mm expansion joint at the junction of the floor track and the wall, and seal it with weather-resistant sealant to prevent water seepage.
III. Pulley and Door Body Debugging
- Pulley Installation: Insert the load-bearing pulley assembly into the hanging track and adjust the limit stop to keep the gap between the sliding door body and the frame at 2-3mm. Apply special lubricating grease to the floor track pulleys to ensure an opening and closing resistance of ≤15N.
- Door Body Debugging: After hanging the door panels, adjust the height screws of the pulleys to make the gap between the door body and the ground uniform (usually 8-12mm). Conduct repeated push-pull tests to eliminate jamming and abnormal noises, ensuring that the single opening and closing time is controlled within 3-5 seconds.
IV. Finishing and Safety Reinforcement
- Damping Device: Install a hydraulic buffer at the top of the door frame and adjust the damping force to make the door body close at a uniformly decelerated speed to avoid impact. The distance between the damper and the door body should be precisely controlled to 1-2mm.
- Lock Installation: It is recommended that the center of the door lock be 900-1000mm from the ground, with an alignment error between the lock tongue and the lock hole of ≤0.5mm. Test the lock for opening and closing more than 30 times to ensure there is no jamming.
- Sealing Treatment: Apply sealant comprehensively at the joints between the door frame and the wall, and between the door body and the track. Choose mold-resistant glass glue. Control the width of the glue joint between 5-8mm, with the surface at a 45° bevel to enhance aesthetics and waterproofness.
Special Scenario Handling: Concealed tracks should be installed before ceiling construction. The height of the false beam should be 20-30mm lower than the finished ceiling to reserve space for the subsequent decorative layer. If the door opening span exceeds 1.5m, it is recommended to add a middle stile structure to enhance stability.
Related
You may also like

28Oct
Portable Toilet Used in 2026: Buying Guide & Recommendations
Read More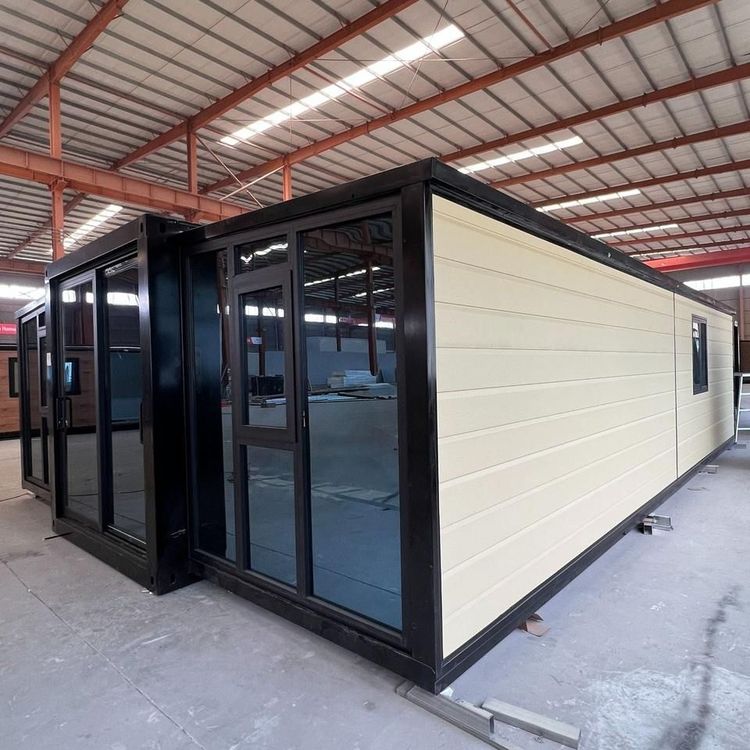
28Oct
Portable Toilet Custom Explained: How to Choose the Right One
Read More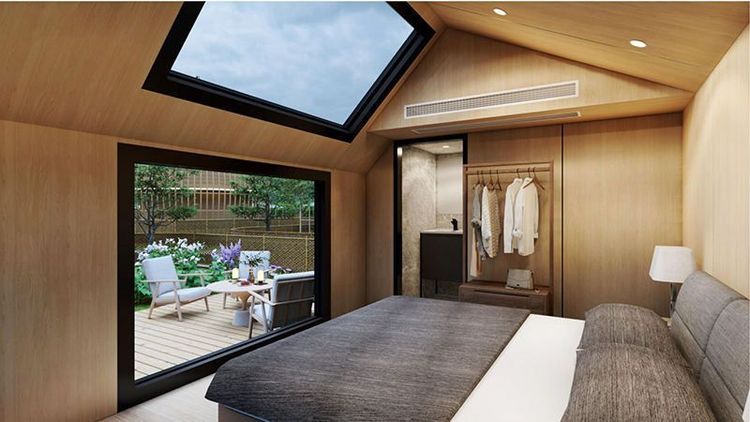
28Oct
Top Portable Toilet Smart Manufacturers: How to Choose a Factory Partner
Read More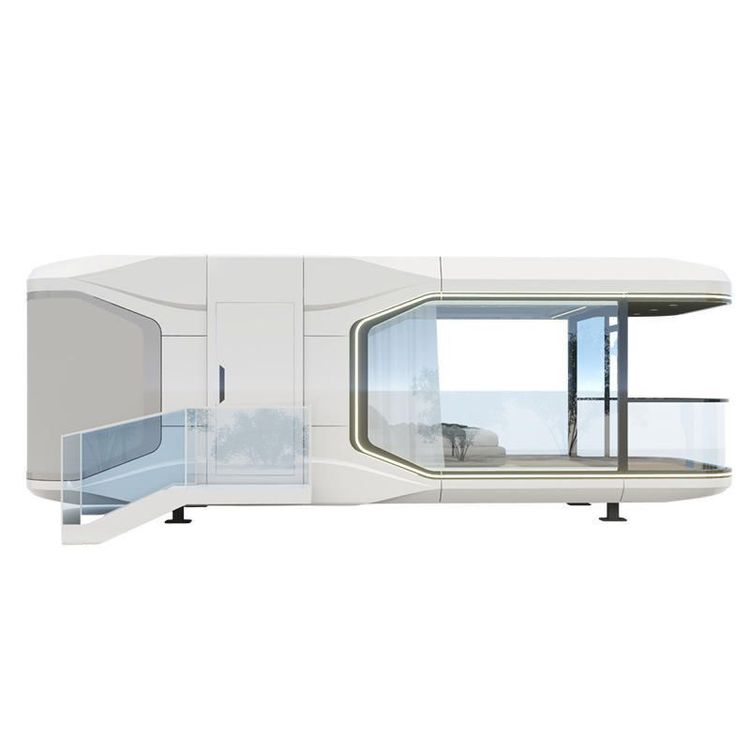
28Oct