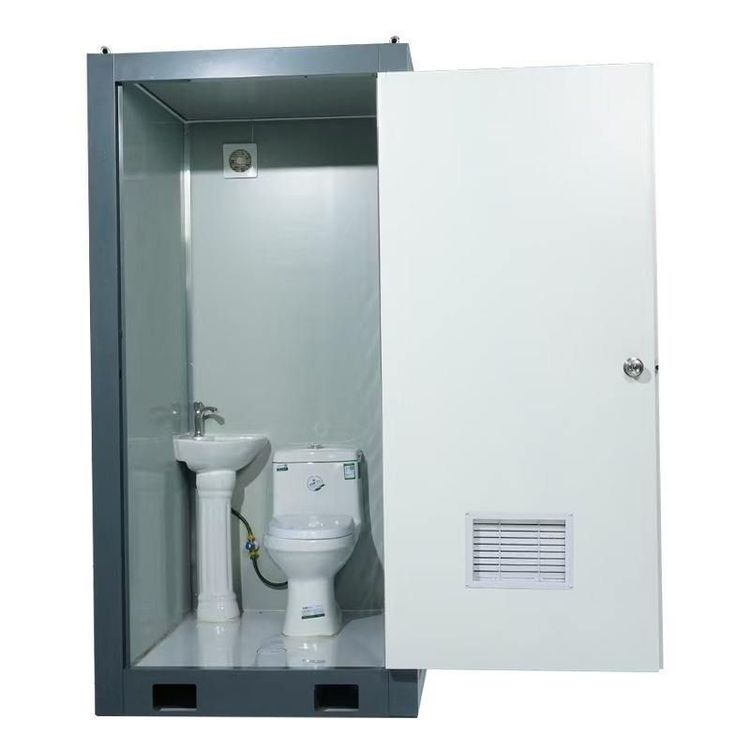
Comprehensive Guide to Mobile Toilet Disassembly
Currently, there is no complete publicly available information specifically tailored to a 'Comprehensive Guide to Mobile Toilet Disassembly.' However, a general disassembly method for toilet seat components can be provided for reference, with adjustments needed based on the specific equipment model.
I. Disassembly Steps for Ordinary Toilet Seats
- Observe the Structure: Focus on inspecting the side near the water tank and the lower edge of the toilet seat to confirm the presence of movable buttons or snap-fit structures. Some models have red buttons, while others feature hidden designs.
- Press Operation: Use both hands to simultaneously press the movable buttons (or snap-fits) on both sides. After hearing a 'click' sound, maintain the pressing state and gently pull the toilet seat outward to separate it from the base.
- Precautions: If the buttons do not respond, it may be due to aging or dirt accumulation on the snap-fits. Clean the contact surface with a soft cloth before attempting again. Avoid using hard objects to pry, as this may scratch the ceramic surface.
II. Disassembly Steps for Smart Toilet Seats
- Preliminary Preparation:
- Close the water inlet angle valve and drain any remaining water from the tank (to prevent leakage during disassembly).
- Unplug the power cord to ensure the device is completely powered off (to avoid the risk of electric shock).
- Removal Operation:
- Locate the 'removal button' on the side of the device body (usually circular or rectangular). Press the button and gently lift the entire unit upward with both hands to separate it from the base.
- If further disassembly of the rear cover is required, use a screwdriver to remove the fixing screws (usually 8, distributed around the body). When disassembling, gently tap the edge of the rear cover to avoid pulling and breaking the internal wiring.
- Safety Tips: Smart toilet seats contain circuit boards and heating elements inside. After disassembly, store them properly to prevent moisture or impact damage.
III. Disassembly Methods Classified by Fixing Structure
- Traditional Bottom-Lock Type:
- Applicable to models where the toilet seat is fixed from the bottom using nuts, requiring operation from beneath the toilet.
- Use an adjustable wrench or socket to loosen the nuts. If the space is narrow, use a mobile phone flashlight to illuminate and confirm the nut positions first.
- Top Quick-Release Type:
- Applicable to toilets installed against the wall, unlocked by pressing a top button or sliding a block.
- Maintain the toilet seat level during operation to avoid tilting and causing the snap-fits to break.
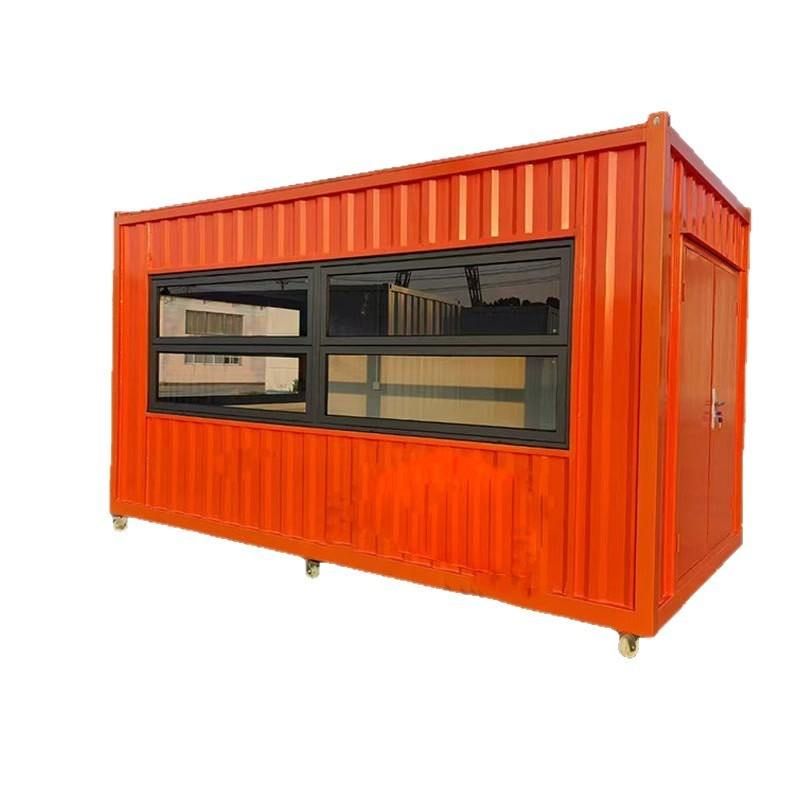
If you need to disassemble a complete mobile toilet (not just the toilet seat), it is recommended to supplement the equipment model, brand, or structural details (such as whether it is a container-type or includes water and electrical systems) for further targeted information retrieval. Before disassembly, be sure to read the product manual or contact the manufacturer's technical support to avoid equipment damage or safety hazards due to improper operation.