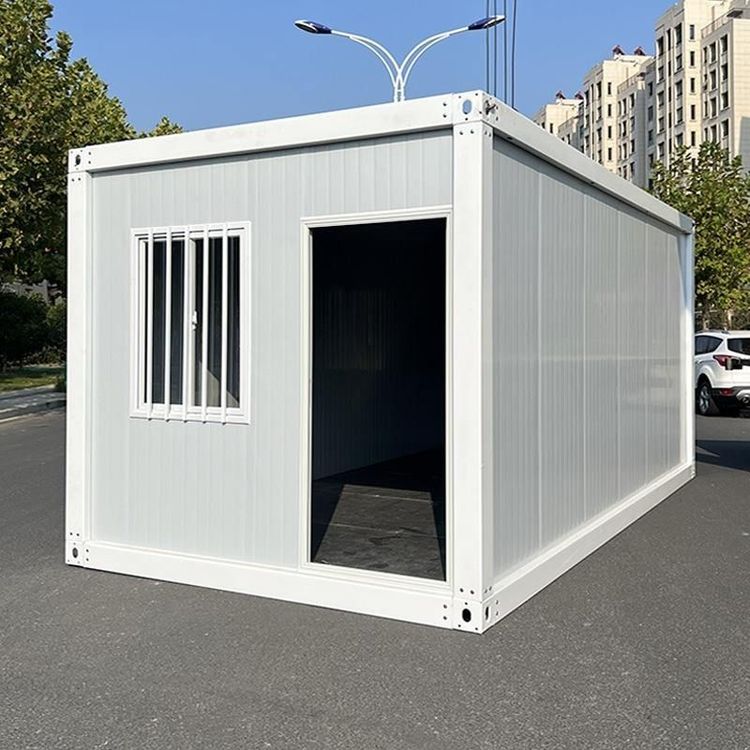
Mobile Toilet Bath Heater Installation
The following steps and key points can be referred to for the installation of a bath heater in a mobile toilet:

I. Pre-installation Preparation
- Tool and Material Preparation: Prepare tools such as an electric drill, screwdriver, spirit level, and tape measure, as well as materials including the bath heater main unit, frame, backdraft damper, air outlet bracket, and face cover.
- On-site Measurement: Measure the distance from the ceiling to the top of the wall to ensure it meets the installation requirements of the bath heater. For non-integrated ceilings, confirm whether installation is supported. Some integrated bath heaters may not be installable due to insufficient space or incompatible structures. In such cases, a ultra-thin, multi-functional smart bath heater that supports non-integrated ceilings (such as the Xiaomi Smart Bath Heater Pro) can be chosen.
- Ceiling Pre-treatment: Mark the hole positions on the ceiling according to the size of the bath heater to ensure the frame can be securely fixed.
- Safety Confirmation: Check whether the electrical circuit meets the power requirements of the bath heater to avoid overloading. Confirm that there are no obstacles such as water pipes or electrical wires at the installation location.
II. Hole Drilling and Backdraft Damper Installation Drill a hole with a diameter of 10.5 cm to 11 cm in the wall for installing the backdraft damper. The backdraft damper prevents exhaust air from flowing back, avoiding bacterial growth caused by poor exhaust ventilation of the bath heater and protecting health.
III. Determining the Installation Position
- Priority on Heating Effect: The bath heater should be installed on the ceiling directly above the center of the bathtub or shower room to ensure even heat distribution.
- Balancing Aesthetics and Practicality: If overall aesthetics are a priority, after examining the installation conditions from multiple aspects, the bath heater can be adjusted to the center of the bathroom or another suitable position, but ensure that the exhaust and heating effects are not affected.
IV. Specific Installation Operations
- Ceiling Hole Drilling and Frame Fixing: Drill holes in the ceiling according to the marked positions and fix the frame to the ceiling with screws.
- Main Unit and Bracket Connection: Connect the air outlet bracket to the main unit and fix it to ensure a tight connection without looseness.
- Main Unit Installation and Face Cover Fixing: Embed the main unit into the frame, adjust it to be level, and then fix it. For non-integrated ceilings, cut off the relevant locks to fit the installation. Finally, install the face cover to ensure there are no gaps.
V. Wireless Switch Setup (if equipped)
- Battery Installation: Insert two AAA batteries into the wireless switch.
- Pairing Operation: Immediately after powering on, press and hold the "Power Off" button on the switch without releasing it. A "beep" sound indicates successful pairing, and the switch can then normally control the functions of the bath heater.
After installation, test whether the heating, exhaust, lighting, and other functions of the bath heater are normal, and ensure there are no issues such as air leakage or abnormal noises. If you are not a professional, it is recommended to contact after-sales service or a professional electrician for operation to ensure safety.