Back to blog
Article
Mobile Toilet Assembly Guide
Admin October 02, 2026
Here is the mobile toilet assembly guide:

I. Preparation Phase
- Confirm Installation Location: Choose a flat area that can bear the weight of the toilet to prevent structural tilting or damage due to unstable foundations.
- Check Basic Conditions: Ensure the sewage pipes are unobstructed and the ground level meets requirements (with an error margin of no more than ±5mm) to prevent drainage issues or water accumulation during subsequent use.
- Select Model and Configuration: Choose a sewage disposal method based on usage needs, such as pack-type (collecting waste in biodegradable bags) or microbial degradation-type (using bacteria to decompose waste), and confirm that supporting facilities (such as water tanks and ventilation systems) are complete.
- Prepare Tools and Materials: Gather tools like screwdrivers, wrenches, spirit levels, and sealants in advance, along with installation accessories such as screws, nuts, and slots to ensure a smooth installation process.
II. Frame Assembly
- Secure the Base: Place the base steadily at the predetermined location and firmly connect it to the ground using expansion bolts or anchor screws to prevent movement or shaking.
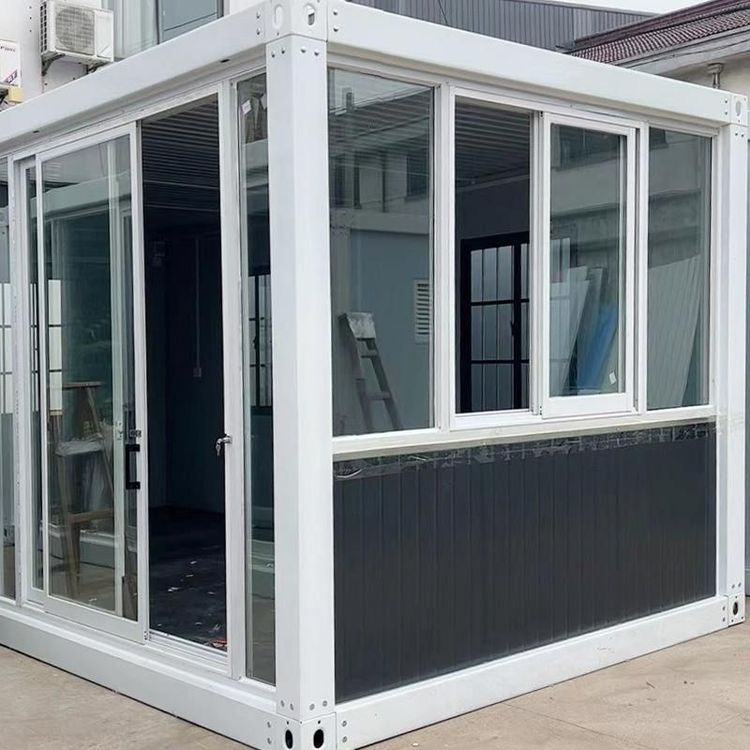
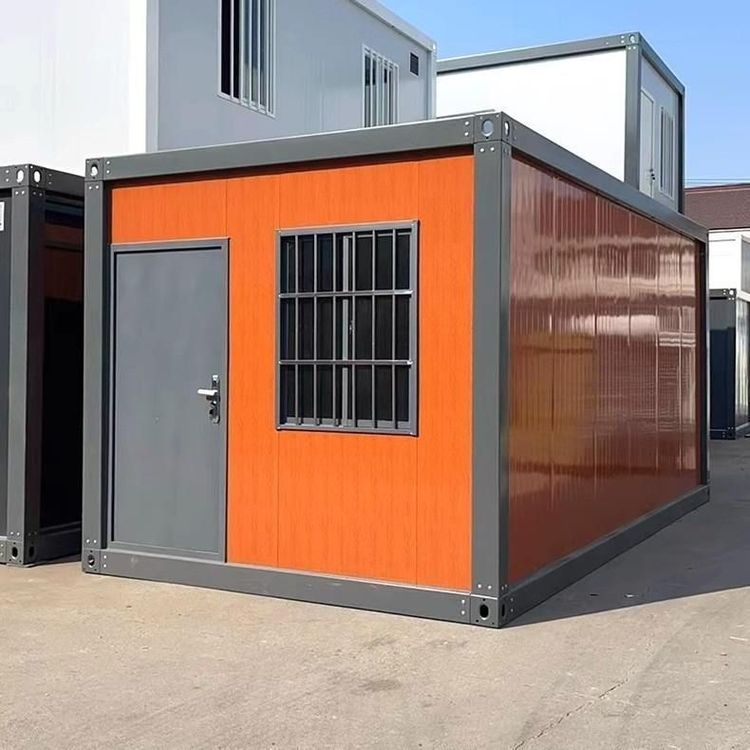
- Install Wall Panels: Connect the right, left, and front wall panels sequentially, securing each component interface with locking screws to ensure good sealing and prevent odor leakage.
- Install Top Structure: Install upper slots on top of the walls to support the roof cover; simultaneously, install ventilation louvers (usually located on the sidewalls or top) to enhance air circulation and reduce internal humidity and odors.
- Cover the Roof: Place the roof cover steadily on the slots and check that it fits tightly around the edges to prevent rainwater infiltration or being blown off by strong winds.
Note: This step requires two people to cooperate to prevent the frame from toppling over due to unstable center of gravity during erection; after installation, check that all screws are tightened to ensure structural stability.
III. Detail Handling and Finalization
- Clean and Organize: Thoroughly clean the inside and outside of the toilet to remove dust, glue residue, and other debris left during installation, enhancing the user experience.
- Check Fasteners: Re-check all bolts and nuts for looseness and perform secondary tightening if necessary to prevent parts from falling off due to vibration during long-term use.
- Function Test: Connect the water supply (if applicable) and test whether the sewage system works properly, confirming that the ventilation system operates without abnormal noise or airflow obstruction.
- Maintenance Tips: Post usage instructions and maintenance guides inside the toilet (such as regularly replacing degradation bags and cleaning bacterial culture tanks) to extend product life and ensure hygiene and safety.
After completing the above steps, the mobile toilet is ready for use.