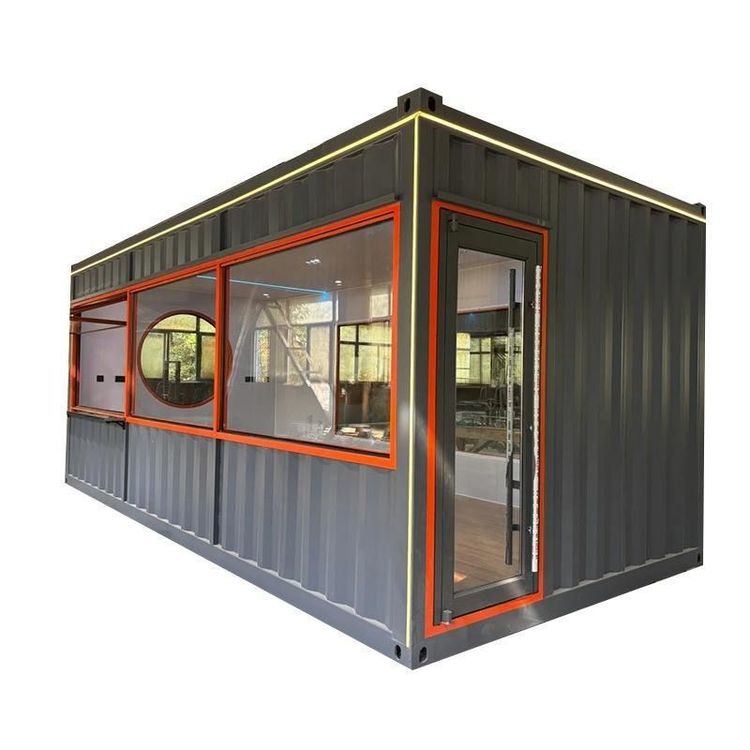
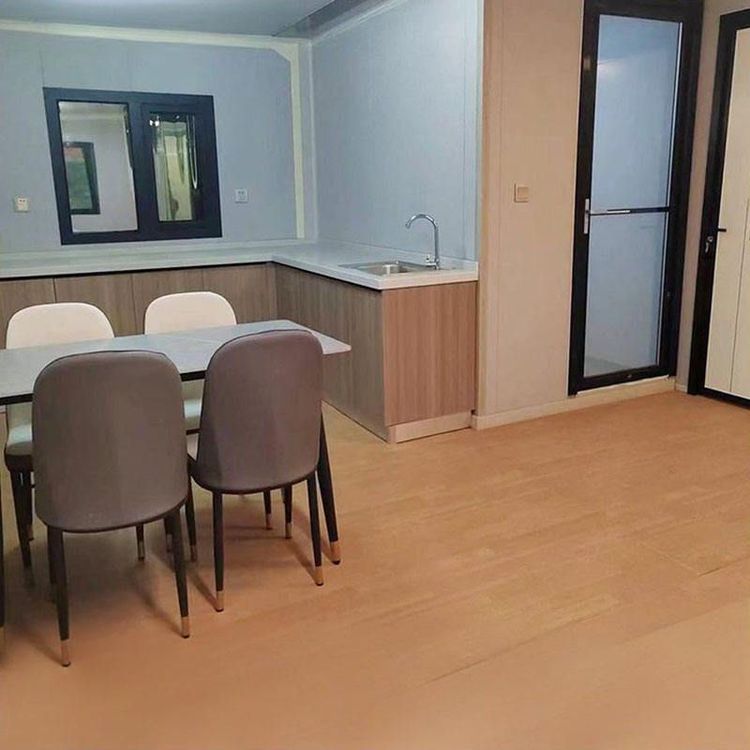
Mobile Toilet Air Conditioner Installation
The installation of a mobile toilet air conditioner requires careful planning, with a focus on the installation location, steps, and power selection to avoid air pollution or low cooling efficiency due to improper operation.
I. Installation Location Selection
The exhaust duct of the mobile air conditioner must be directed outdoors, and it is prohibited to connect it to the existing exhaust duct in the toilet. If installed through the exhaust duct, it may blow back dirt, odors, or humid air accumulated in the duct into the room, leading to a decline in air quality, odor diffusion, and even duct blockage, increasing the cost of later cleaning and maintenance. It is recommended to achieve exhaust through windows, door gaps, or wall drilling (in compliance with building codes) to ensure that the exhausted hot air is completely isolated from the indoor environment.
II. Installation Steps
Unpacking Inspection and Preparation
- Confirm that all accessories are complete: The exhaust duct, adjustable window frame, suction cup assembly, and sealing strips should be free of damage.
- Check the power supply: The voltage should meet the air conditioner's requirements (usually 220V), and the power cord should not be aged or exposed.
- Clean the window frame: Wipe the window frame with a dry cloth to remove grease or dust, ensuring that the sealing strip can fit tightly.
Assemble the Exhaust Duct and Window Frame
- Connect the exhaust duct: Pull out 1-2 buckles, rotate the air outlet frame counterclockwise 3-5 times to fix it at one end, and connect the other end to the main unit's air outlet.
- Adjust the window frame: Stretch the window frame to the appropriate length according to the window height and lock it in place with a pin.
- Combined installation: Insert the oval end of the exhaust duct into the window frame interface to form an integrated "window frame-exhaust duct" structure.
Fixation and Main Unit Connection
- Fix the window frame: For sliding windows, use the suction cup assembly to fix the window frame, window frame, and window sash to prevent sliding and detachment.
- Connect the main unit: Insert the inlet end of the exhaust duct into the main unit's exhaust outlet slot according to the arrow direction, ensuring it is fully secured; connect the other end firmly to the window frame interface.
III. Key Considerations
- Sealing: After installation, use sealing strips or curtains to fill the gaps between the window frame and the window frame to prevent hot air from flowing back and affecting the cooling effect.
- Exhaust Duct Condition: Keep the exhaust duct straight and avoid excessive bending or squeezing to ensure smooth hot air exhaust.
- Power Matching: Select the power according to the toilet area: 1 horsepower (2500W) for 10-15㎡, 1.5 horsepower (3500W) for 15-20㎡, and 2 horsepower for areas over 20㎡. Avoid 'a small cart pulled by a big horse', as this will result in slow cooling, high-load operation of the compressor, and increased power consumption. For example, installing a 3-horsepower air conditioner in a 10㎡ toilet may cool it down quickly, but long-term use will accelerate equipment wear and tear and increase initial costs.