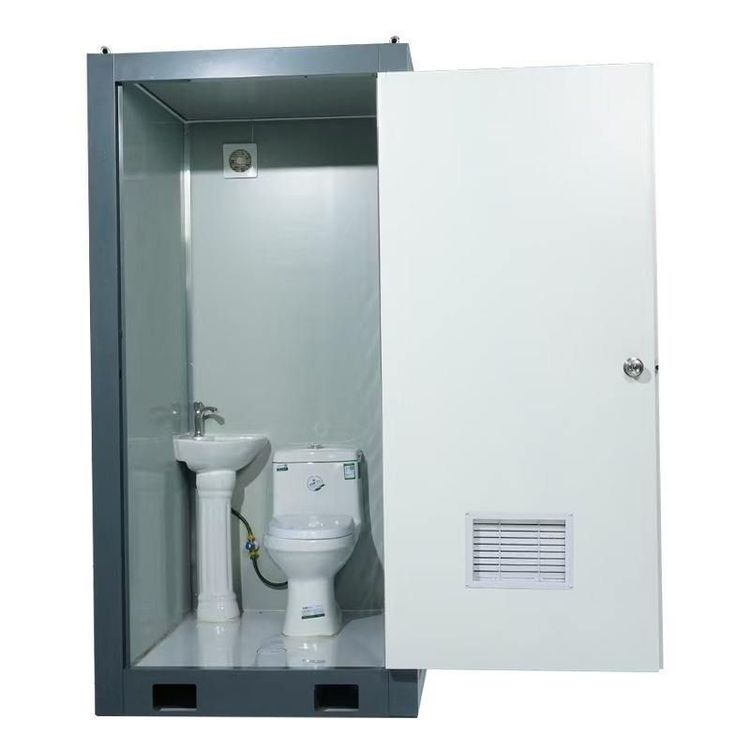
How to Install Mobile Prefab Toilets
The installation methods for mobile prefab toilets mainly fall into two categories: direct connection of finished products and modular assembly installation. The specific operation should be selected based on the product type.
I. Installation of Factory-Finished Mobile Toilets
These toilets are prefabricated in the factory, with internal plumbing systems already installed. Only external interface connections are required for use. Installation steps are as follows:
- Confirm the positions of reserved interfaces: Check whether the bottom or sides of the toilet have reserved interfaces for water inlet, drainage, and power supply, typically including cold water pipes, sewage discharge pipes, and power cord interfaces.
- Connect external pipelines: Connect the toilet's water inlet to an external water source pipe (such as a tap water pipe) using a hose or a dedicated connector, ensuring tightness; the drainage outlet should be connected to a septic tank or municipal sewage pipe. If it is a waterless design, it needs to be connected to a fecal storage tank.
- Power-on test: If the toilet is equipped with lighting, ventilation, or intelligent flushing systems, connect the power cord to a safe socket and check whether the equipment operates normally after power-on.
- Fixation and adjustment: Secure the toilet to the ground with expansion bolts or anchor screws to prevent displacement; adjust the water pressure, water level, and flushing function to ensure no leakage.
Applicable scenarios: Suitable for scenarios with high installation efficiency requirements and well-prepared site conditions, such as temporary construction sites and event venues.
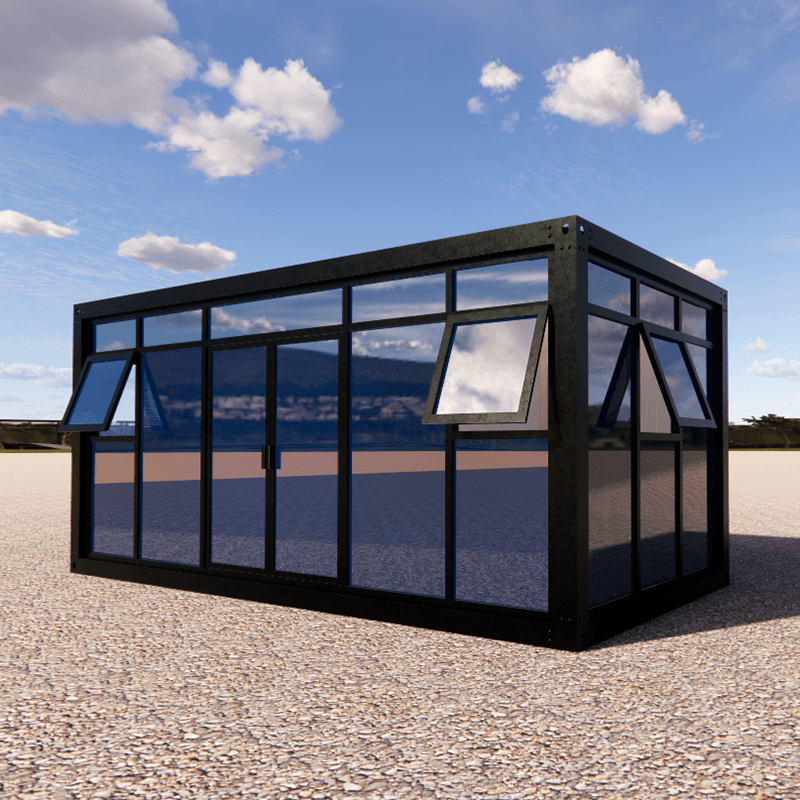
II. Installation of Modular Assembly Mobile Toilets
These toilets require on-site assembly, completed through methods such as slot connection and rivet fixation, without the need for complex civil engineering. Installation steps are as follows:
- Prepare tools and materials: Tools such as an electric drill, a 4.2-millimeter drill bit, a rivet gun, a level, and a wrench are required, as well as materials such as matching rivets and sealing strips.
- Foundation treatment: Clean the installation ground to ensure it is flat and dry; if it is a soft soil foundation, lay concrete or steel plates as support.
- Frame assembly:
- Column installation: Fix the columns vertically at the four corners of the ground and reinforce them with expansion bolts or chemical anchors.
- Panel connection: Insert the side panels, roof panels, and floor panels into the column slots in sequence, align them, and then drill holes at the connection points (with a spacing of about 20-30 centimeters).
- Rivet fixation: Insert rivets and tighten them with a rivet gun to ensure a firm and seamless connection between the panels.
- Functional system installation:
- Plumbing system: If it is a water-flushing toilet, connect the water inlet pipe, drainage pipe, and water tank; for a waterless toilet, install a fecal storage tank and an exhaust pipe.
- Door and window installation: Install doors and windows at the reserved positions and use sealing strips to prevent air and water leakage.
- Acceptance and adjustment: Check whether all connections are tight and test the flushing, ventilation, and lighting functions to ensure stable operation.
Applicable scenarios: Suitable for scenarios with complex terrain and the need for flexible layout adjustments, such as disaster area reconstruction and field exploration.