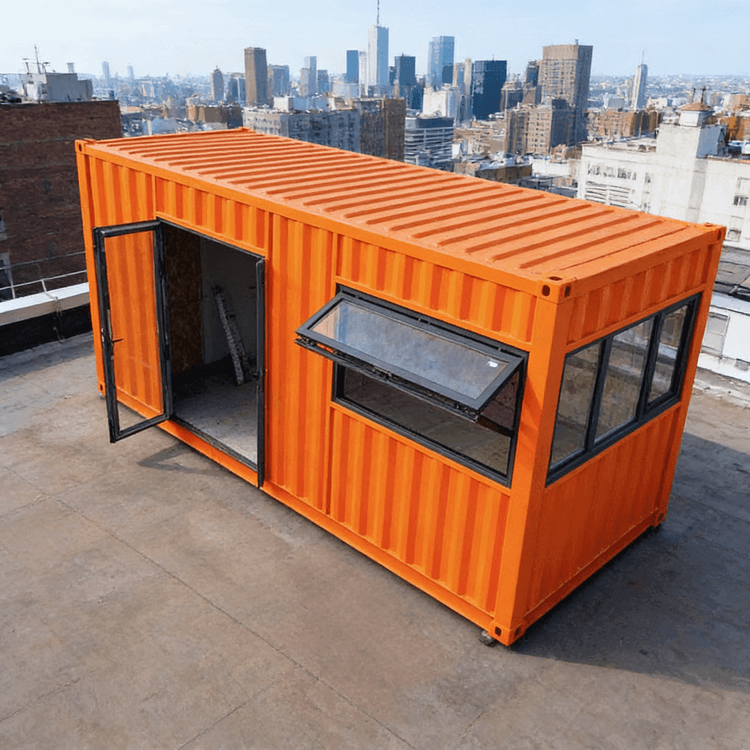
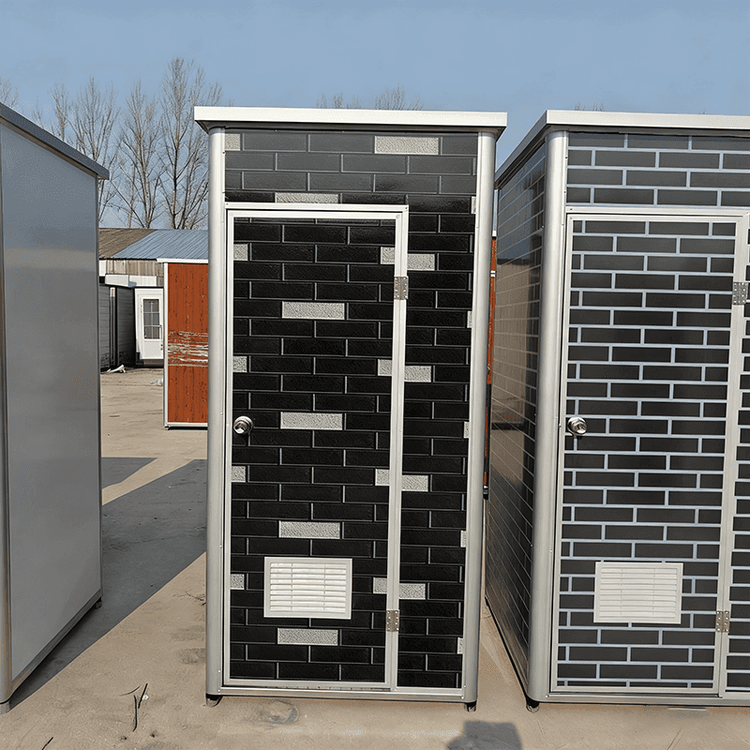
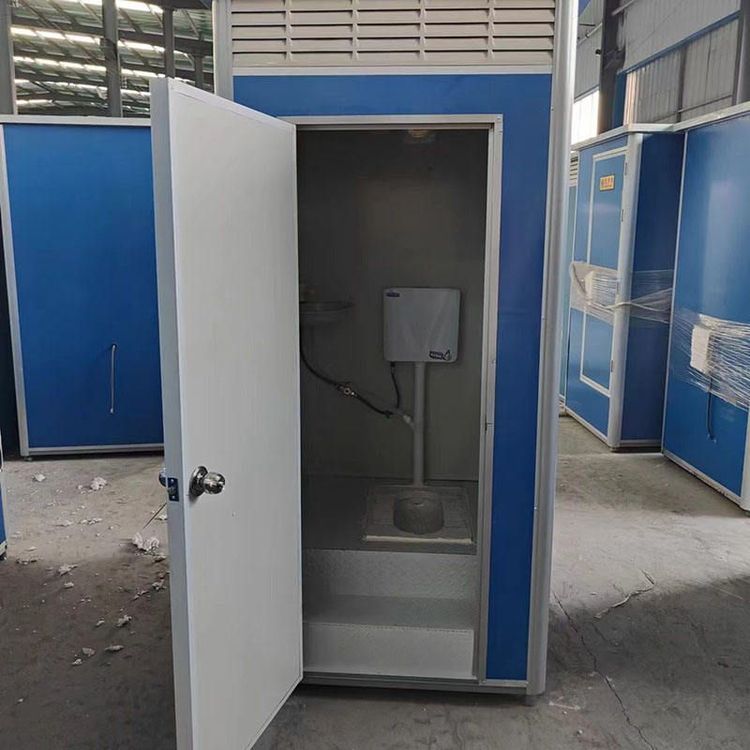
Mobile House Toilet Renovation
The renovation of toilets in mobile houses should systematically address issues such as aging waterproof layers and inadequate pipeline adaptability, while controlling costs and avoiding damage to the main load-bearing structure. The specific steps are as follows:

I. Preliminary Investigation and Benchmark Parameter Verification
- Structural Parameter Verification: Measure the thickness of the厢体 (container body) wall panels, the distribution of load-bearing joists, and the flatness of the ground base. Confirm the positions and elevations of preset water supply and drainage interfaces, and mark the embedded circuit wiring and insulation layer filling ranges within the wall panels. For example, if the wall panel thickness is less than 5 centimeters, avoid slotting to prevent structural damage; if the spacing between load-bearing joists exceeds 60 centimeters, reinforce local support during renovation.
- Usage Requirement Analysis: Determine renovation priorities based on different scenarios. For construction site accommodations, choose wear-resistant and non-slip floor tiles (Mohs hardness ≥ 6) and easy-to-clean ceramic integrated basins. For scenic spot facilities, use waterproof and moisture-proof ecological wood veneers and optimize traffic flow design to handle peak visitor volumes. In northern regions with low temperatures, assess the risk of frost heave and prioritize replacing with frost-resistant PPR water supply pipes (cold resistance grade ≥ -20°C). For emergency shelters, reserve barrier-free access and lower the installation height of sanitary fixtures to 45 centimeters.
- Existing Fault Identification: Mark the original bathroom with centimeter-level precision, recording the locations of waterproof layer damage (such as corners and pipe roots), pipeline corrosion rates (overall replacement required if the corroded area exceeds 30%), and types of sanitary fixture damage (such as malfunctioning toilet flush valves or uneven shower water flow). For example, if more than three cracks are found within a 50-centimeter radius of the floor drain, prioritize repair in this area.
II. Modular Implementation of Specific Renovation Tasks
Foundation Waterproofing and Floor System Upgrade:
- Remove damaged sanitary fixtures and aged flooring materials down to the base container panel layer. Use single-component polyurethane sealant to fill and seal container panel cracks (width ≥ 0.5 millimeters requires treatment). Apply 15-centimeter-wide polyester fabric strips along the joints between wall panels and the floor to enhance crack resistance.
- Apply a 2-millimeter-thick layer of hand-applied polyurea waterproof coating. Extend the waterproof layer up the shower area walls to 1.8 meters and up to 30 centimeters in other areas. After the waterproof layer dries, conduct a 24-hour closed-water test, ensuring the leakage rate does not exceed 0.05 liters per (square meter·hour).
- When laying flooring materials, prioritize lightweight and non-slip options (such as PVC rolls with a density ≤ 1.5 grams per cubic centimeter) to avoid increasing the container's load.
Water Supply and Drainage Pipeline Optimization: Replan the pipeline layout based on preset interface positions, using hot-melt connected PPR pipes (pipe diameter selected according to water consumption, such as DN20 for toilet water supply pipes). Ensure a slope of ≥ 2% for drainage. If the original pipelines are severely corroded, replace them entirely and install odor-proof floor drains (water seal depth ≥ 5 centimeters).
Sanitary Fixture and Electrical Adaptation: Choose lightweight sanitary fixtures (such as acrylic bathtubs weighing ≤ 80 kilograms). Electrical wiring should be laid independently, with sockets installed at a height of ≥ 1.5 meters and equipped with waterproof boxes. Use IP44-rated moisture-proof lighting fixtures.