Back to blog
Article
How to Install Portable Toilets in Miaoli
Admin October 06, 2026
The installation of portable toilets in Miaoli needs to be adjusted according to the specific model and sewage discharge method. Here are the general installation steps:

1. Confirm the Sewage Discharge Method and Preliminary Preparations
- Sewage Discharge Mode Selection
- Packing/Microbial Degradation Type: No need to connect to the sewer pipe. It can be directly moved and managed, suitable for areas without a sewage pipe network.
- Flush Type: It is necessary to plan the layout of the sewer pipe in advance to ensure that the sewage discharge complies with local environmental protection standards and avoids environmental pollution.
- Installation Location Confirmation
- Select an area with a flat ground and strong load-bearing capacity to avoid toilet tilting or damage due to unstable foundations.
- Check whether the sewage pipe is unobstructed and ensure that the ground levelness error does not exceed ±5mm to prevent water accumulation or poor drainage.
- Tool and Material Preparation
- Prepare tools such as screwdrivers, wrenches, and impact drills according to the toilet model, as well as materials such as expansion screws and sealants.
- Designate a safe work area and set up warning signs to prevent unrelated personnel from entering.
2. Handling and Frame Assembly
- Handling and Positioning
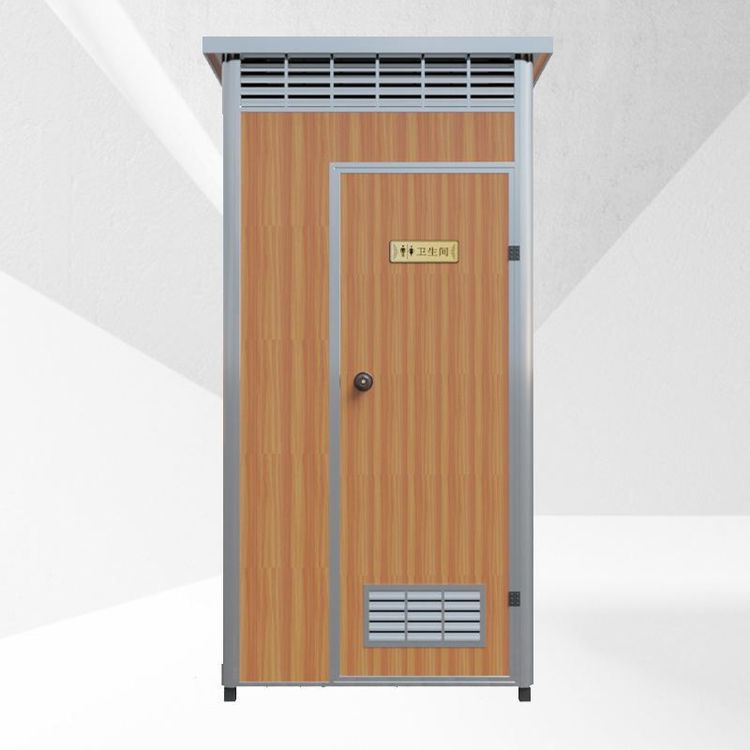
- Pointed-roof Design Toilets: The balance point is near the top. Multiple people need to cooperate to handle it and maintain stability.
- Flat-roof Design Toilets: Manufacturers usually pre-install lifting hooks. A crane or professional equipment is required for lifting to avoid tipping over.
- Small Simple Type: After assembling casters at the bottom, it can be manually pushed for relocation. Pay attention to controlling the speed and direction.
- Frame Assembly
- Fix the base on the ground, install the right, left, and front wall panels in sequence, and tighten all connecting screws.
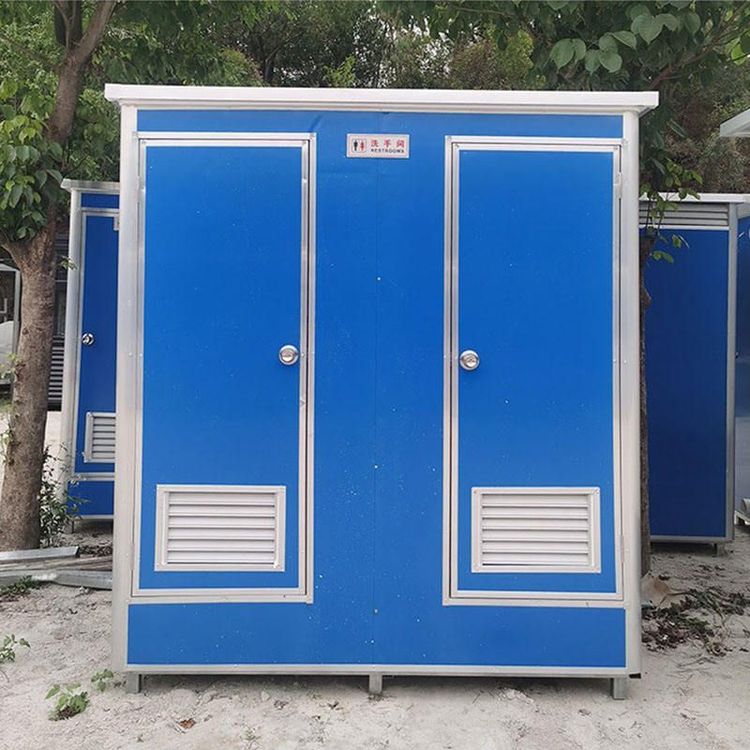
- Install the upper card slot to support the top cover, ensure that the direction of the ventilation louvers is correct, and avoid affecting air circulation.
- After covering the top cover, check the sealing of the joints between various components to prevent rainwater leakage or odor diffusion.
3. Detail Handling and Functional Debugging
- Toilet Installation (if applicable)
- Positioning and Drilling: Turn over the toilet, draw a cross line from the center of the sewage outlet to the bottom, determine the positions of the bottom screw holes, use an impact drill to drill holes, and pre-embed expansion screw sleeves.
- Sealing Treatment: Select rubber rings, glass glue, or cement mortar (ratio 1:3) to fill the gaps in the sewage pipe to ensure sealing.
- Finalization and Acceptance
- Clean the inner and outer surfaces of the toilet, check whether all bolts and nuts are tightened to avoid structural instability caused by looseness.
- Test functions such as flushing, ventilation, and lighting to ensure there are no problems such as water leakage, blockage, or odor.
- Make final adjustments according to the instructions provided by the manufacturer, confirm that it meets safety standards, and then deliver it for use.
Tip: The product structures of different manufacturers may vary. It is recommended to follow the specific instructions first and contact professional personnel for assistance if necessary.