The Entire Process of Manufacturing Container Houses
The entire process of manufacturing container houses can be divided into the following seven key steps:

1. Foundation Treatment and Material Preparation The foundation treatment for container houses requires selecting a plan based on the material type. If metal containers are used, additional crossbeams need to be added inside to enhance structural stability, while the bottom and one side of the container walls are cut for lifting and transportation. If wood is chosen, materials such as spruce, pine, or fir are used. First, a wooden frame is nailed onto a poly-ink board base, glass fiber is laid as an insulation layer, a rough floor is covered, and then anti-freeze and anti-mold tile adhesive is applied before finally laying the floor or tiles.
2. Container Wall Manufacturing Container wall manufacturing involves structural reinforcement on a resin-coated board. Uprights are nailed in every 40 centimeters, crossbars are used to reserve window spaces, and the structural strength is enhanced with a large number of steel nails before spraying adhesive. Plywood is then adhered to the underside of the container wall structure and permanently fixed with steel nails. This process is repeated for the remaining container walls to ensure overall consistency.
3. Container Body Assembly During container body assembly, the container walls are stood vertically on the base plate, ensuring that the plywood outer walls cover the edges of the base plate for sealing. The connection between the container walls and the base plate is fixed with adhesive and steel nails. If the house has a double-story structure, the bottom layer requires the对接 (butting together) of two container bodies, with horizontal steel beams added at the bottom as load-bearing supports. The top gap needs to be coated with super-strong adhesive in three layers repeatedly to prevent rain leakage and water seepage.
4. Roof Installation The roof is constructed using a layered technique: first, a fiberboard ceiling is laid, followed by covering with a plastic film barrier. Then, roof trusses with sloped edges are installed for drainage, and wire holes are reserved. Finally, the roof structure is framed with墩板 (墩板 may refer to a type of board, here translated as 'supporting boards') and the wiring is completed.
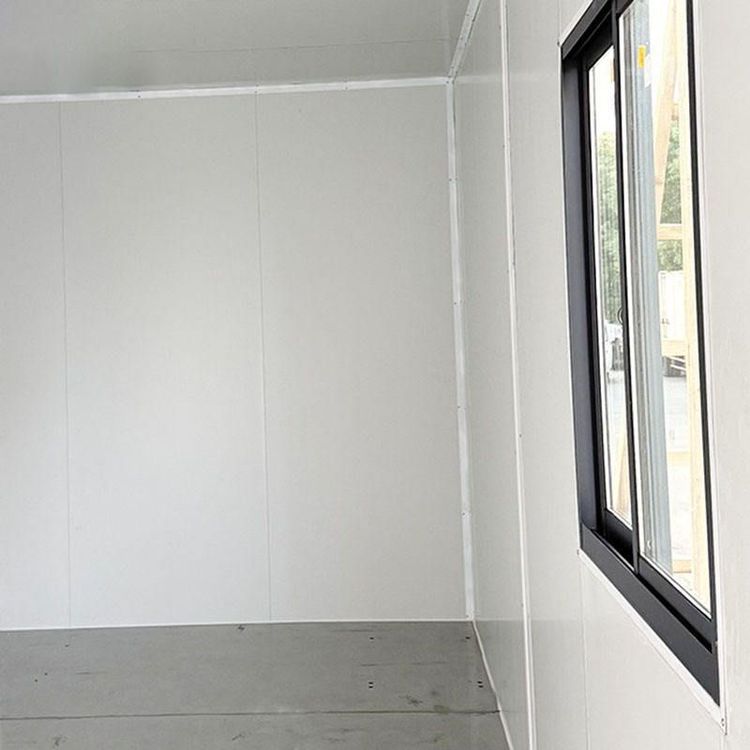
5. Interior Equipment Installation The interior sound insulation and insulation layer is achieved by filling glass fiber wool between the uprights, covered with a plastic film barrier, and then installing smooth wooden wall panels. During the renovation stage, tile adhesive is used to lay the floor, wooden panels are attached to the walls and wallpaper is installed, while power outlets, air conditioning vents, and other facilities are also installed.
6. Insulation and Protective Treatment For metal containers, to address winter insulation issues, 10-centimeter-thick polyurethane insulation panels need to be installed on the exterior walls. This material, enhanced with fire-resistant raw materials, combines insulation and fire protection properties, effectively improving the house's thermal performance.
7. Final Assembly and Perfection During the final assembly stage, vertically lifted wall panels are fixed onto the floor, with stainless steel inlay panels and prefabricated doors and windows installed on the exterior. Manufacturers usually complete the positioning of doors and windows in advance, enabling rapid assembly through modular stacking during installation, with the overall construction period controlled within 3-7 days. The final product must pass tests for structural stability, sealing, and insulation before it can be delivered for use.